
My 99 DC4 Build

There's plenty to do outside my room but I choose not to!
iTrader: (9)
Joined: Jul 2005
Posts: 5,141
From: 43�04′48″N-79�04′16″


Junior Member
Joined: Sep 2008
Posts: 335
From: Markham
looooks amazinggg..is this your first time with body work or do you have a body work shop? and i had a problem when installing my front bumper..my bumper and fender didn't alight too perfect dont know why..do you know why that might be? and theres a little gap from my cf hood to the bumper

Thread Starter
There's plenty to do outside my room but I choose not to!
iTrader: (5)
Joined: Apr 2009
Posts: 5,142
From: Burlington
looooks amazinggg..is this your first time with body work or do you have a body work shop? and i had a problem when installing my front bumper..my bumper and fender didn't alight too perfect dont know why..do you know why that might be? and theres a little gap from my cf hood to the bumper
Thread Starter
There's plenty to do outside my room but I choose not to!
iTrader: (5)
Joined: Apr 2009
Posts: 5,142
From: Burlington
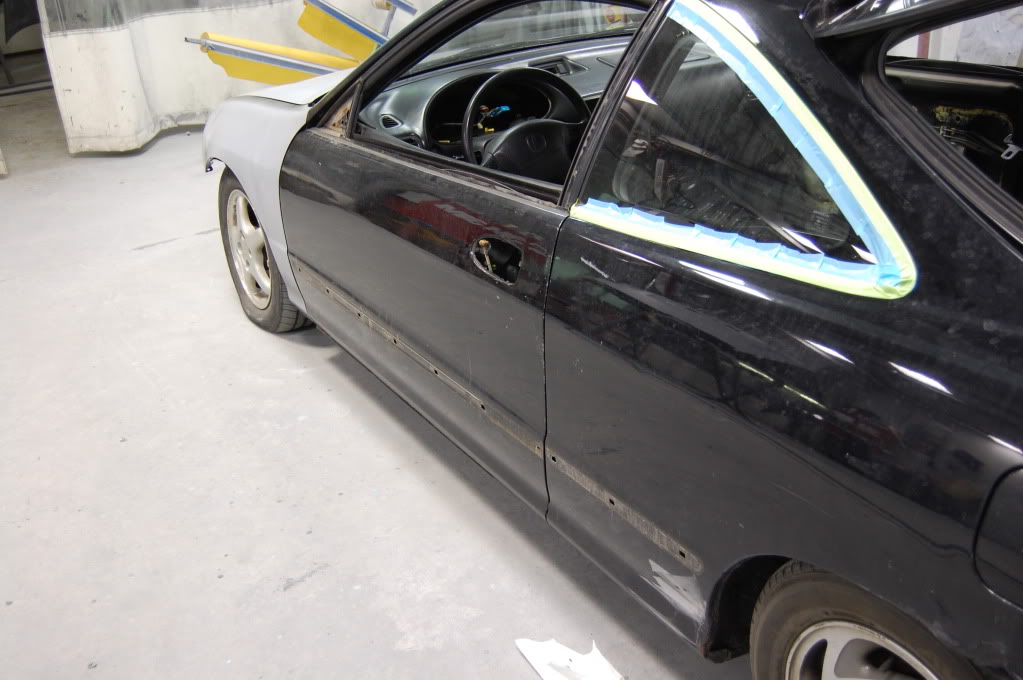
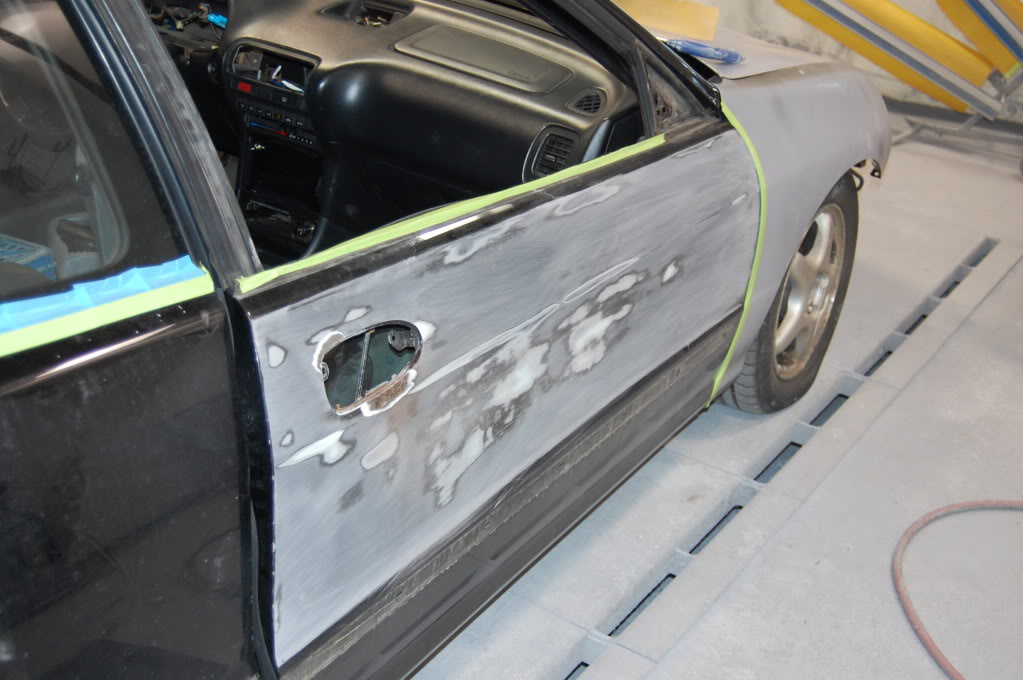
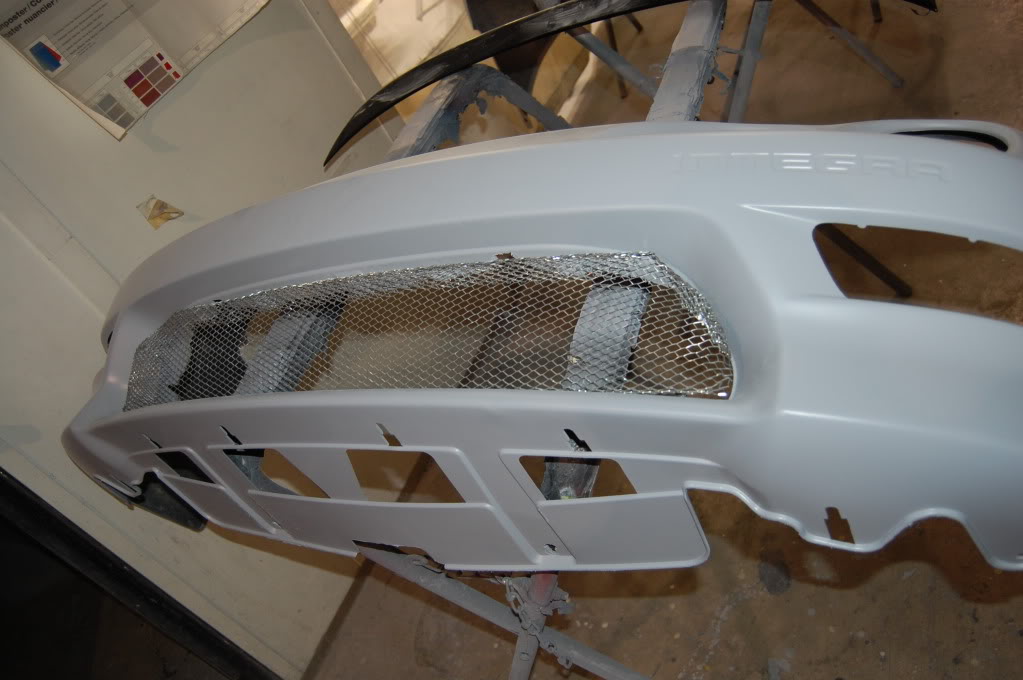
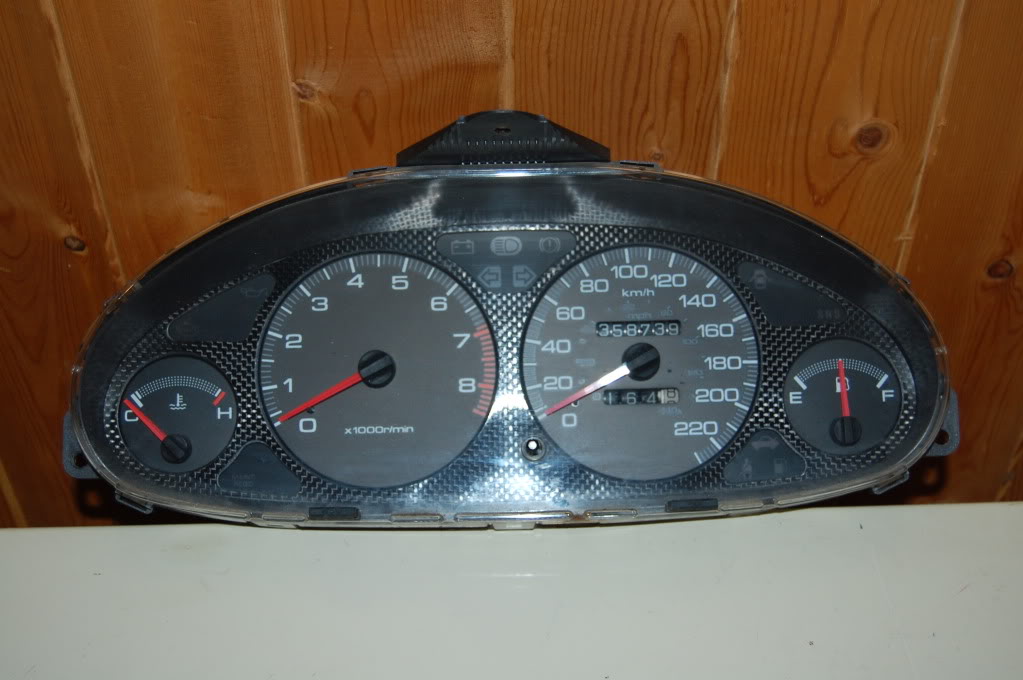
Well here are some more pictures from yesturday working on the car. I got everything else stripped off the car that needed to come off. Got all the side moldings, side mirrors, and window molding that keeps the water out all off the car. I also removed the cluster and installed my real carbon fiber gauge bezel and put LED lights in it. Also got all the rubber window moldings taped up, and started doing the doors on the car. I also started to fit meshing into the front bumper, and removed the tail lights and the antenna. Here are the pictures.
Car:
Cluster Before:
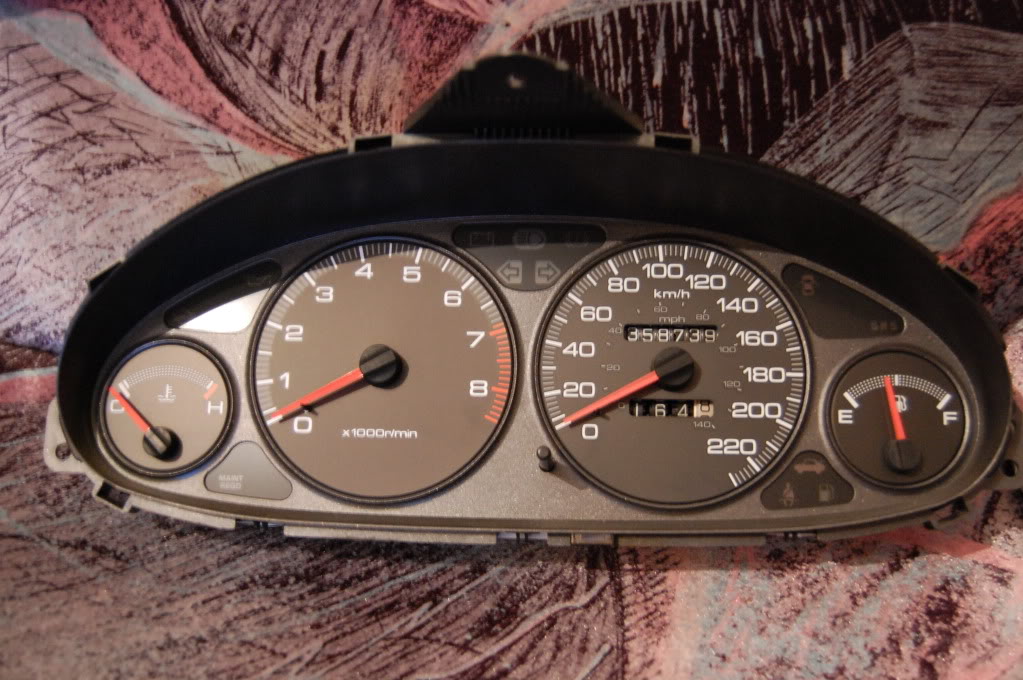
Cluster After:
Car:
Cluster Before:
Cluster After:
Last edited by Spike; Feb 17, 2010 at 06:29 AM.


Thread Starter
There's plenty to do outside my room but I choose not to!
iTrader: (5)
Joined: Apr 2009
Posts: 5,142
From: Burlington
No I'm not shaving the moldings off, they look like ---- with them off, and it's a ---- load more work to fill the holes. I'm going to be painting the meshing black as well.


Very nice, if I ever have to repaint the front bumper I'm going to put a grill similar to that. My brackets and the center strip that went across the middle of the "mouth" part of it are messed hard from the raccoon I hit a while back anyways.
Inspiring work. Keep it up.
Inspiring work. Keep it up.
Thread Starter
There's plenty to do outside my room but I choose not to!
iTrader: (5)
Joined: Apr 2009
Posts: 5,142
From: Burlington
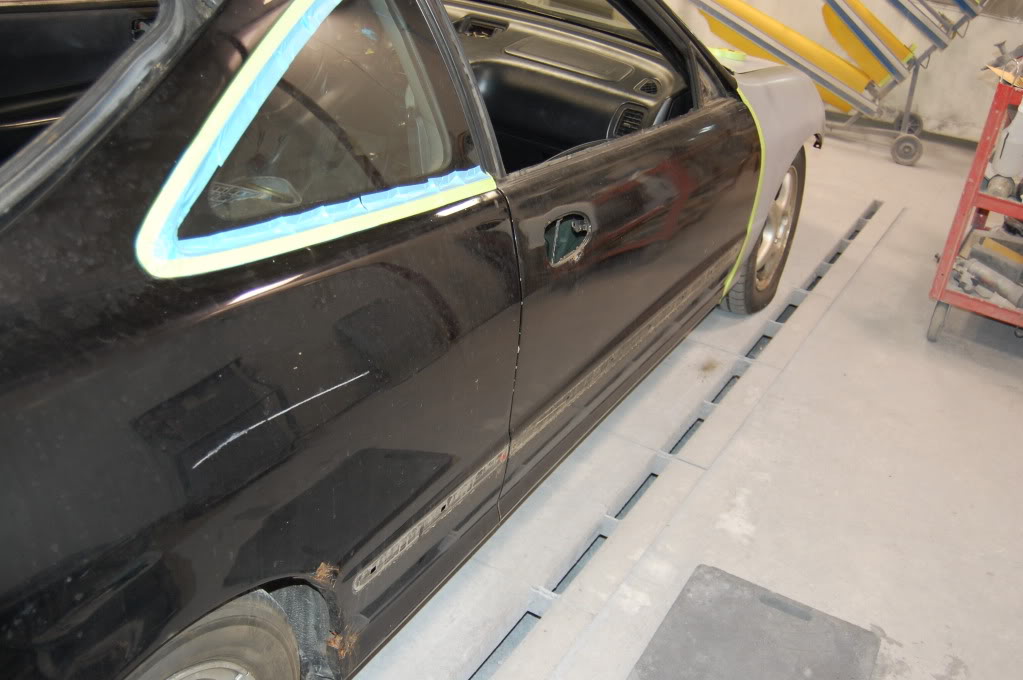
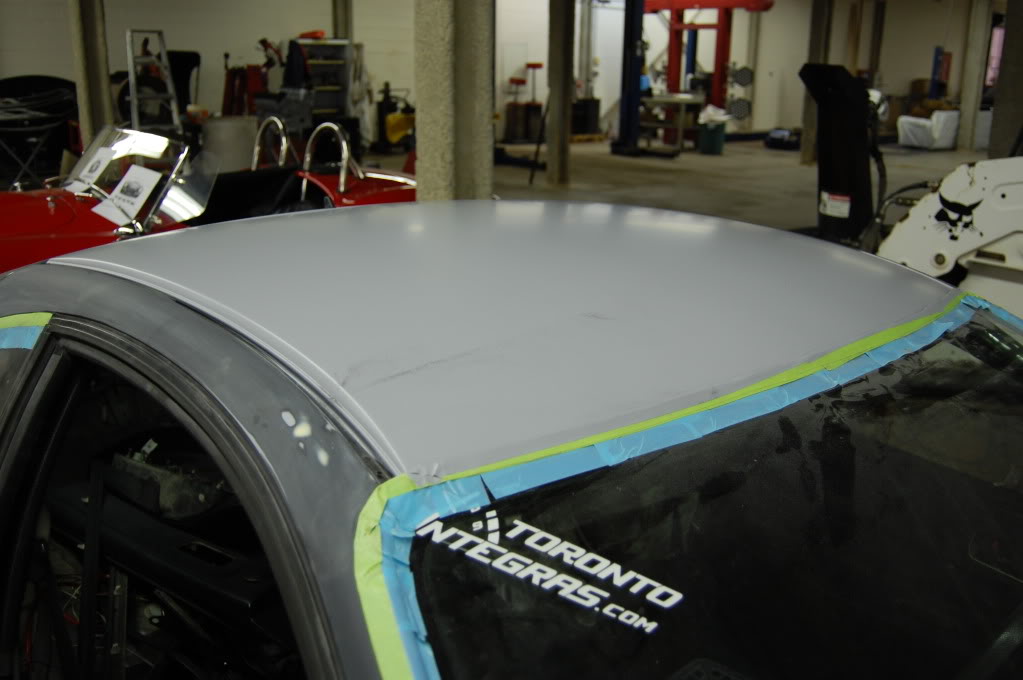
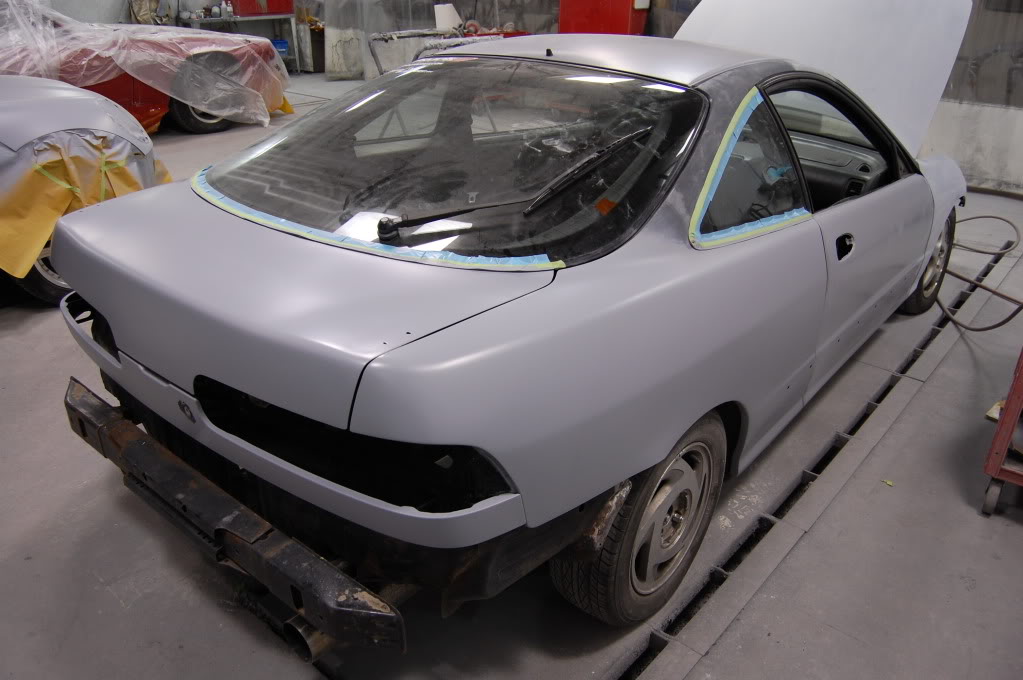
Here's some more pictures of the car from work done on Saturday evening. Got the roof all straighten and primed, as swell as the whole right side of the car.
Last edited by Spike; Feb 17, 2010 at 06:29 AM.
 I like that, it'll look good.

Thread Starter
There's plenty to do outside my room but I choose not to!
iTrader: (5)
Joined: Apr 2009
Posts: 5,142
From: Burlington
Thanks. The car is being done by pros, but I'm helping as well, as my dads doing most of the work, as this is what he does, prep and paints cars every day.
Junior Member
Joined: Sep 2008
Posts: 335
From: Markham
cant wait to see more pictures and the work thats being done to your car is amazing..as you said pros are doing it..how much would it have cost for the same job with a teg in similar condition as yours? and are you repainting black?
Thread Starter
There's plenty to do outside my room but I choose not to!
iTrader: (5)
Joined: Apr 2009
Posts: 5,142
From: Burlington
It would normally have costed around $3000 most likely, but the car is not at a cheap shop tho, that's why it would cost so much, you pay to get the best.

n00b
Joined: Jan 2010
Posts: 21
From: Riverview
I had the side mouldings shaved on my old 96 teg years ago, the year after you could see where the work kind of sunk in a bit and you could see the holes, had to have the sides of the car redone again. I didn't shave the mouldings the next time.
Nice work by the way
Nice work by the way
There's plenty to do outside my room but I choose not to!
iTrader: (2)
Joined: Aug 2003
Posts: 8,164
From: The Hammer!
personally i wouldn't bother with the mesh in the bumper, not like that at least. i tried the same thing with my bumper and no matter what i tried i couldn't get it to look as good as i wanted. i just ended up scrapping the idea and kept it all open.

Thread Starter
There's plenty to do outside my room but I choose not to!
iTrader: (5)
Joined: Apr 2009
Posts: 5,142
From: Burlington
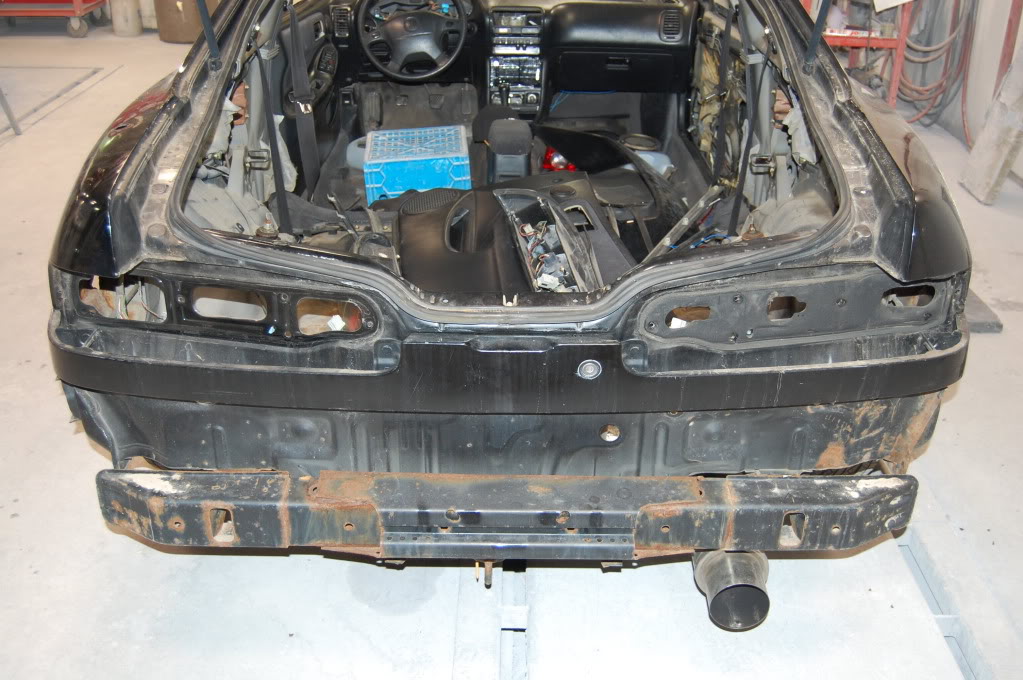
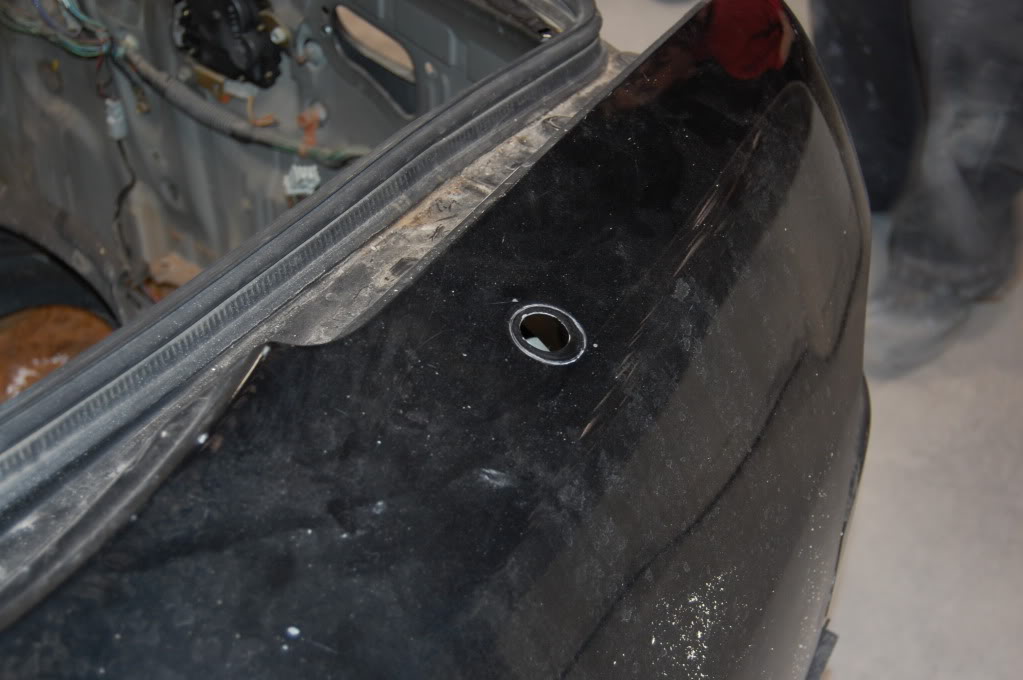
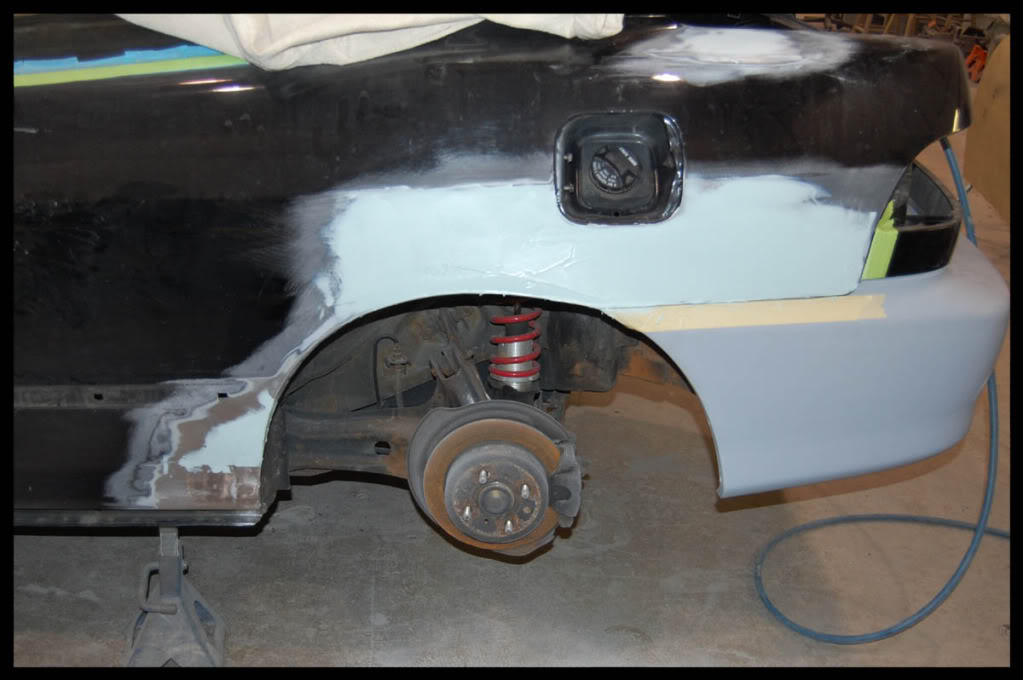
So today the body guy got the 1/4 panel hole fixed with new metal, and got is all straight, plus he filled in the antenna hole, and the other holes in the trunk lip from a wiring for the factory wing like. Here's a picture of just the 1/4 panel still being worked on.
Last edited by Spike; Feb 17, 2010 at 06:29 AM.
Thread Starter
There's plenty to do outside my room but I choose not to!
iTrader: (5)
Joined: Apr 2009
Posts: 5,142
From: Burlington
Well the car is pretty much almost ready to be painted. The body guy if finishing the car tomorrow, and my dad will be finishing getting it ready to be painted by him. My car was worked on all day today, and it should be ready for paint by mid next week. I can't wait to drive it with not rust anywhere on the body, and all the rust cut out and all new metal put in. All get more picture on Saturday when I go in to work on it some.
Thread Starter
There's plenty to do outside my room but I choose not to!
iTrader: (5)
Joined: Apr 2009
Posts: 5,142
From: Burlington
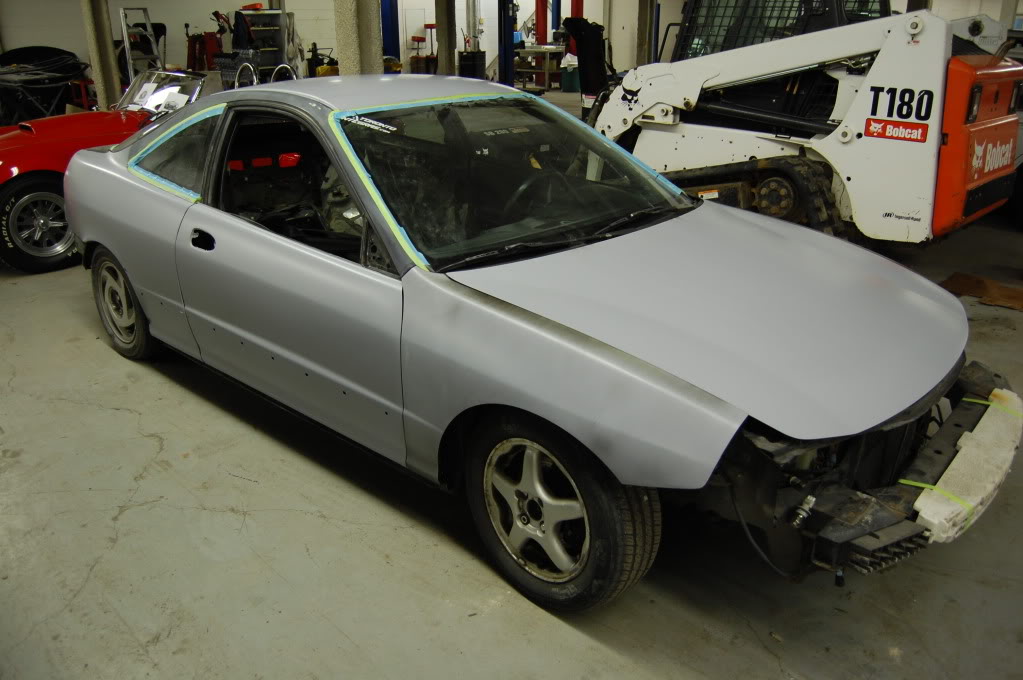
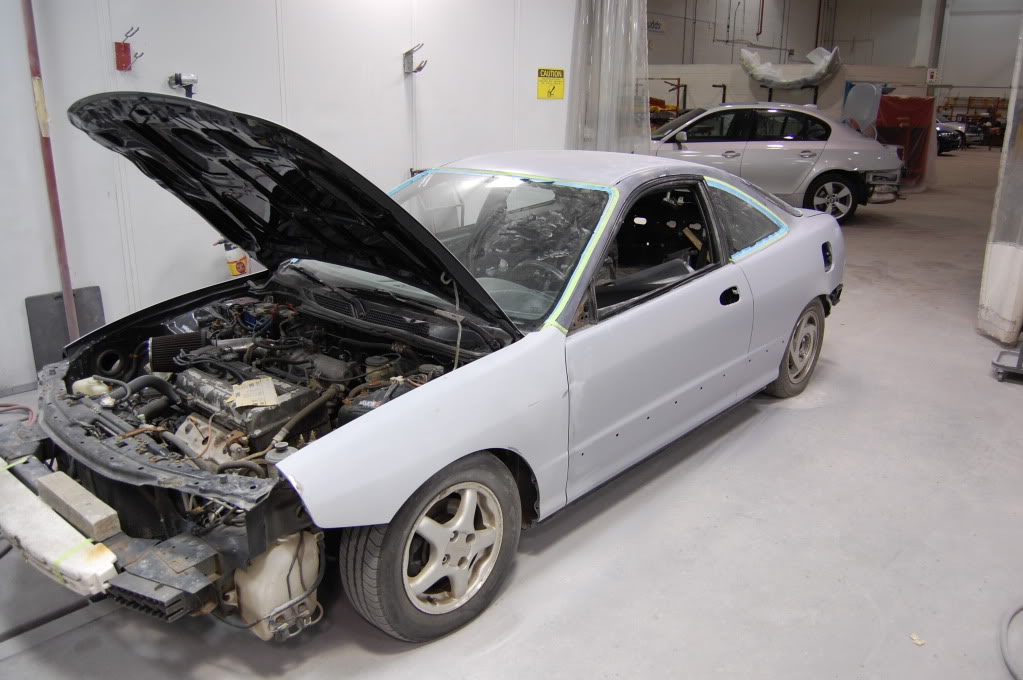
Here's a update on the car. The is all in primer now, and the whole right side of the car has been blocked and straighten today. Plus I did a bunch of small things for the car. Here's the pictures.
Car all primed:
1/4 panel all fixed with new metal:
Shaved trunk and antenna:
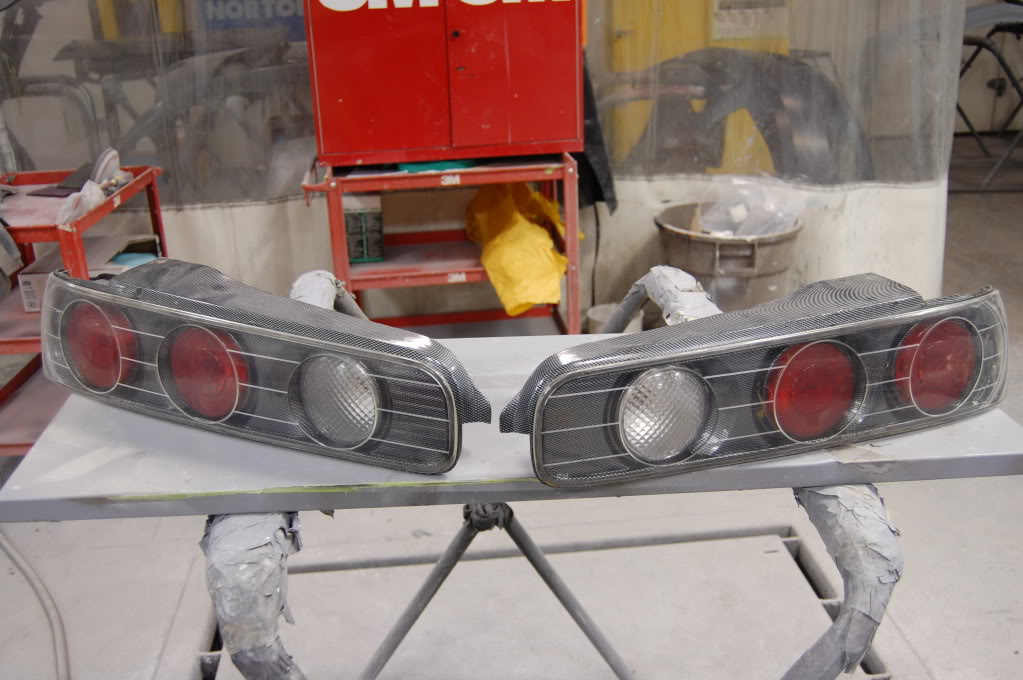
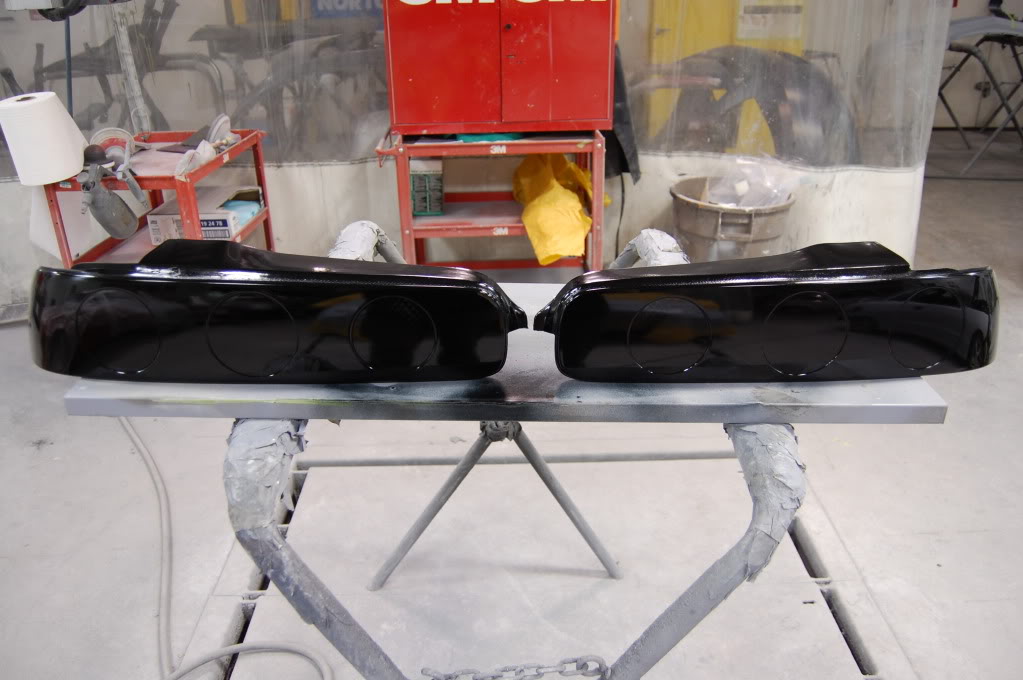
Tail lights before and after tinting:
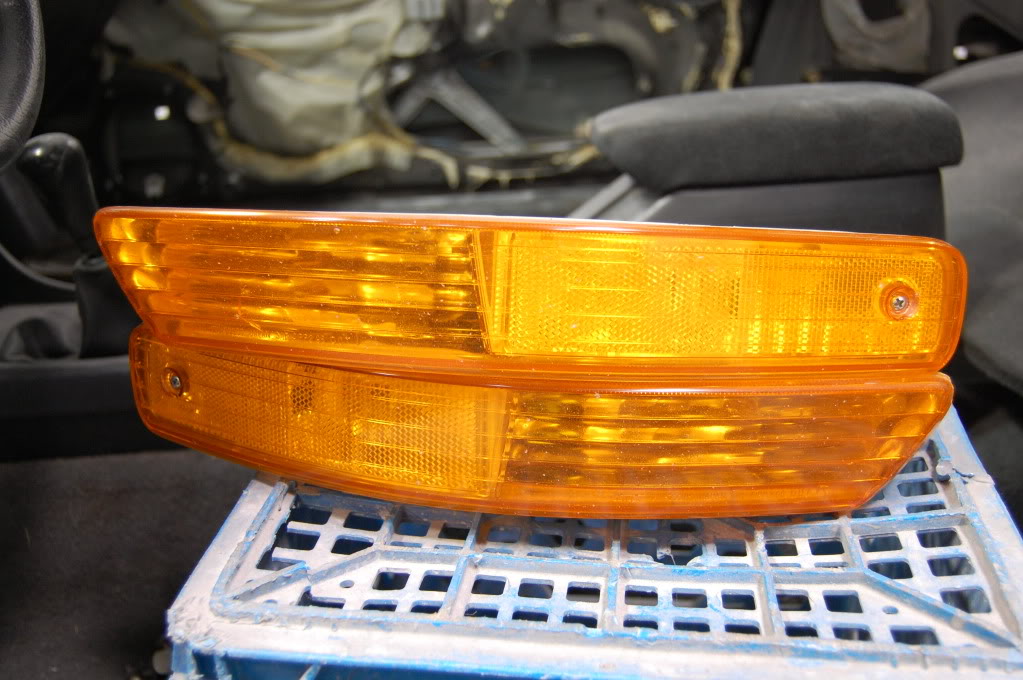
Wet sanded and buffed front turn singles:
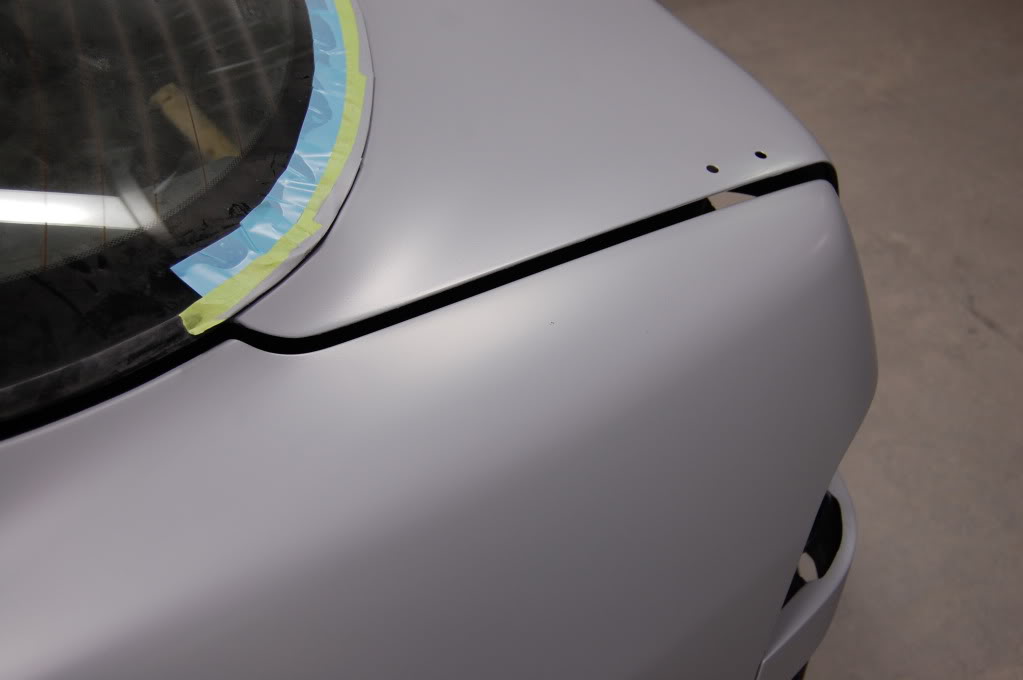
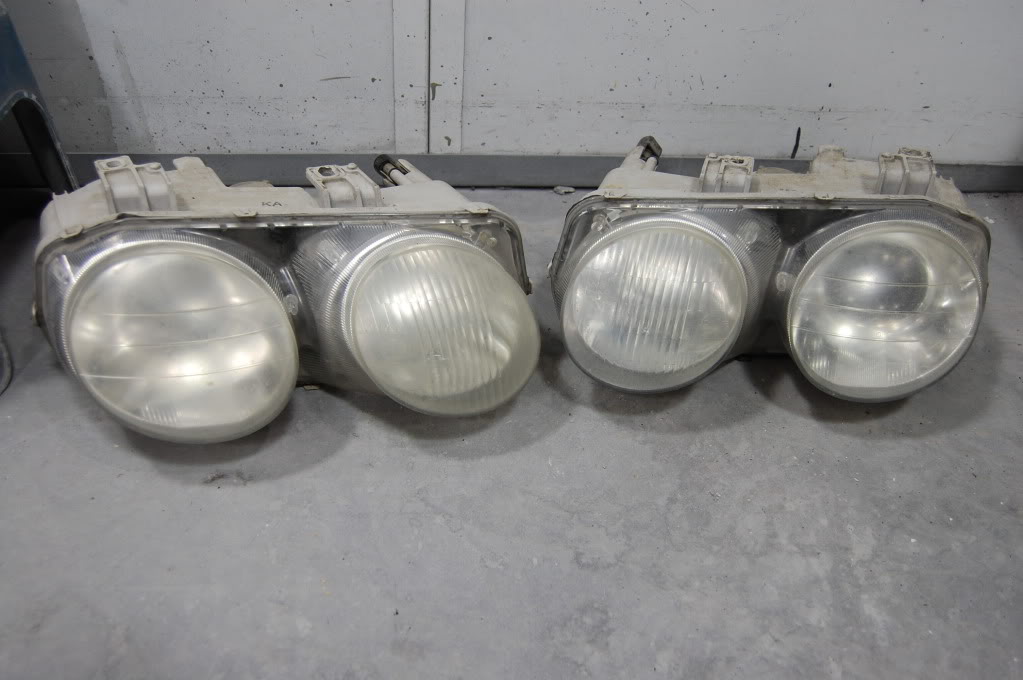
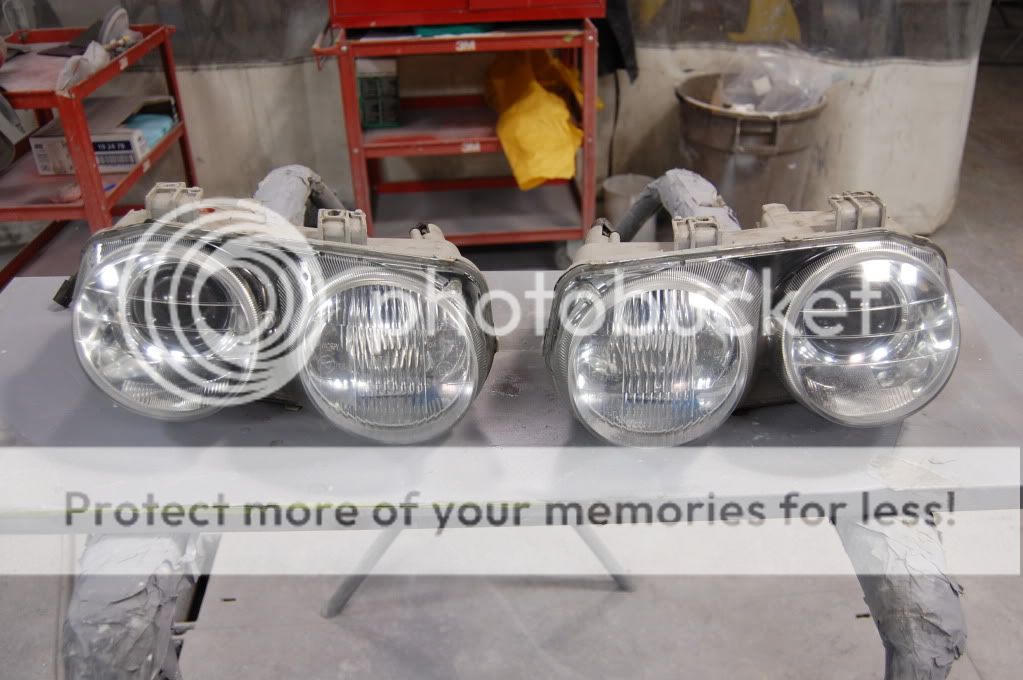
Before and after wet sanding and buffed the headlights:
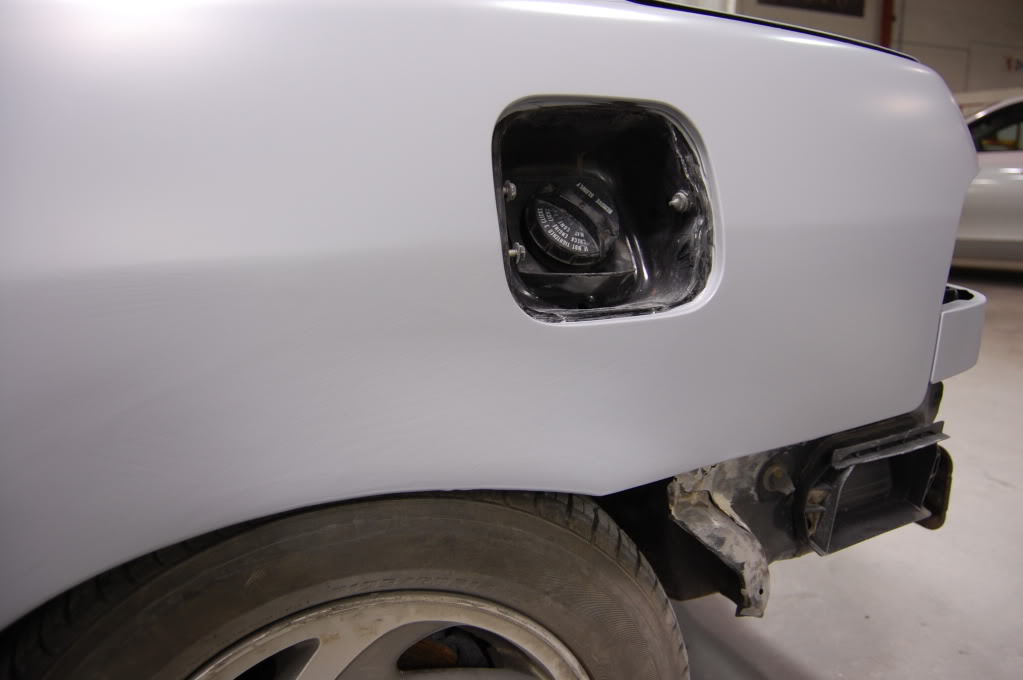
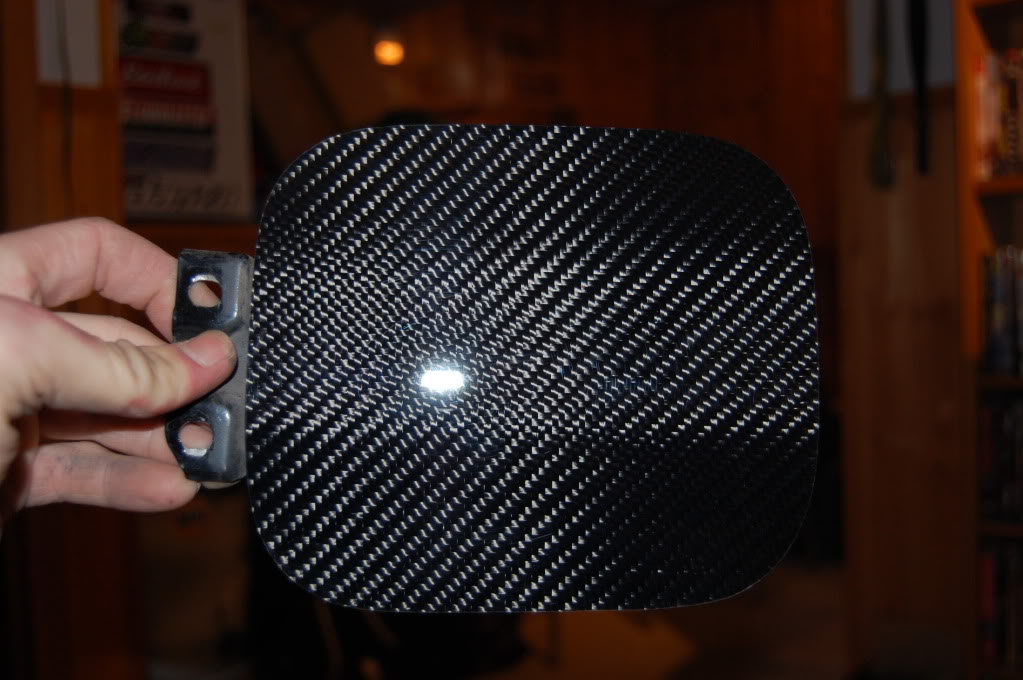
Carbon fiber put onto the fuel door:
Car all primed:
1/4 panel all fixed with new metal:
Shaved trunk and antenna:
Tail lights before and after tinting:
Wet sanded and buffed front turn singles:
Before and after wet sanding and buffed the headlights:
Carbon fiber put onto the fuel door:
Last edited by Spike; Feb 17, 2010 at 06:30 AM.
