
My 99 DC4 Build


Thread Starter
There's plenty to do outside my room but I choose not to!
iTrader: (5)
Joined: Apr 2009
Posts: 5,142
From: Burlington
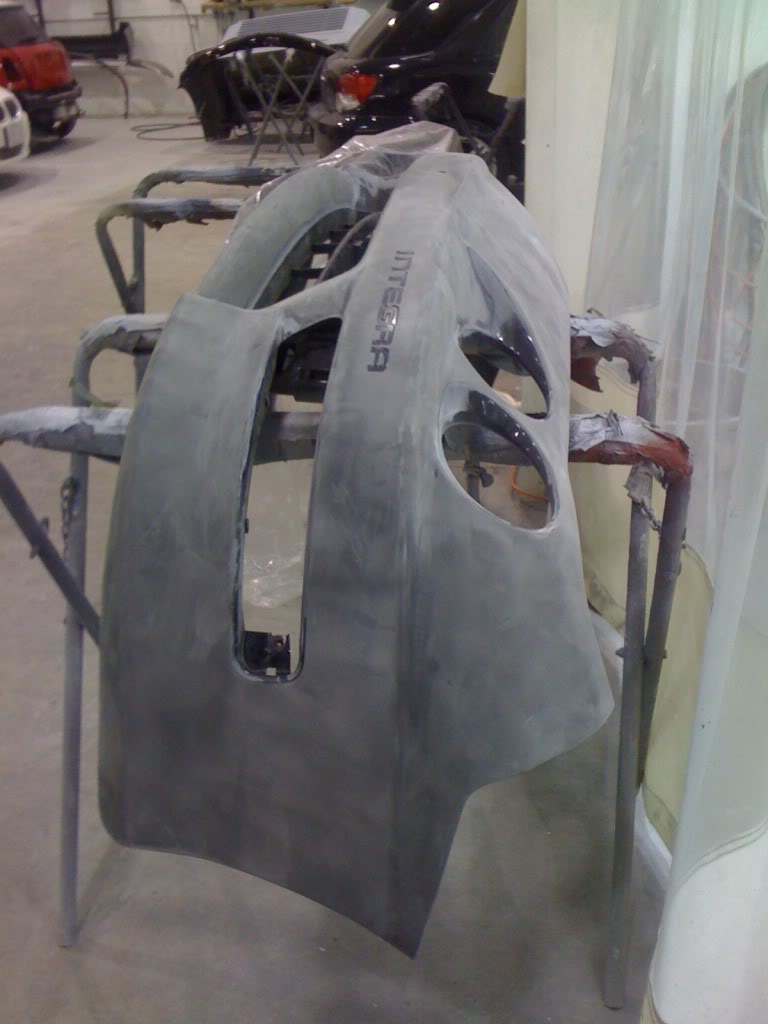
Well now that the work has started on my car, thanks to me starting on it tonight. So far I have spent 2 hours tonight sanding the front bumper right down taking off all the paint, because it was stoned chipped big time, and that the bumper it's self has stoned chips (thanks to it being rubber). So tomorrow I just finish doing all the spots I could not get the 6" air palm sander into, but got about 97% of it done tonight. Plus I sanded down where the licence plate bolts to, as I'll be making is smooth on the front. Here's a few pictures I took with my Iphone of what I got done tonight. I'll have more tomorrow of it all sanded, and what ever other part I start sanding tomorrow. Here are also some pictures of how the car looks right now. I'm doing all the work at Budd's Collision in oakville.
Interior:
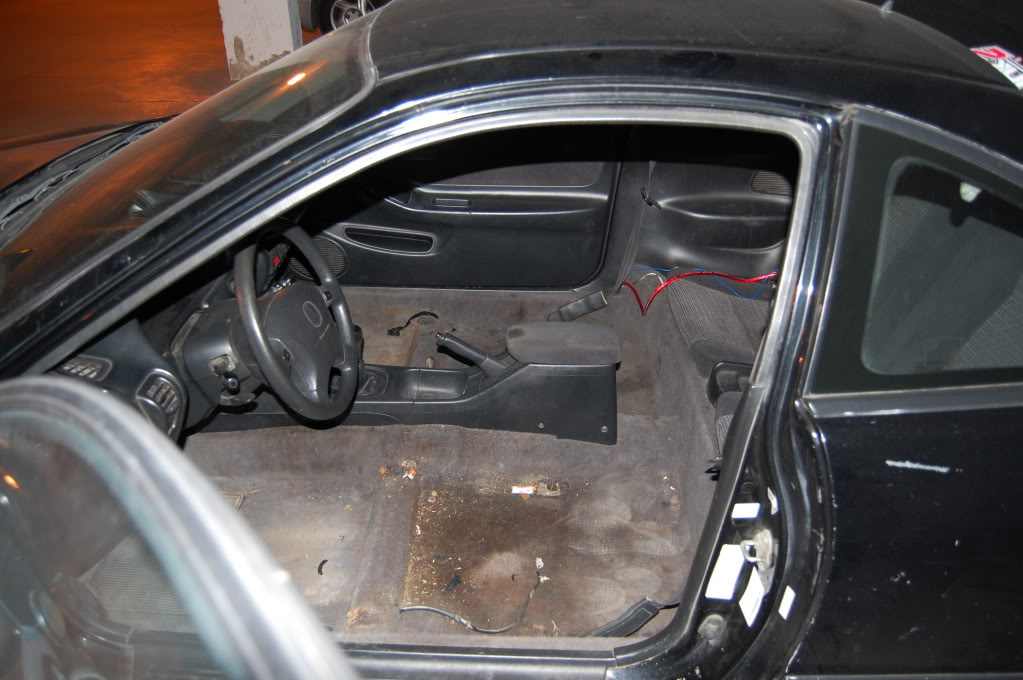
Front Bumper:
Interior:
Front Bumper:
Last edited by Spike; Feb 17, 2010 at 06:24 AM.


Thread Starter
There's plenty to do outside my room but I choose not to!
iTrader: (5)
Joined: Apr 2009
Posts: 5,142
From: Burlington
That's a old picture of the interior, all the interior parts from the doors back ar out of the car, as there is rust to be fixed, and i'm cutting out the trunk floor and welding in new metal. Yes the car will still be getting caged, but that will be last to go in.
What colour?
Spike, looking good man. Fresh coat of black, or other colour going on it? Also, you planning on having a track day car type setup?
Interesting build, looking forward to seeing the results.
Spike, looking good man. Fresh coat of black, or other colour going on it? Also, you planning on having a track day car type setup?
Interesting build, looking forward to seeing the results.


Thread Starter
There's plenty to do outside my room but I choose not to!
iTrader: (5)
Joined: Apr 2009
Posts: 5,142
From: Burlington
The carpet will be going black. Plus today I finished the front bumper, and the rear bumper is pretty much done aswell, just have a few more spots to finish sanding, plus got the passenger fender almost done, as there was a little bit of rust on it and a dent, and all that is fixed now, and the last layer sanded down and then it will be ready for priming like the bumper.
Thread Starter
There's plenty to do outside my room but I choose not to!
iTrader: (5)
Joined: Apr 2009
Posts: 5,142
From: Burlington
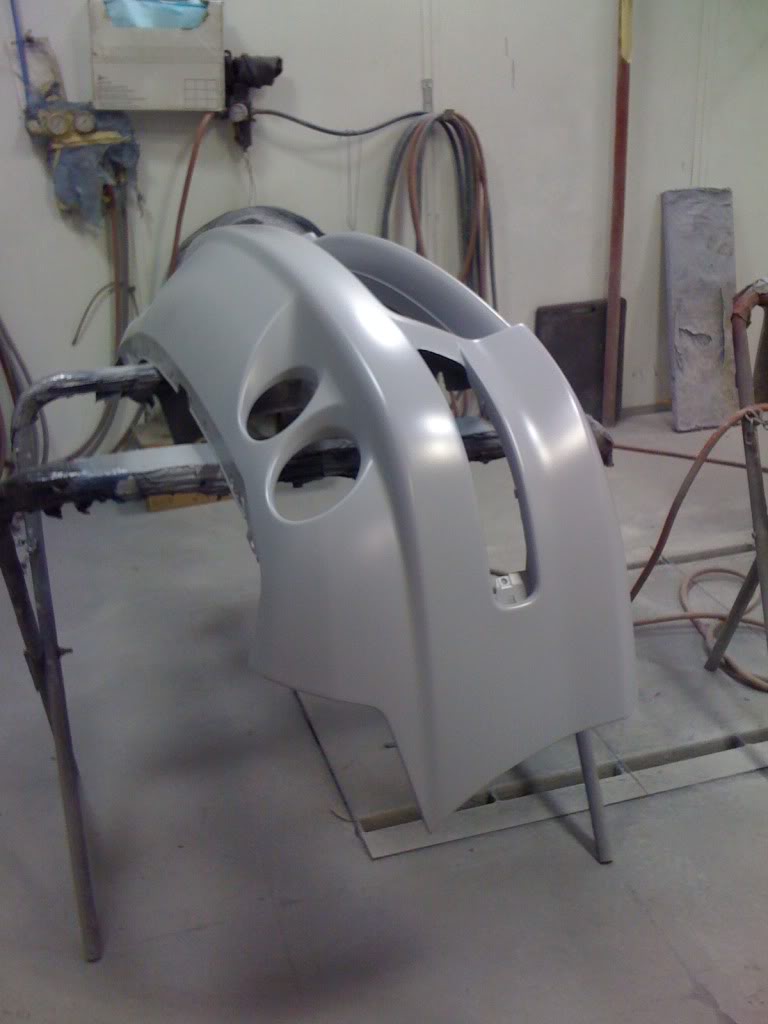
Here's the pictures from tonight.
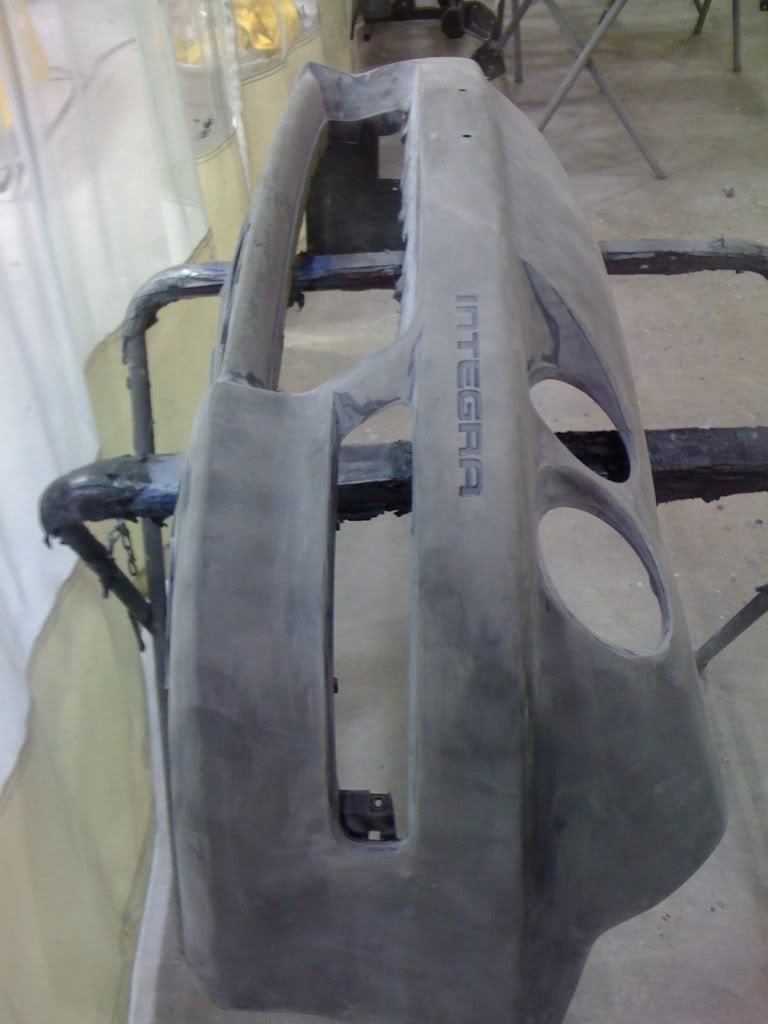
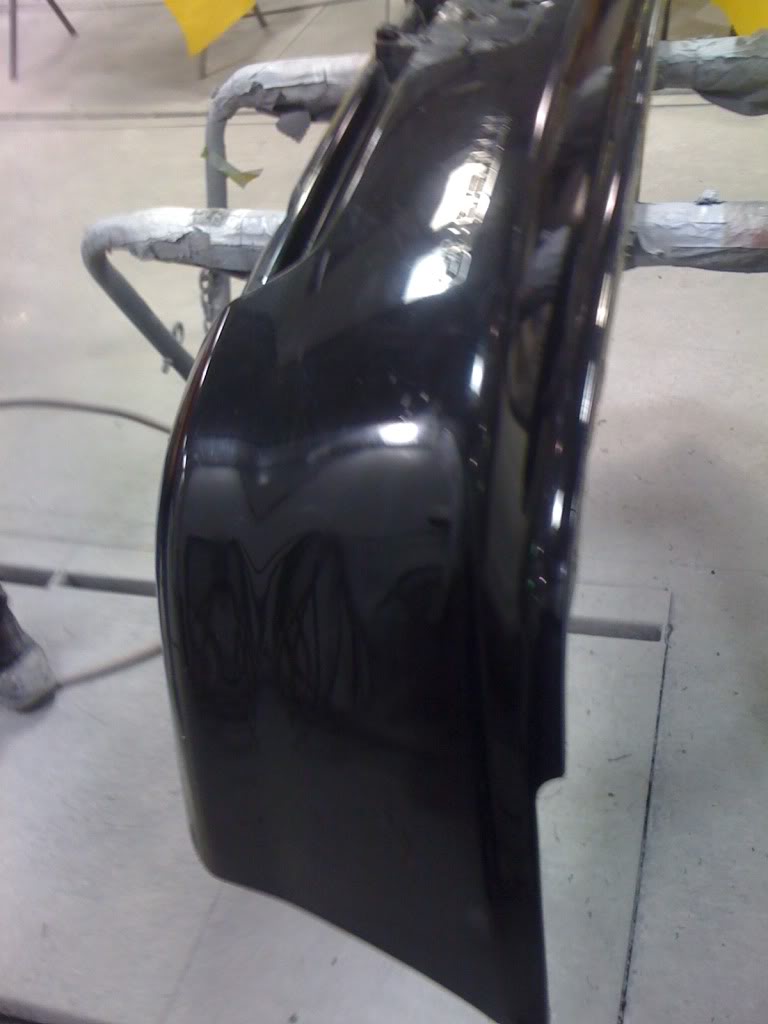
Front bumper ready for priming:
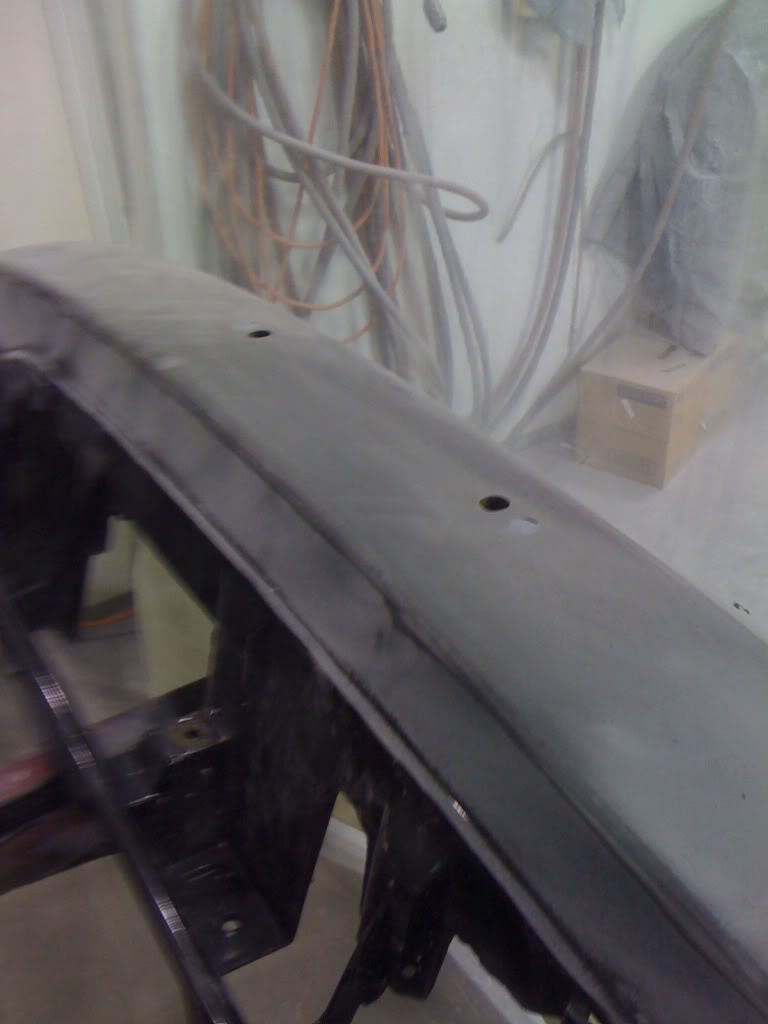
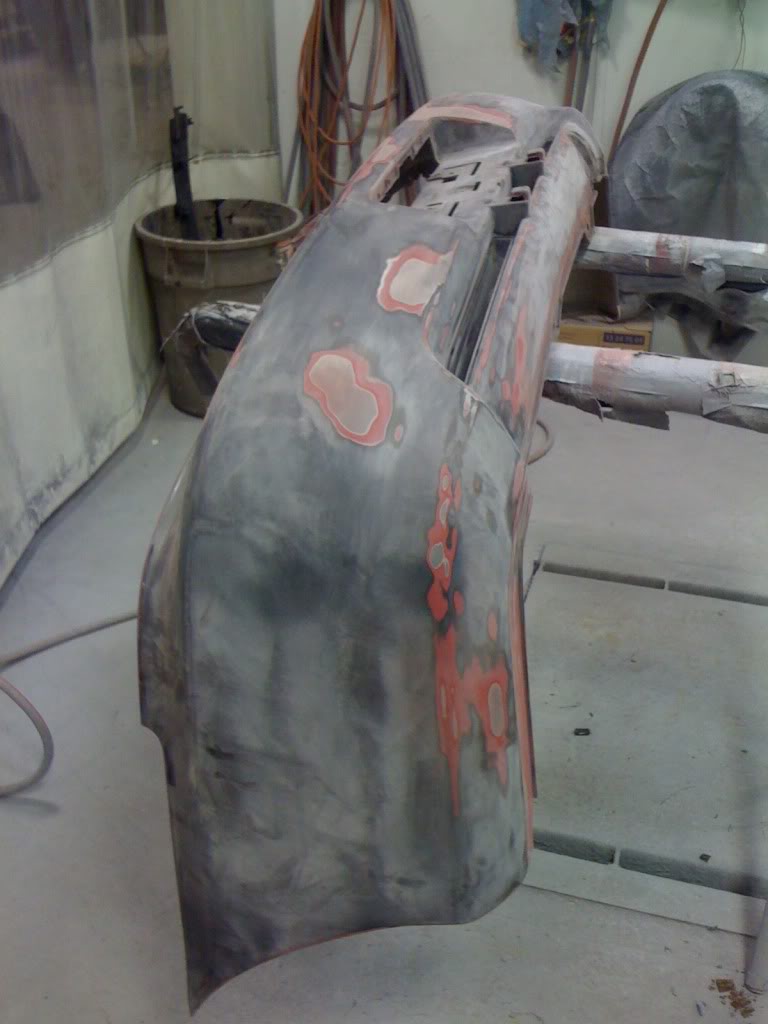
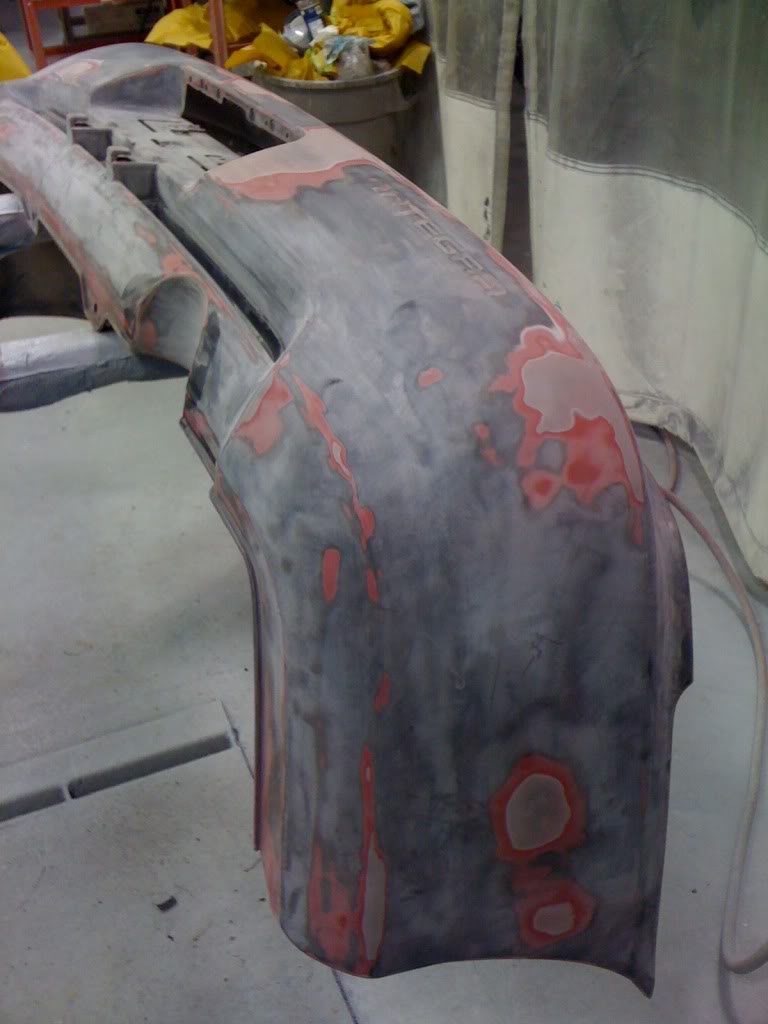
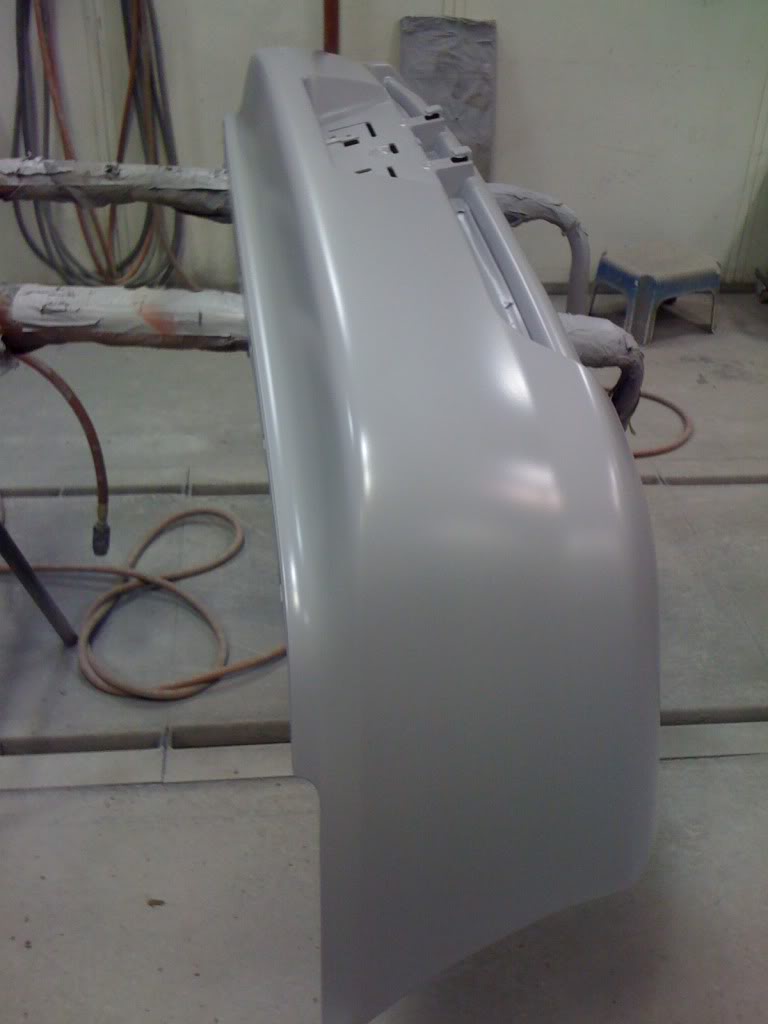
Rear bumper before sanding:
Rear bumper after sanding, and the bumper was red before:

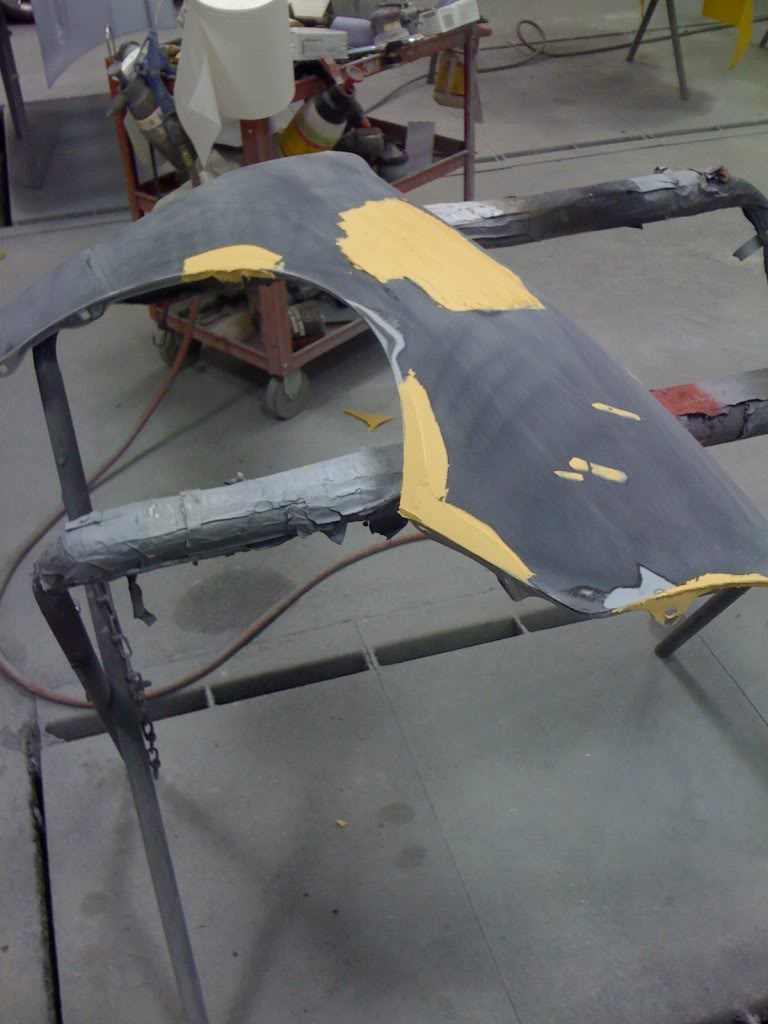
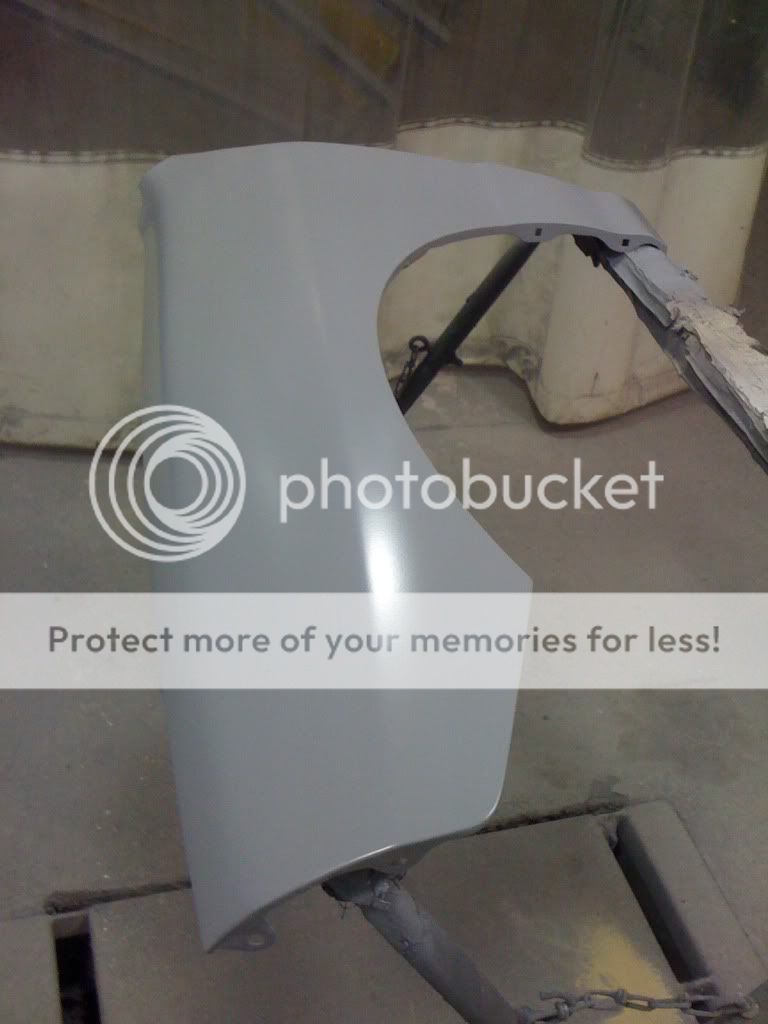
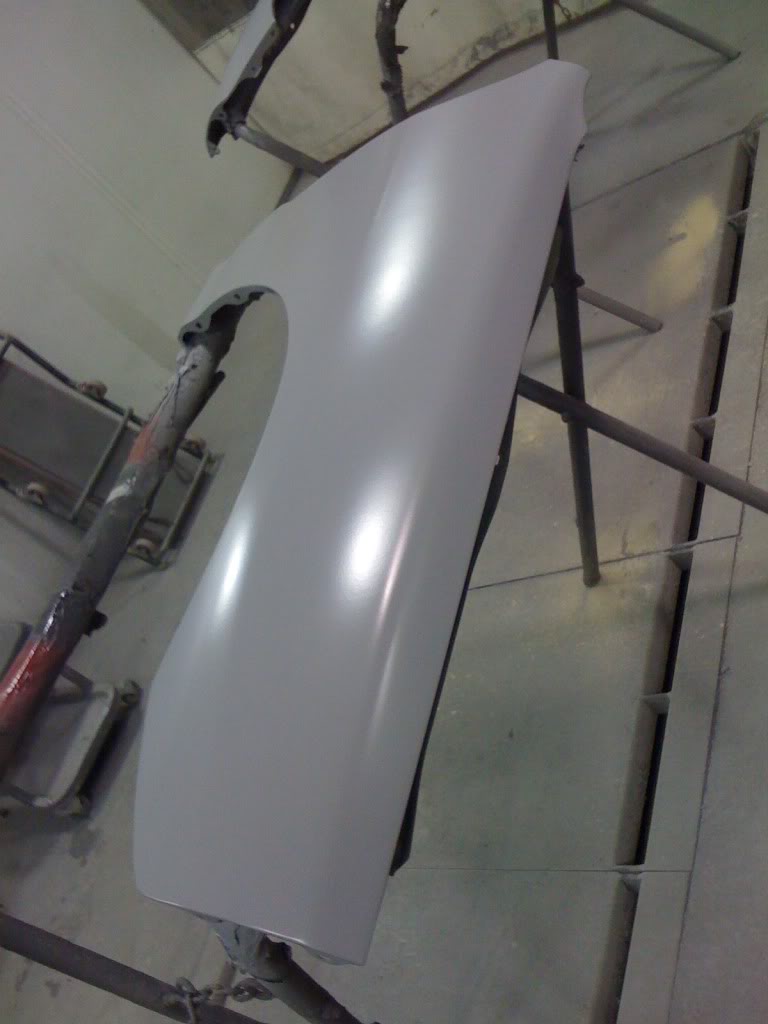
Passenger fender getting fixed, stupid dent and rust:
Front bumper ready for priming:
Rear bumper before sanding:
Rear bumper after sanding, and the bumper was red before:
Passenger fender getting fixed, stupid dent and rust:
Last edited by Spike; Feb 17, 2010 at 06:26 AM.
Thread Starter
There's plenty to do outside my room but I choose not to!
iTrader: (5)
Joined: Apr 2009
Posts: 5,142
From: Burlington
Thanks
On the bumpers I'm just using 240 grit, and a red scratch pad, and then they are being primed. All the body will get 600 before priming, and then go from 400 to 1400 grit before the paint goes on.
I bought a whole front end as my front bumper has a chunk out of it, and my hood was rusted at the front, so I still need to get my old front end off the car still,lol. I'm not buying a black carpet, I'm painting it with carpet paint.

Good call on not buying a black carpet those things are way too over priced. I wish I could do body work like sanding lol. I'm always afraid I'm not going to sand it down smoothly or without having indents.
Thread Starter
There's plenty to do outside my room but I choose not to!
iTrader: (5)
Joined: Apr 2009
Posts: 5,142
From: Burlington
Thanks every one. I'll be back there today for a few more hours getting some more parts done.
Yeah the carpets are over priced.
Yeah the carpets are over priced.


There's plenty to do outside my room but I choose not to!
iTrader: (9)
Joined: Jul 2005
Posts: 5,141
From: 43�04′48″N-79�04′16″
Go to micheals or fabric land. i got mine at micheals.
Mix it half and half in a spray bottle. shake it up and spray away. you can do it in the winter time. it has to dry outside or in your garage for 2 days.
It looks like this https://www.bargainbox.com.au/images...0-%20Black.jpg
But i needed 3 of these for my DC carpet(i obvisely didnt use green, just picture reference)
https://www.ecoupons.com/show_image....000%2Fg578.jpg
There's plenty to do outside my room but I choose not to!
iTrader: (9)
Joined: Jul 2005
Posts: 5,141
From: 43�04′48″N-79�04′16″
no problem.
If you need a diy on how to take the carpet off, let me know.
Youll have to cut your carpet behind your center console. because you do not want to take off your dash board, do you.
If you need a diy on how to take the carpet off, let me know.
Youll have to cut your carpet behind your center console. because you do not want to take off your dash board, do you.
Thread Starter
There's plenty to do outside my room but I choose not to!
iTrader: (5)
Joined: Apr 2009
Posts: 5,142
From: Burlington
Well here are some more pictures from Wednesday when I went in. Got both bumpers and fenders in primer before I left, and got the hood all sanded down, and after I left, my dad got both the inside of the fenders, and the under side of the hood painted in gloss black, and got the hood primed aswell. Here's the pictures of the parts.
Front bumper:
Rear bumper:
Left fender:
Right fender:
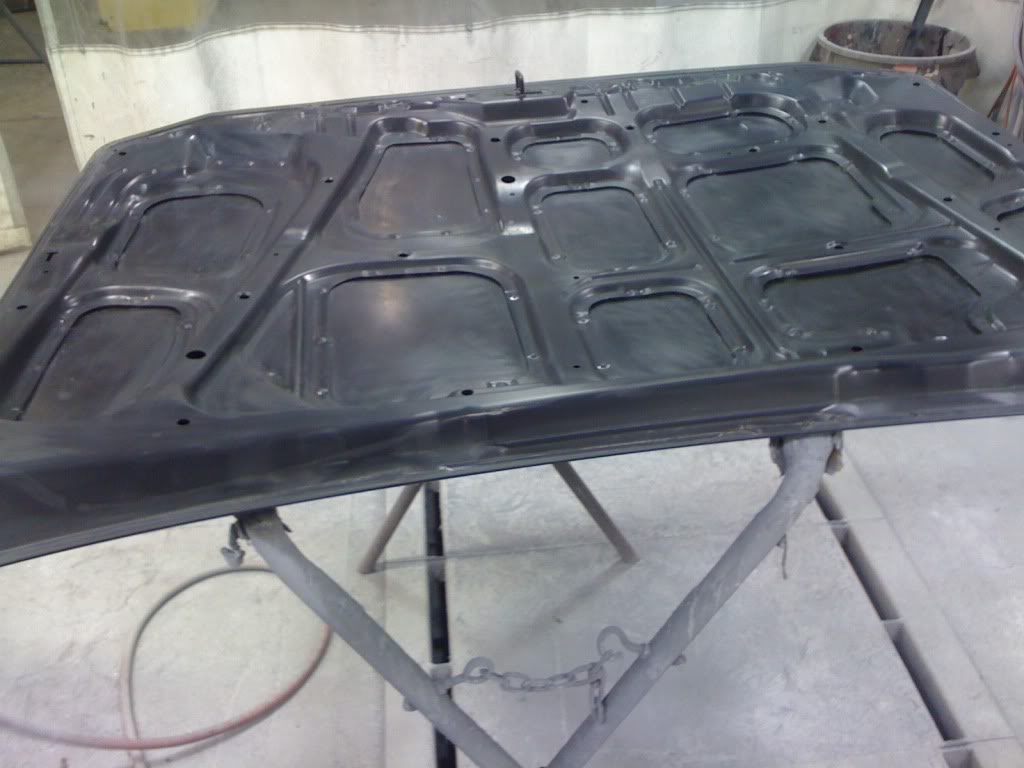
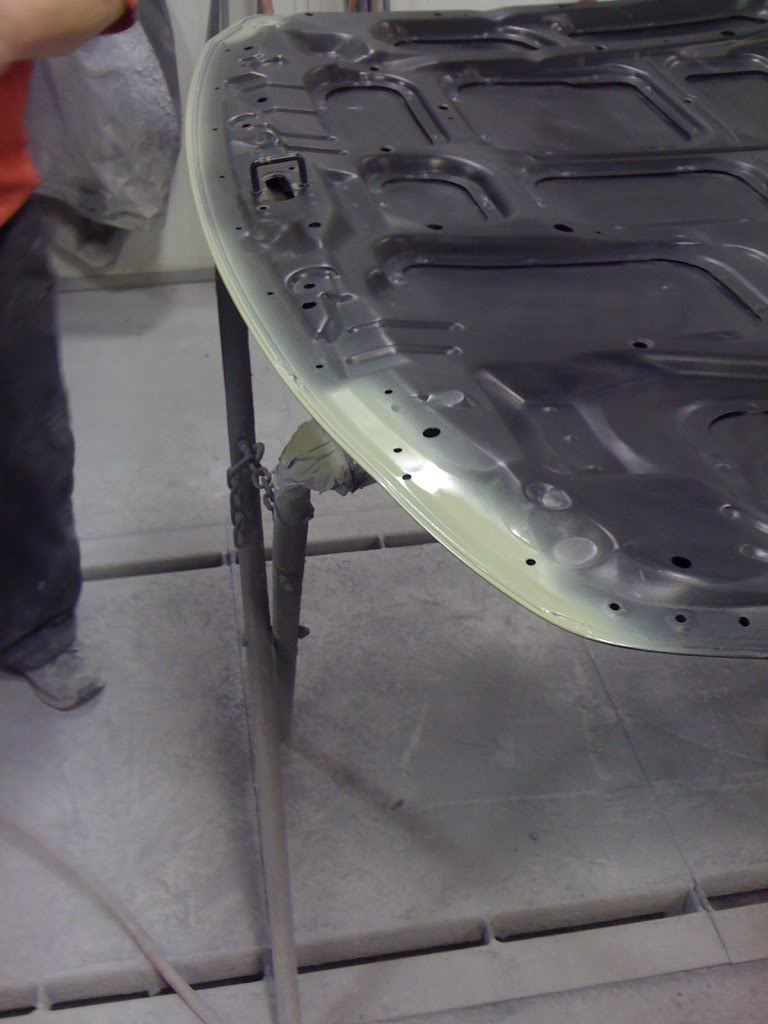
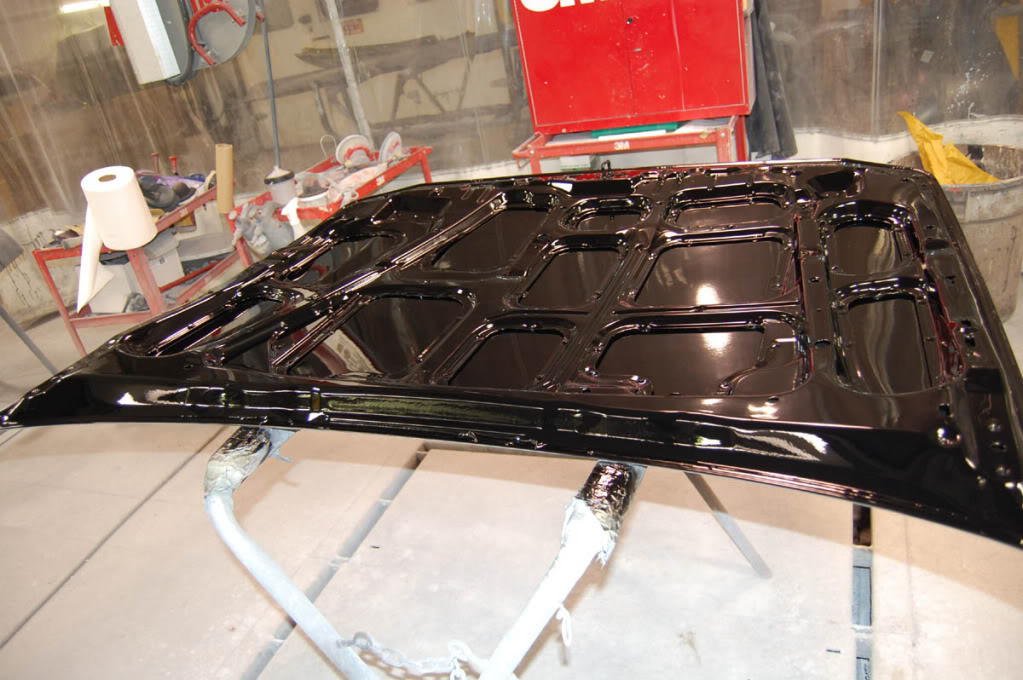
Under side of hood:
Top side of hood:
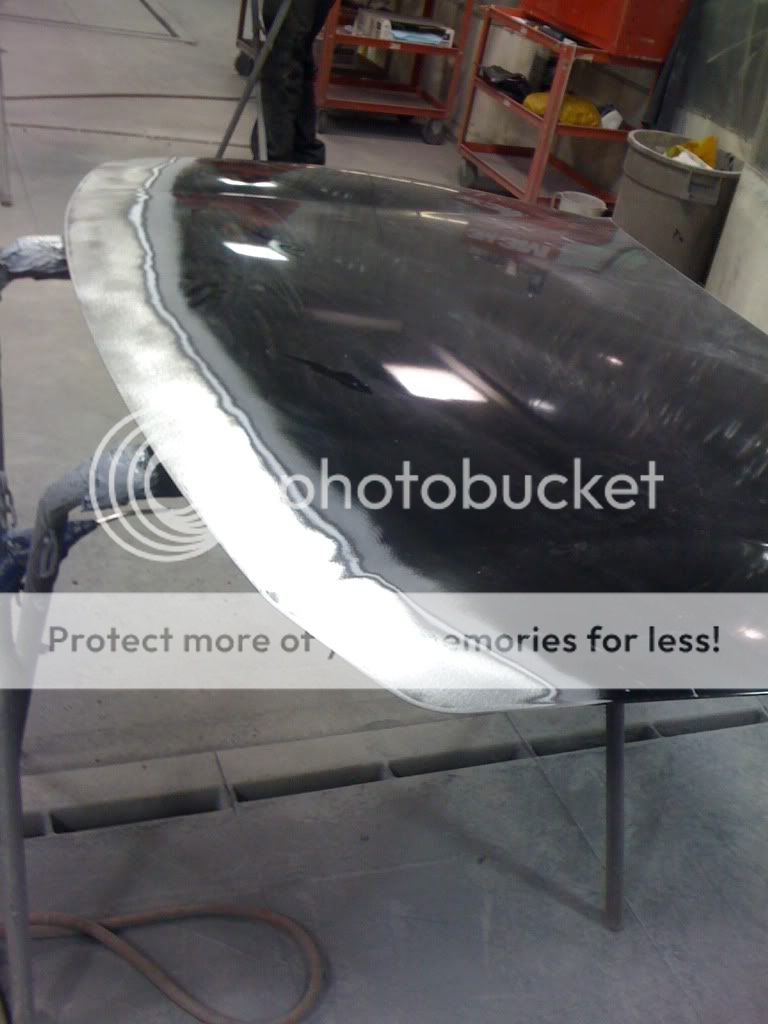
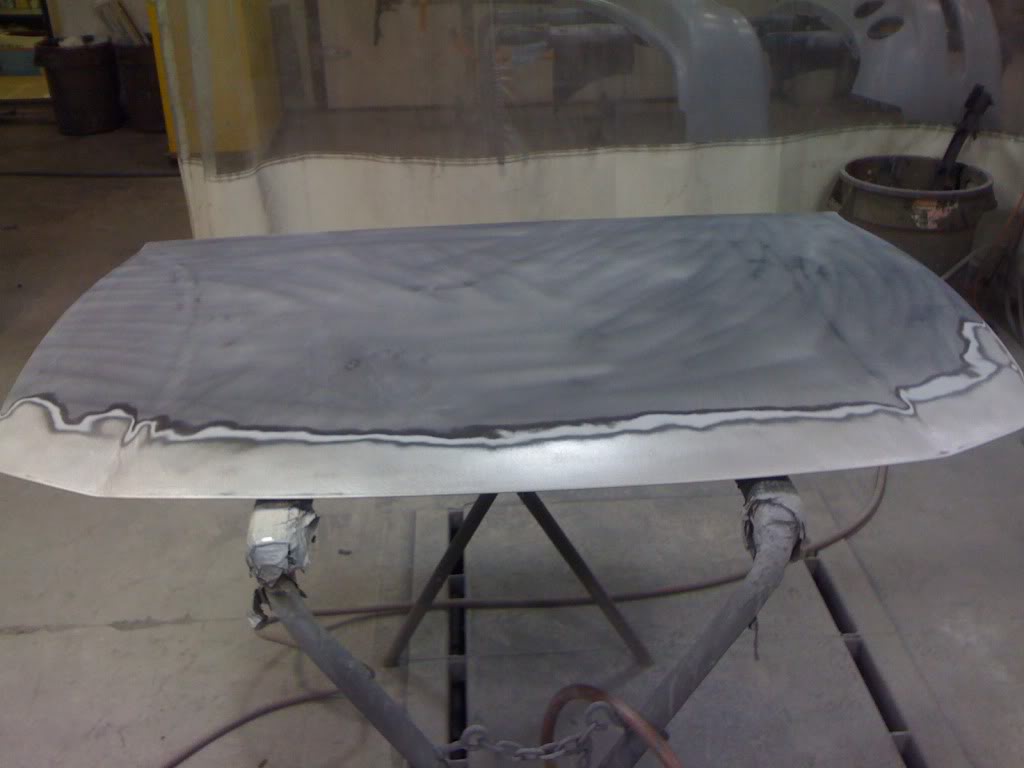
Top side of hood with stone chips getting fixed:
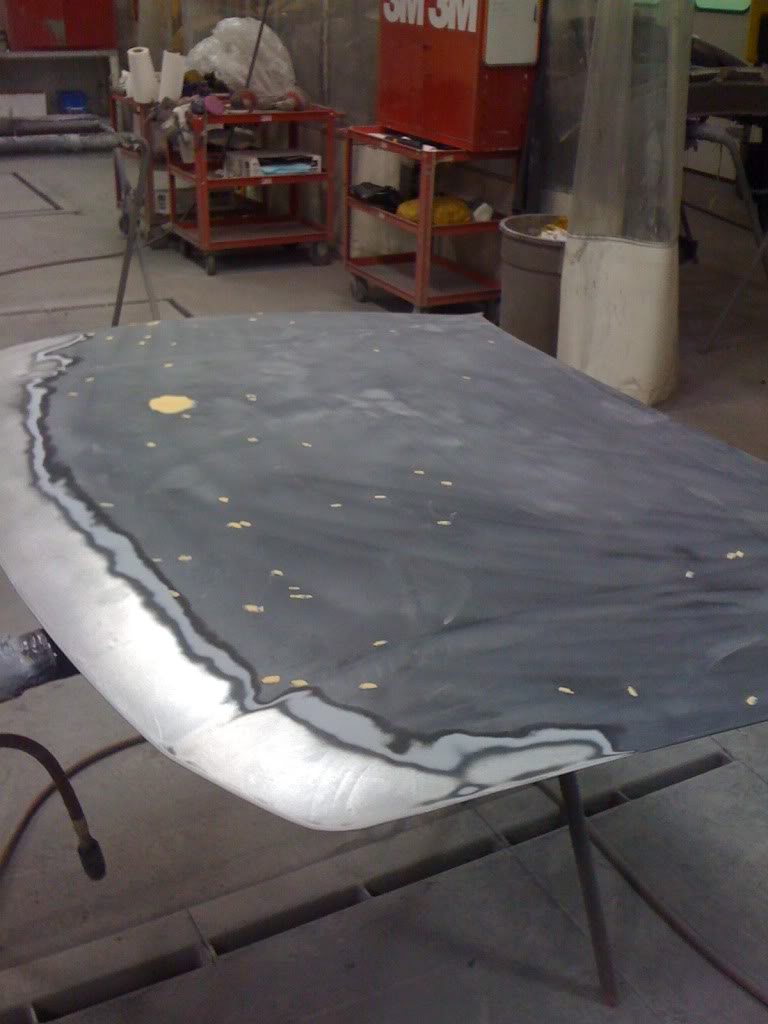
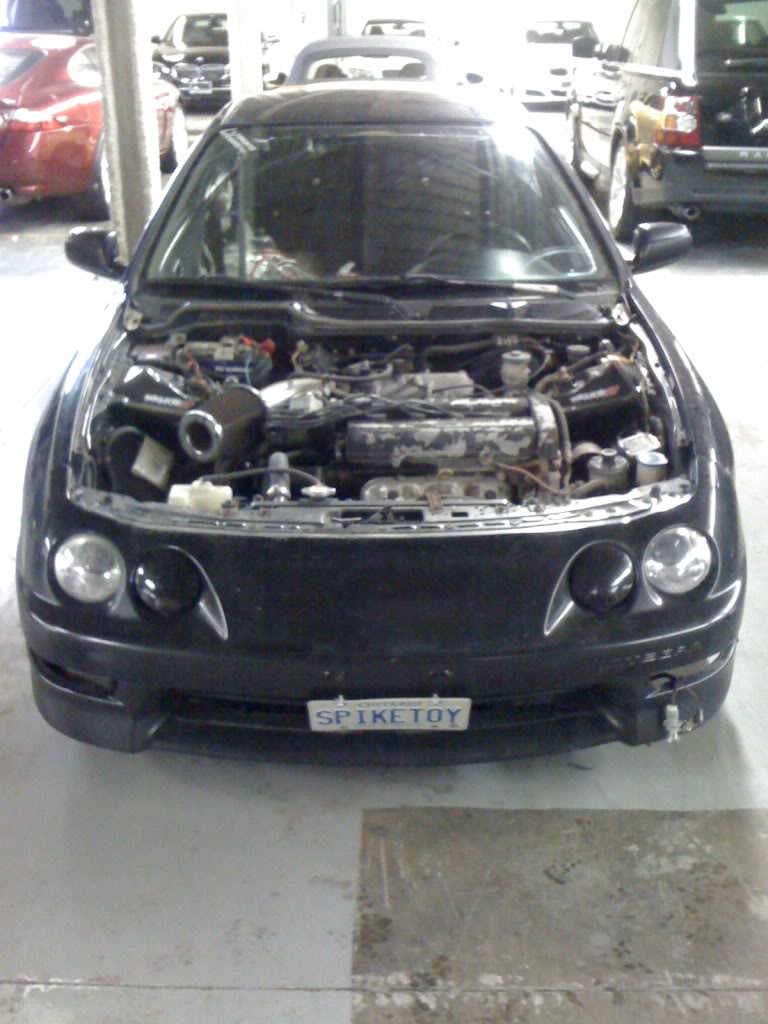
How the car is sitting right now:
All these pictures are taken with my Iphone, not my DSLR I have.
Front bumper:
Rear bumper:
Left fender:
Right fender:
Under side of hood:
Top side of hood:
Top side of hood with stone chips getting fixed:
How the car is sitting right now:
All these pictures are taken with my Iphone, not my DSLR I have.
Last edited by Spike; Feb 17, 2010 at 06:26 AM.
Thread Starter
There's plenty to do outside my room but I choose not to!
iTrader: (5)
Joined: Apr 2009
Posts: 5,142
From: Burlington
Thanks guys. I can wait for it to be done. Well the body will be mint with no rust anywhere on it, and the interior will be different as well.


Thread Starter
There's plenty to do outside my room but I choose not to!
iTrader: (5)
Joined: Apr 2009
Posts: 5,142
From: Burlington
Well today I got the hood and fender swapped over to the new ones. Plus I got the side skirts off, changed over my trunk shock to one that hold it up now, removed the power antenna, Remove my type-r wing, got my trunk opener unseazed, also got the head lights off. I'll post pictures later on tonight or tomorrow morning.
Thread Starter
There's plenty to do outside my room but I choose not to!
iTrader: (5)
Joined: Apr 2009
Posts: 5,142
From: Burlington
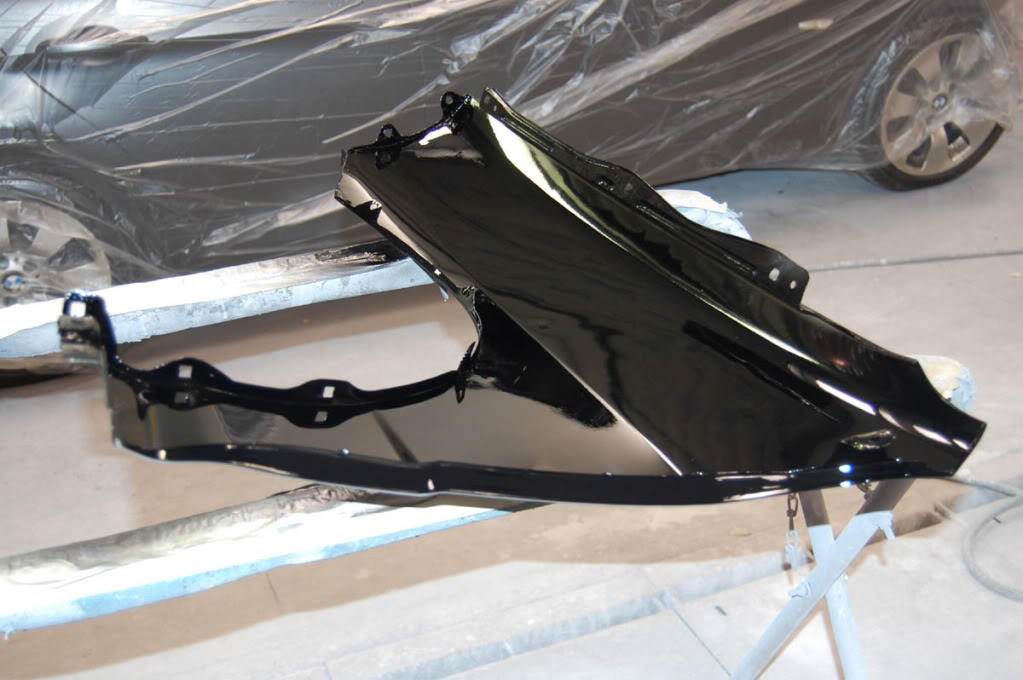
Here are the pictures. You can see the reflection of the engine on the under side of the hood when the hood is up. These pictures where taken with my DSLR.
Under side of hood:
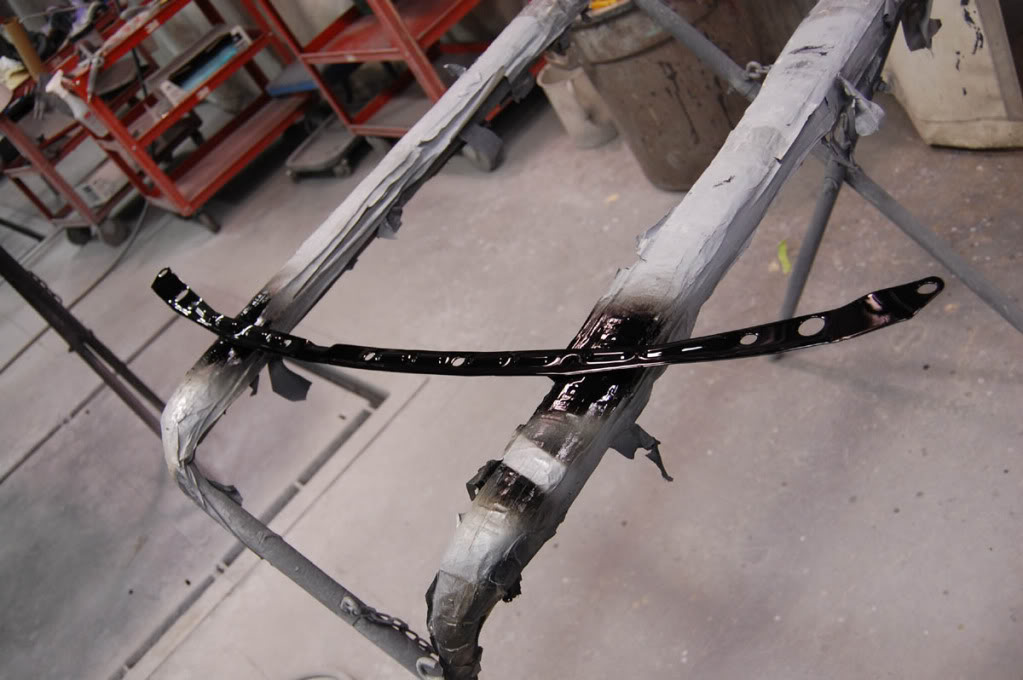
Front bumper plate that hold the top of the bumper:
Inside R/F fender:
Inside L/F fender:

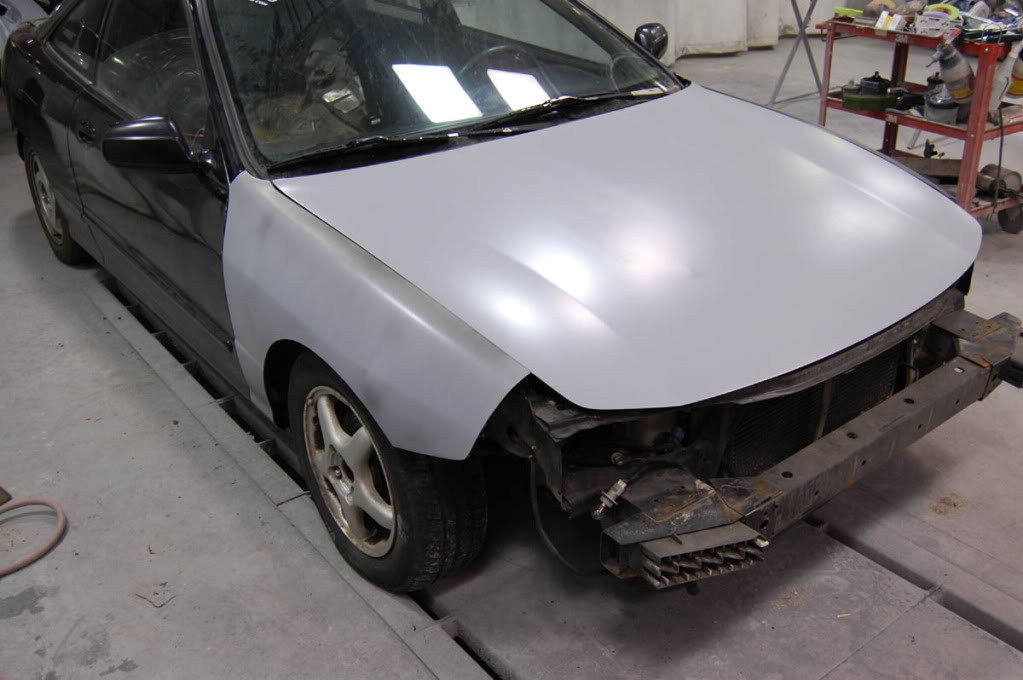
L/F fender and hood lined up on the car:
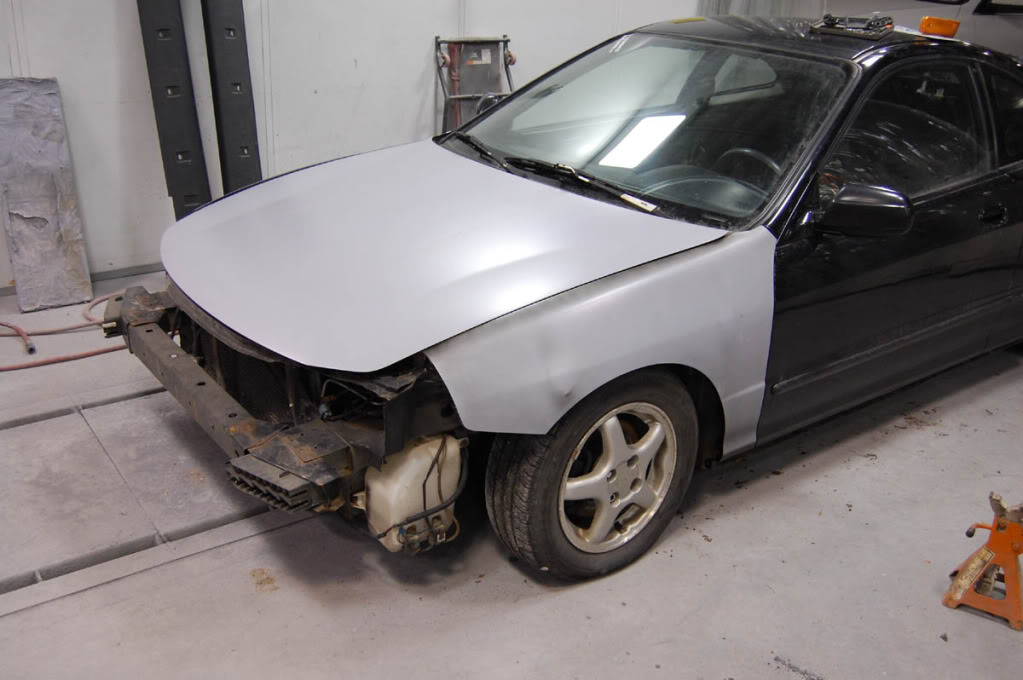
R/F fender and hood lined up on the car:
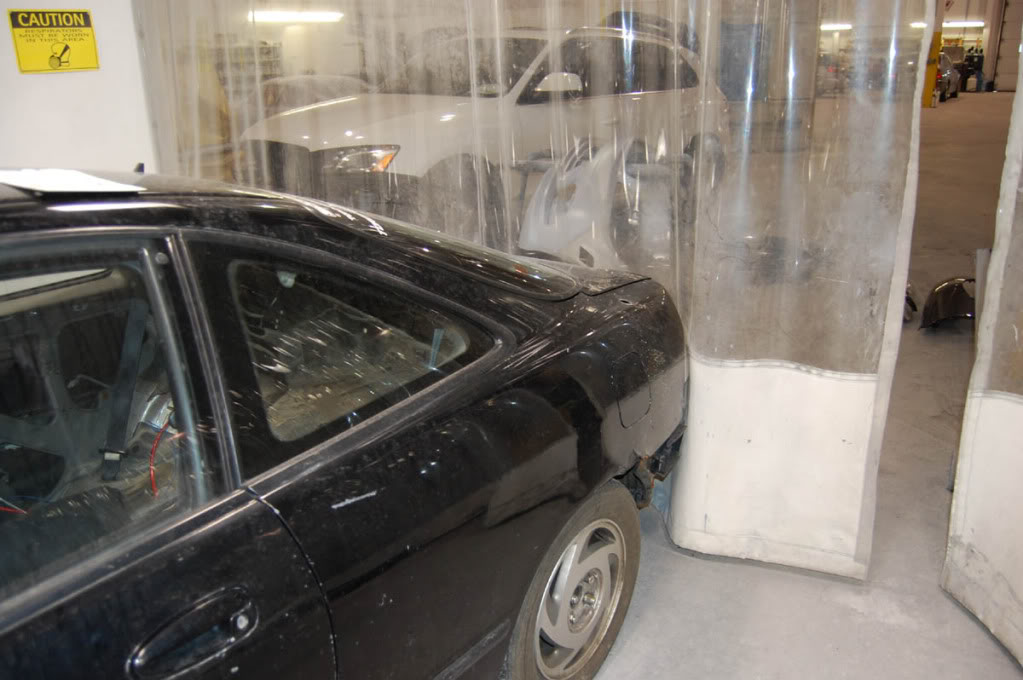
Type-R wing off now:
Under side of hood:
Front bumper plate that hold the top of the bumper:
Inside R/F fender:
Inside L/F fender:
L/F fender and hood lined up on the car:
R/F fender and hood lined up on the car:
Type-R wing off now:
Last edited by Spike; Feb 17, 2010 at 06:27 AM.