
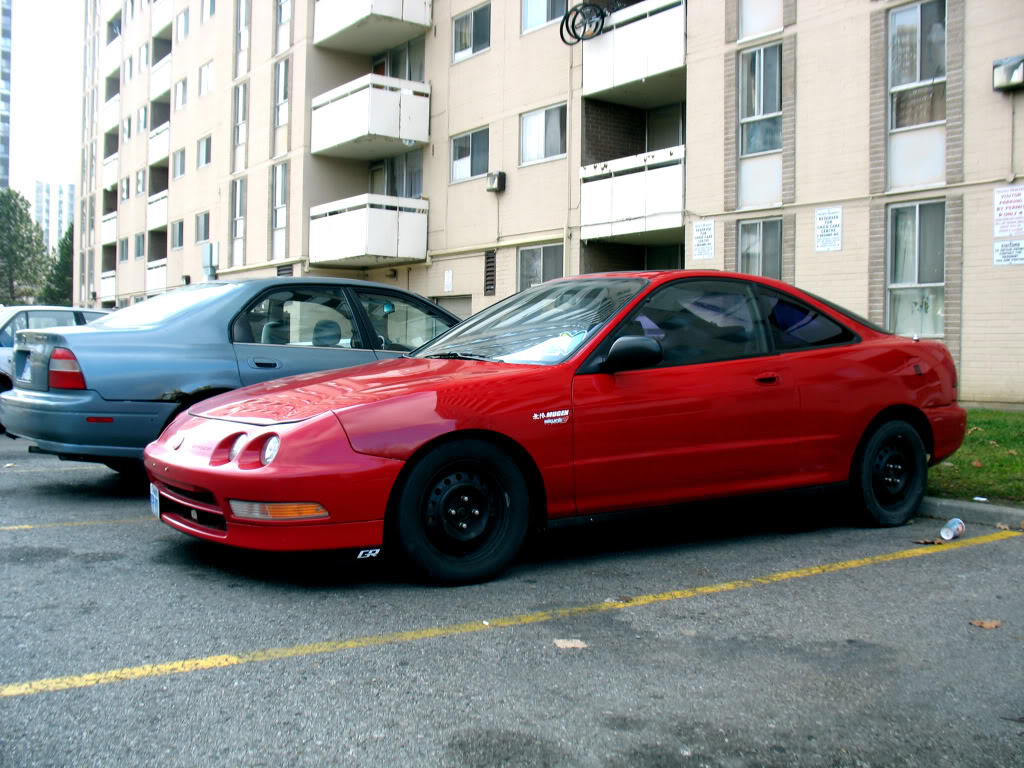
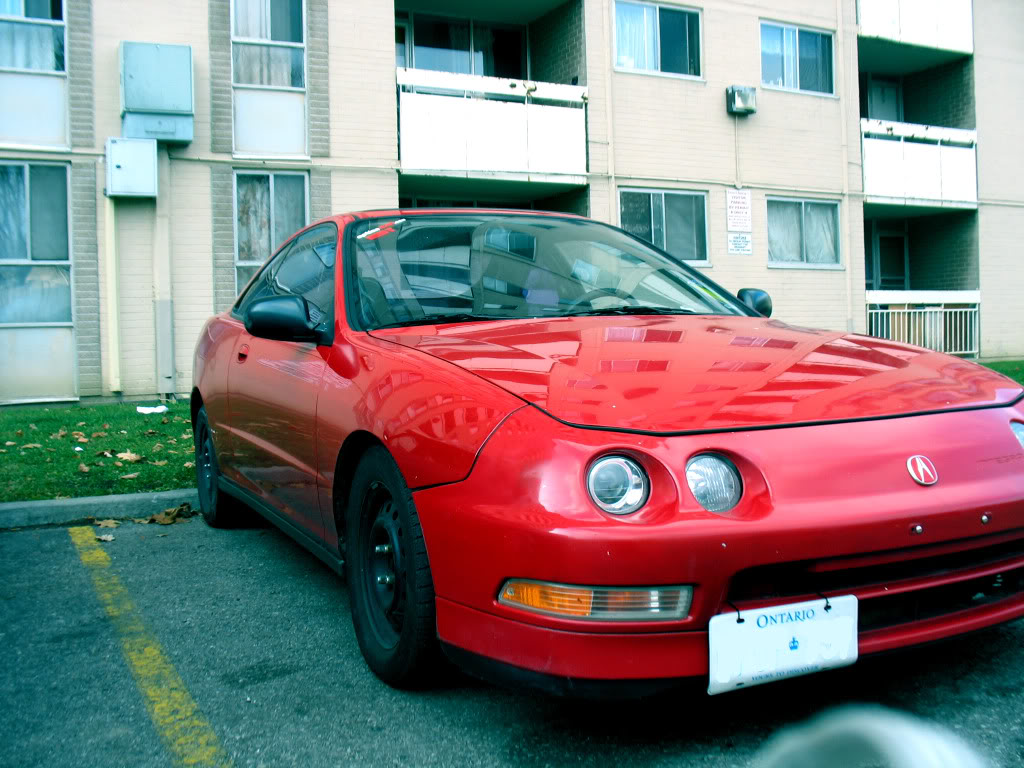
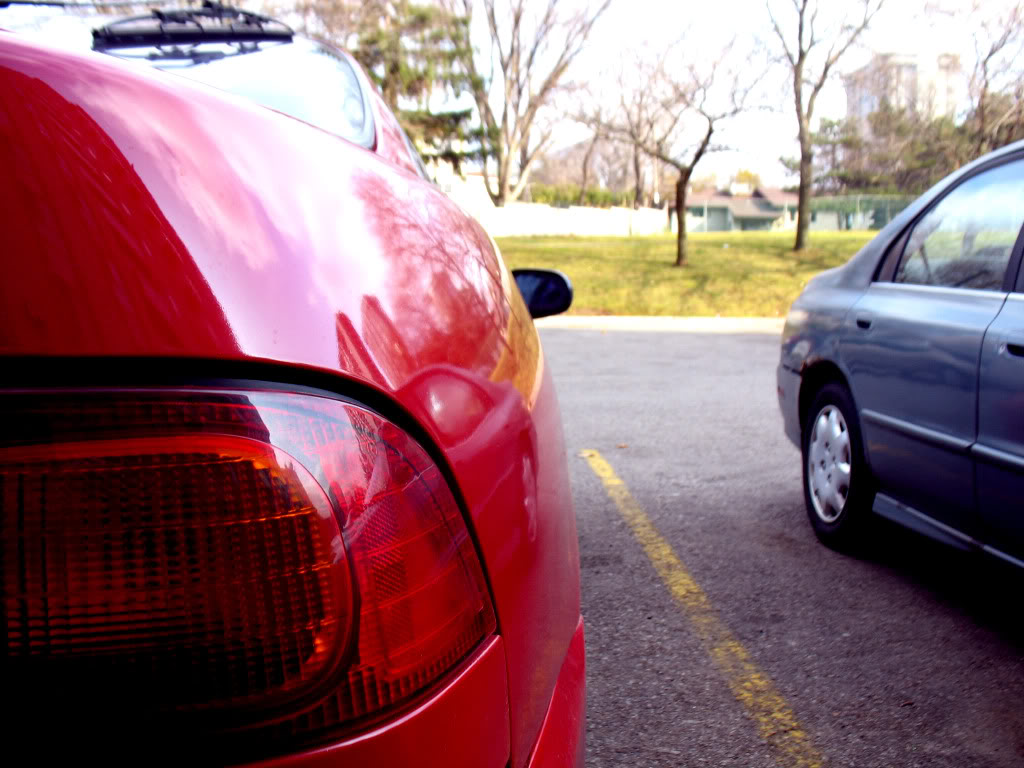
lol GG quarter panels ...

Thread Starter
Junior Member
Joined: Jul 2009
Posts: 123
From: Toronto
ok so decided to patch up rusty/bubly QP's .. turns out the kid fiberglassed it b4 so i had to strip it/cut it to sheet metal which is like 6-10 inches out from the wheelwell... not fun at all. Part of the frame & wheelwell broke off on the driver's side making things extremely difficult.. The passenger side is not as bad since the FB can have something to hold to. Will bring the car to my shop next week and prolly do a DIY on this if anyone is interested. ATM i used bondo its all i had around the house (filler) which i highly dont recommend for any job. its just so i can move it without getting 2 much heat from cops i dont have insurance on it ^_^


Can you see through to the other side?
Don't you just hate it when the previous owner does a hack job of a repair? Many little things are that way on my car, it bothers me. The more I do work myself the more stupid little things I find. Monkeys could do better work for some of the things I've found. Thankfully, nothing big has come up. It's sound otherwise.
Good luck on your project, it's always good to see someone reviving an integra rather than dumping it.

There's plenty to do outside my room but I choose not to!
iTrader: (5)
Joined: Apr 2009
Posts: 5,142
From: Burlington
Yeah that's pretty bad, but there are some things you should just leave to the pro's to do, and doing that ---- is one of those things I rather not do, even tho I can do it, just way easyer letting a shop do it.
Member
Joined: Jun 2009
Posts: 862
From: Sauga City
you should have just bought a quarter panel repair piece off ebay or somewhere. i bought one for my civic before and it was great. completely fitted and just bare sheet metal. only thing tho is you have to weld it. but it would be a lot easier and better in the long run.
i hope your putting metal there right??
i hope your putting metal there right??
Thread Starter
Junior Member
Joined: Jul 2009
Posts: 123
From: Toronto
yeah metal is going in all FB is going out. and yeah i work at a bodyshop but we mainly do dealer cars & collision work not rust especially like this .. im sending it to a good friend to fabricate a metal peiece for both sides and then prep it after myself or my coworker. Im also making them QP's fat i hope it looks aiite on a teg lol with 15's should turn out alright..
Thread Starter
Junior Member
Joined: Jul 2009
Posts: 123
From: Toronto
ok bodywork started. finished putting metal in. diidnt bring my camera to work  but got 2 pics of my shitty phone. will take pics of finished product tomorrow.
BEFORE


AFTER

This side was not finished yet.. only the inner wheelwell


but got 2 pics of my shitty phone. will take pics of finished product tomorrow. BEFORE
AFTER
This side was not finished yet.. only the inner wheelwell


Thread Starter
Junior Member
Joined: Jul 2009
Posts: 123
From: Toronto
So finally got a day where it wasn't too busy so i started prepping the teg. Two quarter panels, two doors, fender, trunk, bumper. Started off by grinding it down


Taking pics in the shop isn't the neatest thing

Filled with superglass

Cheesed, grinded / sanded with 40


Mixing lightweight filler


Filled / sanded

Some evercoat rage / filler at this stage i think

Another area being assesed. (TYK previous owner fiberglassed it. ;()
Word of advice, if you're shaving side mold's
please do not fiberglass matt it. Simply sink it with a dolly and fill it with
glass filler.


Grinded, sinked holes and filled with superglass.

Fender slightly was damaged/bubbling so might as well take care of that now.

Another side sinked and filled as well.

Trunk holes were also fg matted, lol, so same procedure. Grinded, sinked,
filled.


Fender

Getting there, putty with some filler


Sanded the glass, put lightweight filler over, sanded.


Fixing some high spots.


chessed / grinded ( ran out of 40 grit ) / sanded

Lightweight filler, almost there

Hmm

Some of the tools ^_^

Some more minor highspots filled, then putty then 320 sanded ready for primer.

Blowing the car from dust --> My man eran

Quick masking job..

Blah..

b4..

primed..


Thats it for the day, will sand tomorow maybe one more time prime it, watersand and ready for paint! YESSSIR! hope you enjoyed. Feel Free
to ask questions.
Taking pics in the shop isn't the neatest thing
Filled with superglass
Cheesed, grinded / sanded with 40
Mixing lightweight filler
Filled / sanded
Some evercoat rage / filler at this stage i think
Another area being assesed. (TYK previous owner fiberglassed it. ;()
Word of advice, if you're shaving side mold's
please do not fiberglass matt it. Simply sink it with a dolly and fill it with
glass filler.
Grinded, sinked holes and filled with superglass.
Fender slightly was damaged/bubbling so might as well take care of that now.
Another side sinked and filled as well.
Trunk holes were also fg matted, lol, so same procedure. Grinded, sinked,
filled.
Fender
Getting there, putty with some filler
Sanded the glass, put lightweight filler over, sanded.
Fixing some high spots.
chessed / grinded ( ran out of 40 grit ) / sanded
Lightweight filler, almost there
Hmm
Some of the tools ^_^
Some more minor highspots filled, then putty then 320 sanded ready for primer.
Blowing the car from dust --> My man eran
Quick masking job..
Blah..
b4..
primed..
Thats it for the day, will sand tomorow maybe one more time prime it, watersand and ready for paint! YESSSIR! hope you enjoyed. Feel Free
to ask questions.


Thread Starter
Junior Member
Joined: Jul 2009
Posts: 123
From: Toronto
sanded primer, primed again...


Machined with 320.
Started water sanding.. with 600 over everything with the exeption of the uper quarter panel trim, and of the two fenders with 2000 since its only being blended. (clear coat only).


Turned out the kid partially painted the bumper with a spraycan before and didn't even clear it lol ... Going to repaint the whole bumper now..
Sanded...


Washed, thinned inner trims of oversprayed primer, will mask the car tomorrow and shoot it friday or early saturday.


This was a fun project, but, shows how a small job can go far. If you don't know much about bodywork, you will, in the end pay someone else not to only finish the initial damage but cleaning the mess of your work
Will give you guys the paint tips and which paint / clear / gun im using when i spray it.
Machined with 320.
Started water sanding.. with 600 over everything with the exeption of the uper quarter panel trim, and of the two fenders with 2000 since its only being blended. (clear coat only).
Turned out the kid partially painted the bumper with a spraycan before and didn't even clear it lol ... Going to repaint the whole bumper now..
Sanded...
Washed, thinned inner trims of oversprayed primer, will mask the car tomorrow and shoot it friday or early saturday.
This was a fun project, but, shows how a small job can go far. If you don't know much about bodywork, you will, in the end pay someone else not to only finish the initial damage but cleaning the mess of your work
Will give you guys the paint tips and which paint / clear / gun im using when i spray it.

Thread Starter
Junior Member
Joined: Jul 2009
Posts: 123
From: Toronto


Thread
Thread Starter
Forum
Replies
Last Post
Dumpgears
Integra Technical Questions and Tips
2
Nov 17, 2007 03:41 PM