
[[Photoshop Contest ver.2.0]] Evo X


Here it is...jus like i promised...ver.2.0 
Enjoy and goodluck everyone...hope to see more entries then the previous contest...
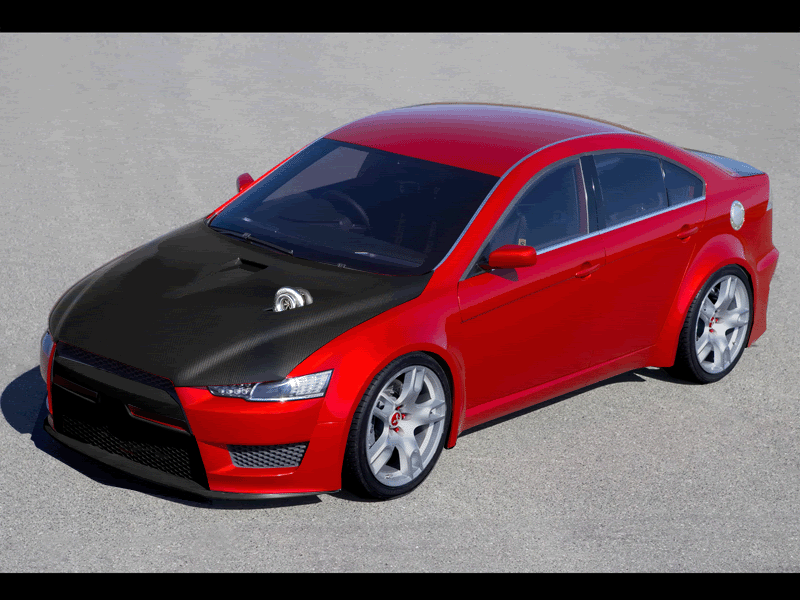
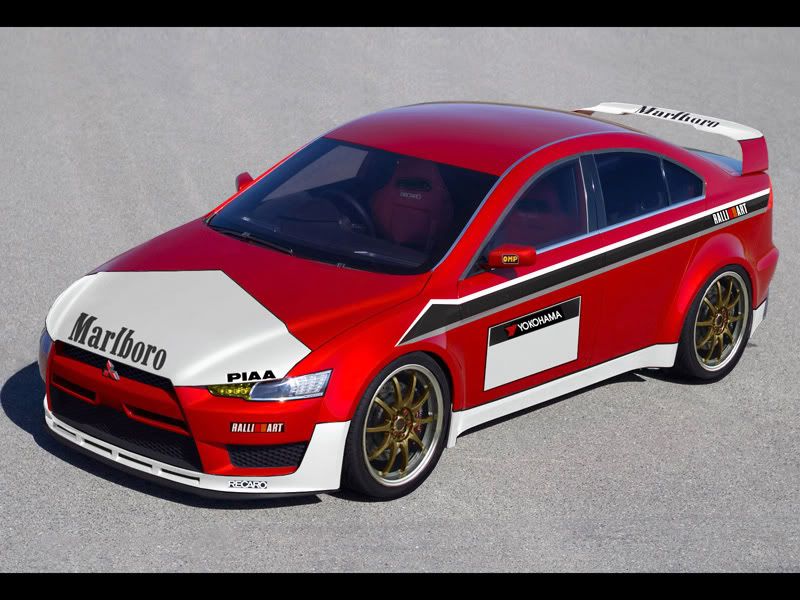
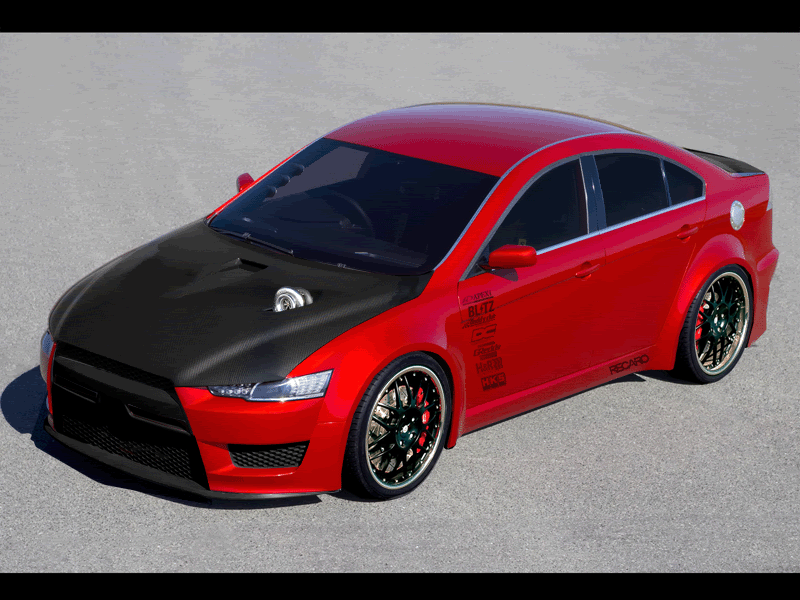
Anyways heres the victum..
Evo X

The only rule is that it has to be clearly obvious that its the same car from the original pic...
Deadline for the contest will be Sat May 6
[deadline may be extended again depending on the situation and the amount of entries...]
U can submit as many as u like but u have to choose the best one that u want entered into the contest
submit by posting up ur pics on this thread, as votin will be on a new thread...
Good luck and have fun all

Enjoy and goodluck everyone...hope to see more entries then the previous contest...
Anyways heres the victum..
Evo X
The only rule is that it has to be clearly obvious that its the same car from the original pic...
Deadline for the contest will be Sat May 6
[deadline may be extended again depending on the situation and the amount of entries...]
U can submit as many as u like but u have to choose the best one that u want entered into the contest
submit by posting up ur pics on this thread, as votin will be on a new thread...
Good luck and have fun all


Member
Joined: Oct 2005
Posts: 585
From: Mississauga
thanks alot. i had some extra time so i thought i would do a tutorial for you guys for some decent looking CF.
Easy Tutorial on CF:
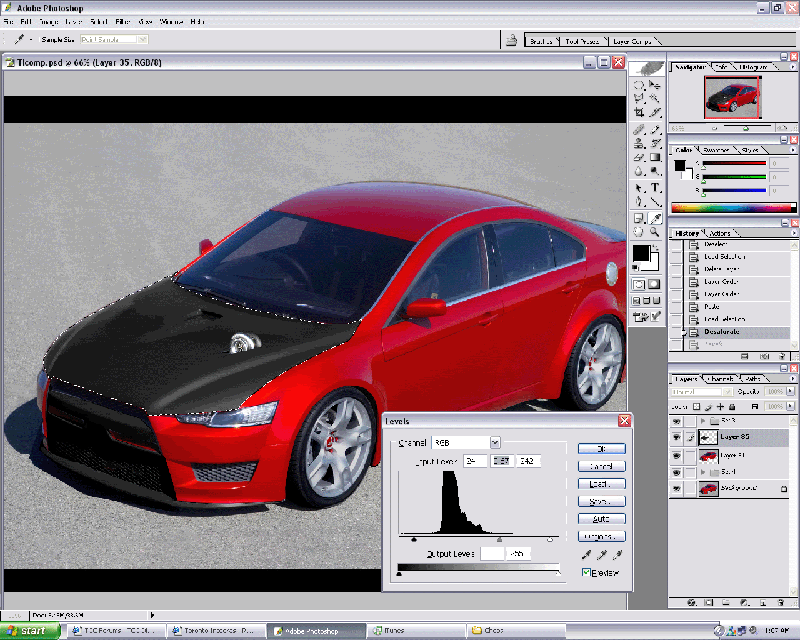
Select the hood on the car, or what ever area you would like to make CF on.
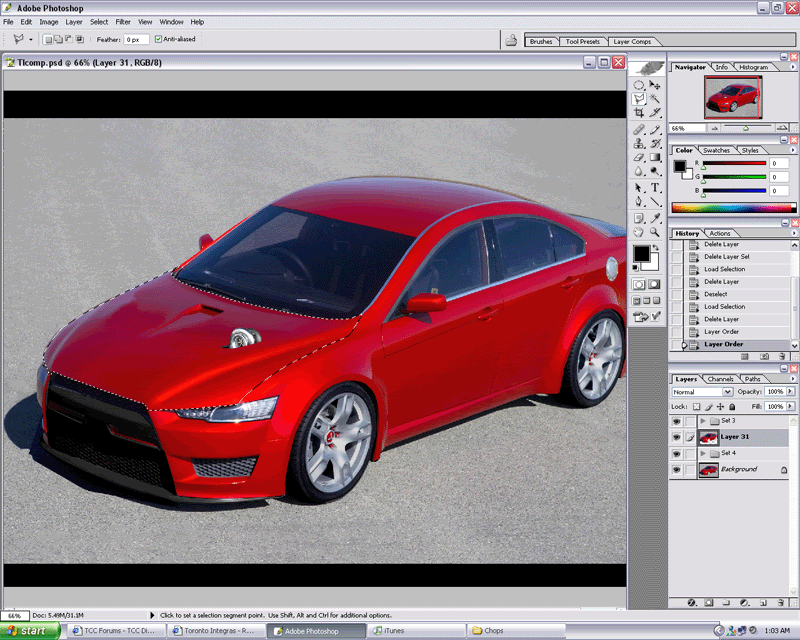
Next, Copy and Paste it (you can either hold CTRL and press C, or hold CTRL and press J).
Now hold CTRL and click on the layer that you just made (the hood), and hold CTRL, hold Shift and Press U. This will Desaturate the layer.
With the hood layer still selected, hold CTRL and press L to open the Level's menu, or you can go to Image > adjustments > Levels
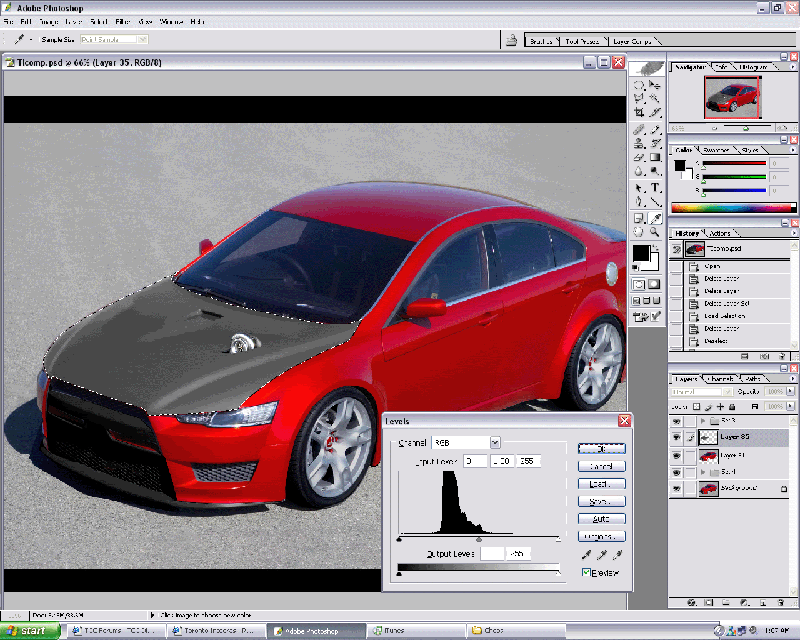
Move around the level sliders to get a nice dark base colour.
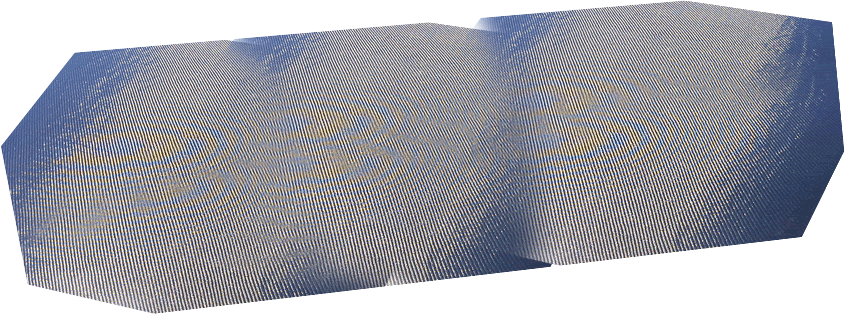
Copy and Paste this layer into the image as it's own layer.
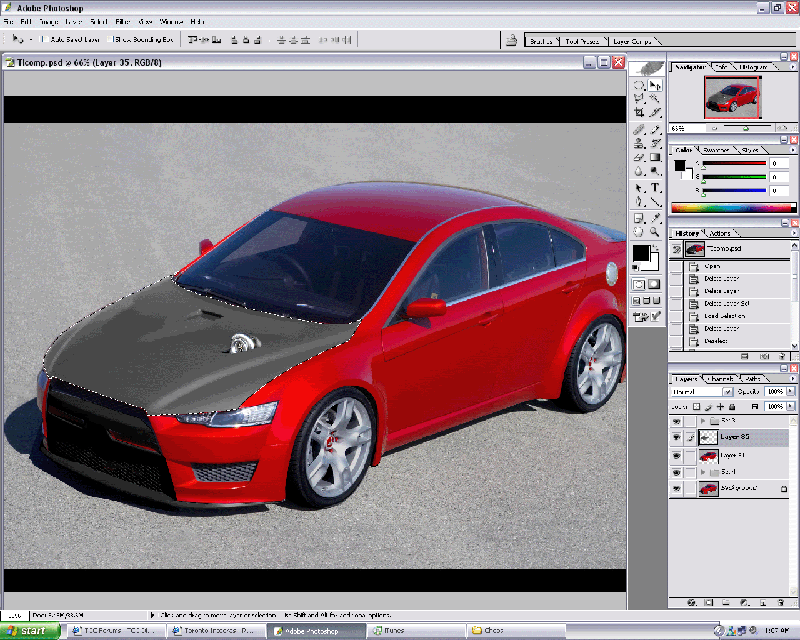
This is not mine so feel free to use it as it does an amazing job.
Lower the opacity of the CF layer so you can see the hood underneath it. Now select the CF layer and hold CTRL and press T, or you can go to Edit and select free transform. move the layer so it covers the hood nicely. if the hood is smaller than the CF layer, then do not make it smaller.
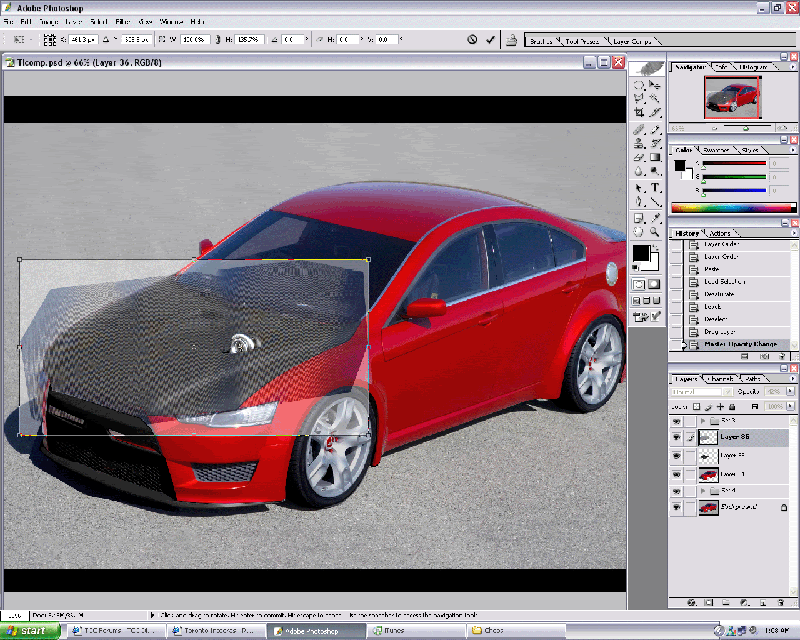
Press enter once you have it covering the hood. With the CF layer still selected, hold CTRL and click on the hood layer so the hood selection is picked. Go to Select > Inverse (or hold CTRL+SHIFT+I) and press Delete to delete all parts not under the selection. Raise the opacity of the CF back to 100%. Once you have the CF layer in the shape of the hood, where it stands normal next to the opacity, change it from Normal to Overlay or Soft Light.
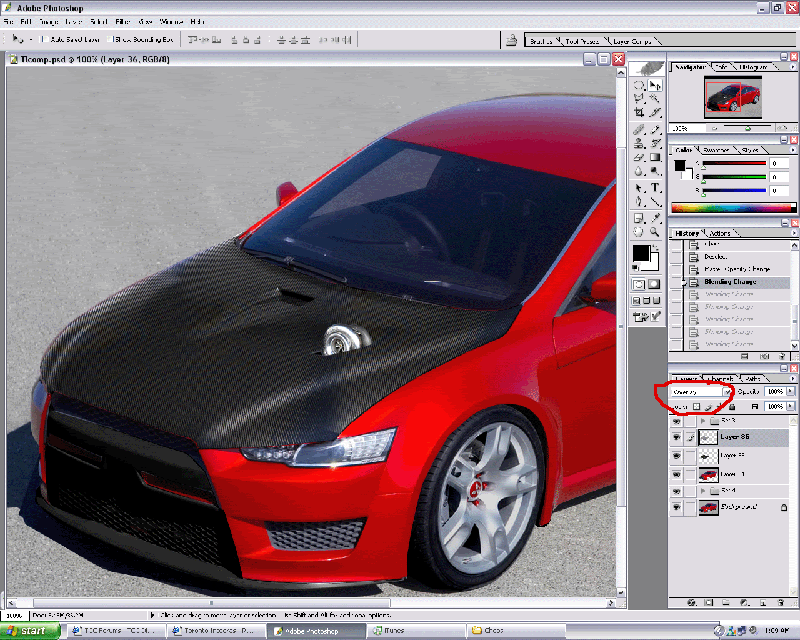
Now what you want to do is make the CF look realistic. So select the CF layer and then select the burn tool. To object is to burn the parts furthest away as you wouldn't see the CF pattern at a certain angle.
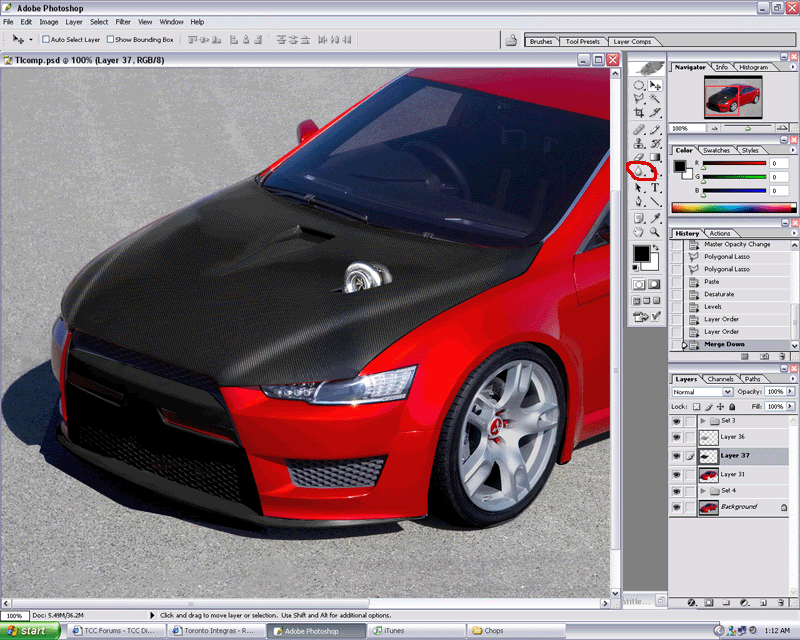
Now change the obacity to how you would like and you are done! You can also select the CF layer and hold CTRL and click on the layer, go to Filter > Distort > twirl and choose between 15-30 %. it will give a realistic weave pattern, you just need to experiment.
Easy Tutorial on CF:
Select the hood on the car, or what ever area you would like to make CF on.
Next, Copy and Paste it (you can either hold CTRL and press C, or hold CTRL and press J).
Now hold CTRL and click on the layer that you just made (the hood), and hold CTRL, hold Shift and Press U. This will Desaturate the layer.
With the hood layer still selected, hold CTRL and press L to open the Level's menu, or you can go to Image > adjustments > Levels
Move around the level sliders to get a nice dark base colour.
Copy and Paste this layer into the image as it's own layer.
This is not mine so feel free to use it as it does an amazing job.
Lower the opacity of the CF layer so you can see the hood underneath it. Now select the CF layer and hold CTRL and press T, or you can go to Edit and select free transform. move the layer so it covers the hood nicely. if the hood is smaller than the CF layer, then do not make it smaller.
Press enter once you have it covering the hood. With the CF layer still selected, hold CTRL and click on the hood layer so the hood selection is picked. Go to Select > Inverse (or hold CTRL+SHIFT+I) and press Delete to delete all parts not under the selection. Raise the opacity of the CF back to 100%. Once you have the CF layer in the shape of the hood, where it stands normal next to the opacity, change it from Normal to Overlay or Soft Light.
Now what you want to do is make the CF look realistic. So select the CF layer and then select the burn tool. To object is to burn the parts furthest away as you wouldn't see the CF pattern at a certain angle.
Now change the obacity to how you would like and you are done! You can also select the CF layer and hold CTRL and click on the layer, go to Filter > Distort > twirl and choose between 15-30 %. it will give a realistic weave pattern, you just need to experiment.

 jp
jp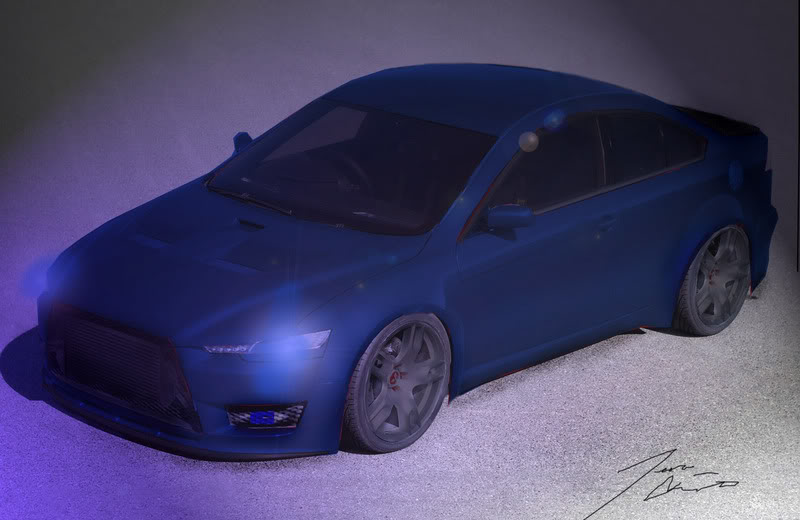
Member
Joined: Oct 2005
Posts: 585
From: Mississauga
sorry guys, won't be able to finish this. i've been really busy lately and won't have it done in time. this is the latest update of it with it looking OK. i was working on brushing a bodykit etc, but didn't have time. i was turning this one into a car, and another one i was working on is top secret. i'll post that when i'm done 
and a background version: http://i8.photobucket.com/albums/a39...chop/evobg.gif
and a background version: http://i8.photobucket.com/albums/a39...chop/evobg.gif


 ...
...

Thread
Thread Starter
Forum
Replies
Last Post
HyBrId
Pictures and Videos
10
Apr 18, 2006 04:05 PM