
How To : Install a 1 DIN Pocket with Lip


Thread Starter
Junior Member
Joined: Feb 2008
Posts: 337
From: TO
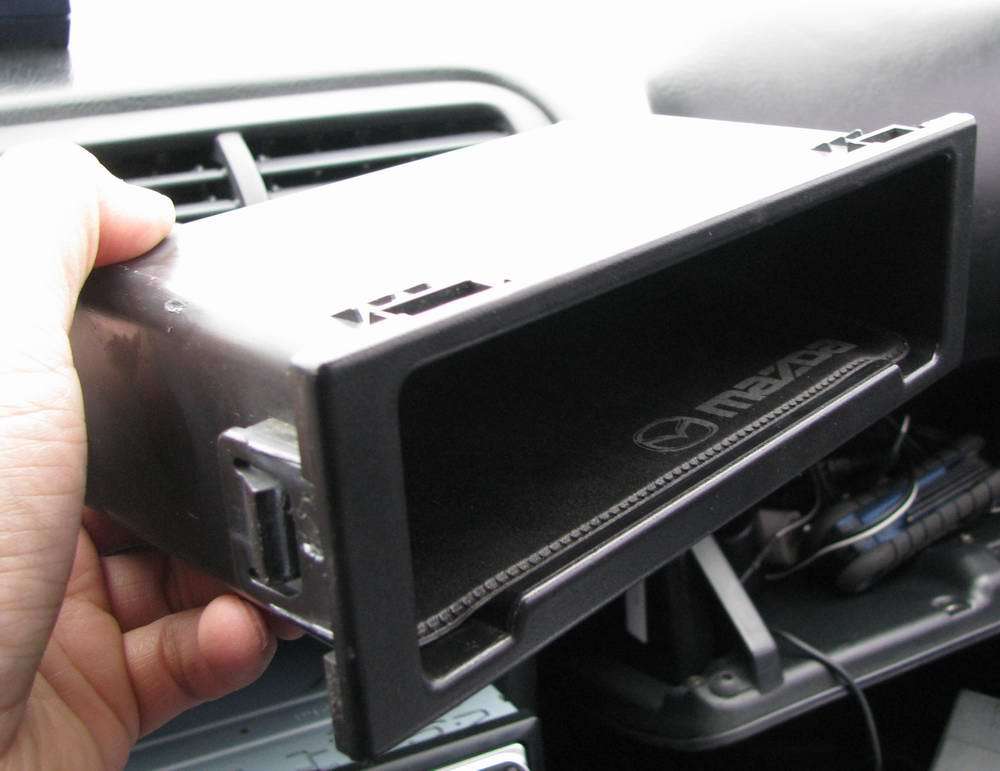
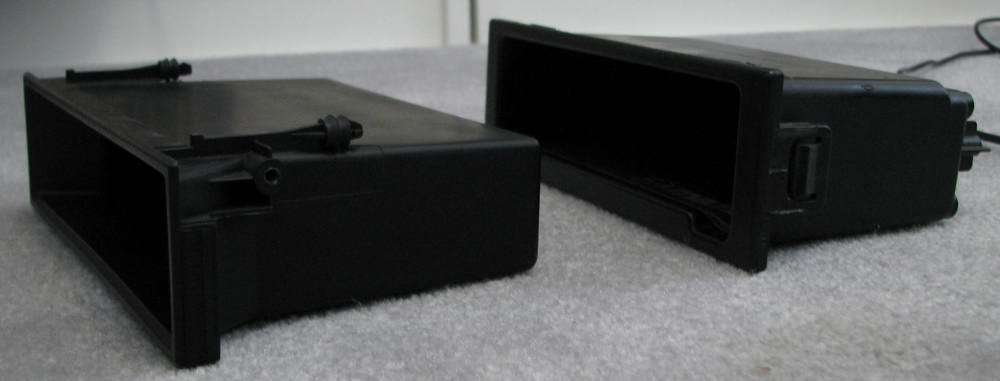
The OEM pocket is bad. Too narrow, too short, doesn't hold enough and stuff flies out of it when you hit the gas.
I had a pocket from my previous ride and wanted it installed but wouldn't you know it, the factory unit fits a 3/4 DIN or something stupid like that.
So we just adapt a 1 DIN to fit correctly.
The whole reason for this project? I wanted a bigger pocket that holds my garage door opener. That's it.
What You Need:
Tools to remove center console (There's probably a how to somewhere...)
Dremel or in my case a grind wheel
Some sort of sticky pad or rubber to line the pocket (stuff still flies out)
1 DIN Pocket
I used one from a MX6 and here's the most important part....
PART NUMBER B02A-66-9M0A from any Mazda Dealership.
Optional are lights/LED's if you want and you'll see why later.
The specs on the LED I used are:
60mcd / 12V @20mA, 80mm - 24 awg wire leads made by Knight Lites model KLC-3070RL-12V-1P purchased from Active Electronics.
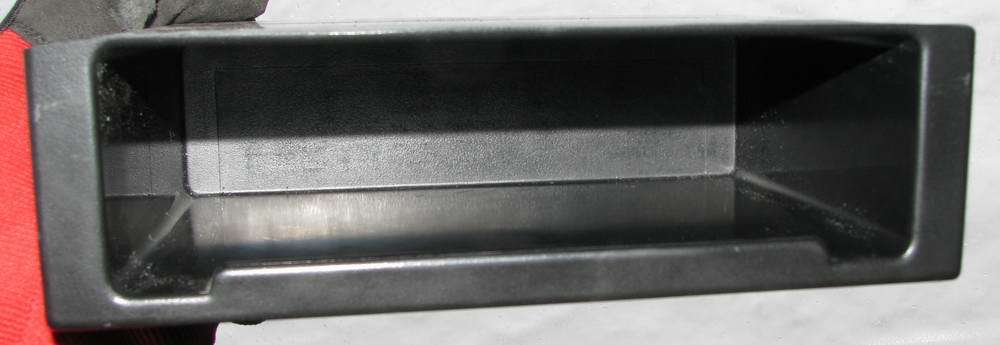
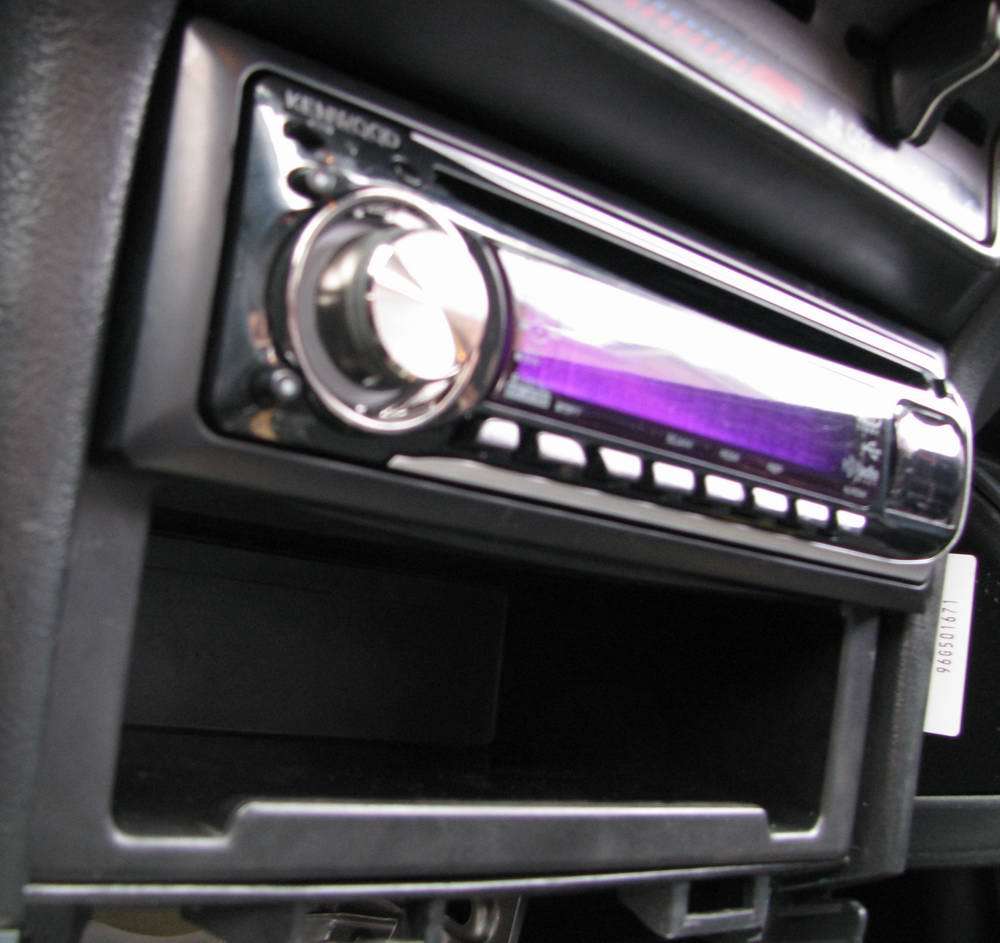
Here's a picture of the pocket in my old ride.
I had a pocket from my previous ride and wanted it installed but wouldn't you know it, the factory unit fits a 3/4 DIN or something stupid like that.
So we just adapt a 1 DIN to fit correctly.
The whole reason for this project? I wanted a bigger pocket that holds my garage door opener. That's it.
What You Need:
Tools to remove center console (There's probably a how to somewhere...)
Dremel or in my case a grind wheel
Some sort of sticky pad or rubber to line the pocket (stuff still flies out)
1 DIN Pocket
I used one from a MX6 and here's the most important part....
PART NUMBER B02A-66-9M0A from any Mazda Dealership.
Optional are lights/LED's if you want and you'll see why later.
The specs on the LED I used are:
60mcd / 12V @20mA, 80mm - 24 awg wire leads made by Knight Lites model KLC-3070RL-12V-1P purchased from Active Electronics.
Here's a picture of the pocket in my old ride.
Last edited by Action Jackson; Jun 4, 2008 at 09:54 PM.

Thread Starter
Junior Member
Joined: Feb 2008
Posts: 337
From: TO
How do we fix that?
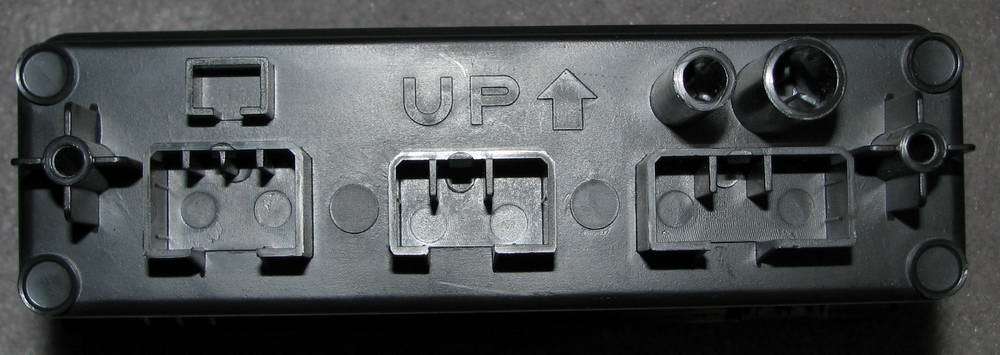
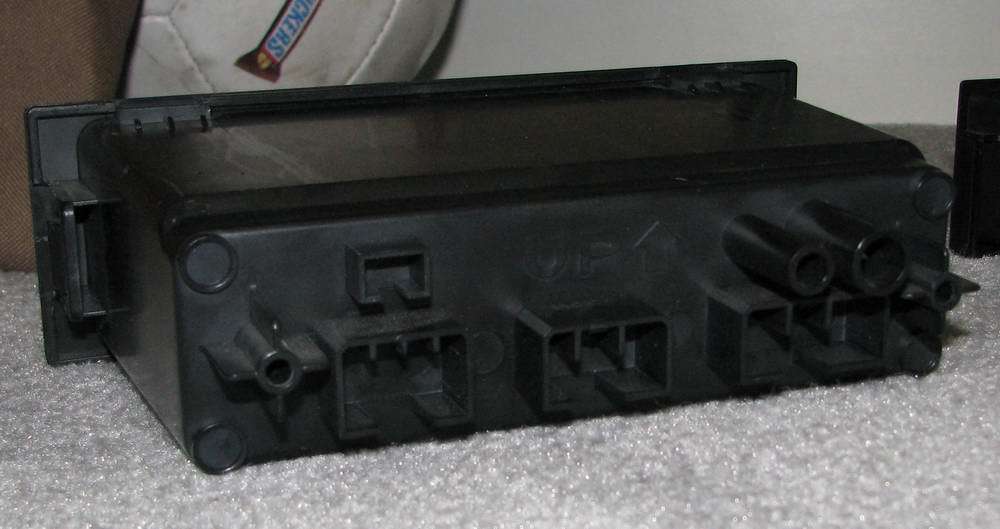
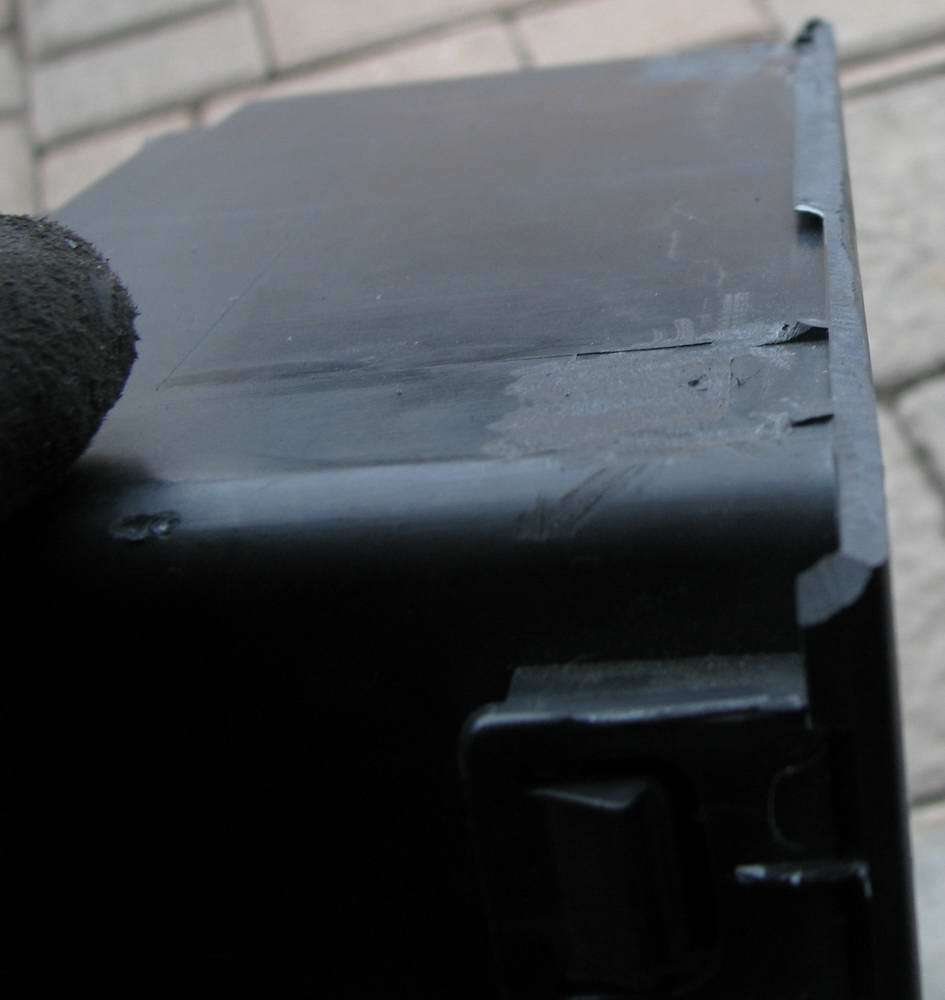
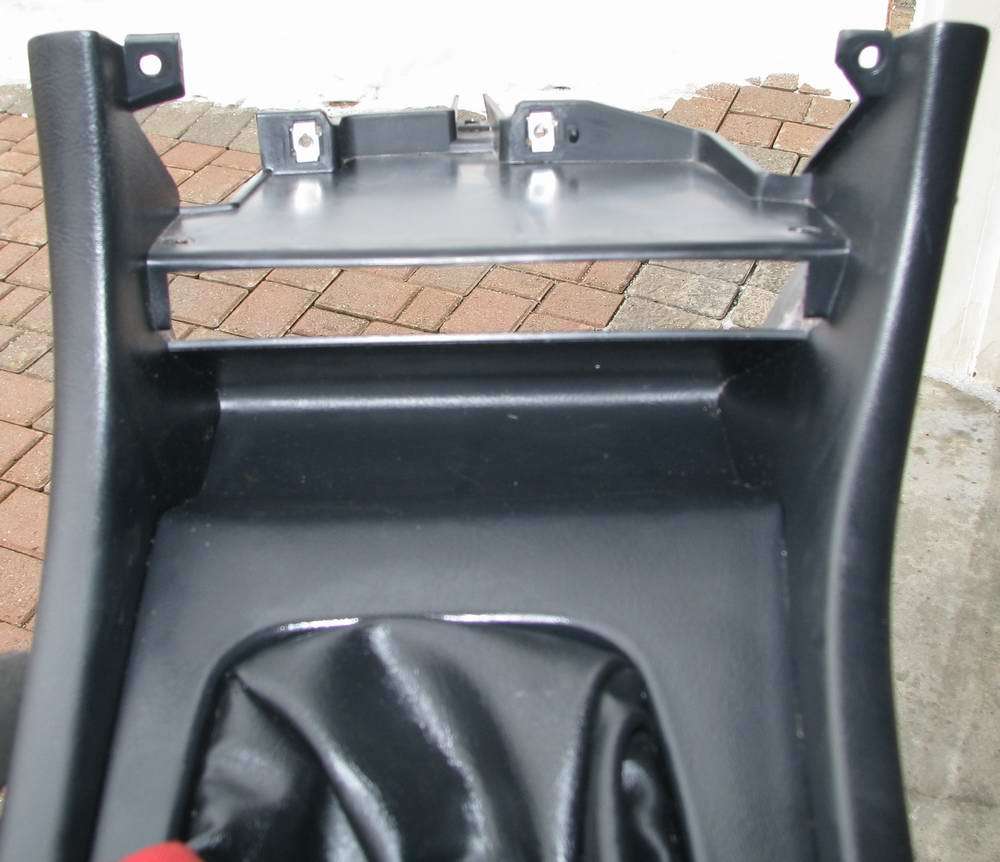
We attack that upper lip in order to fit it in our dash.
I started by using a dremel to grind it down, but it was too cold outside so I just put it right up against a grind wheel.
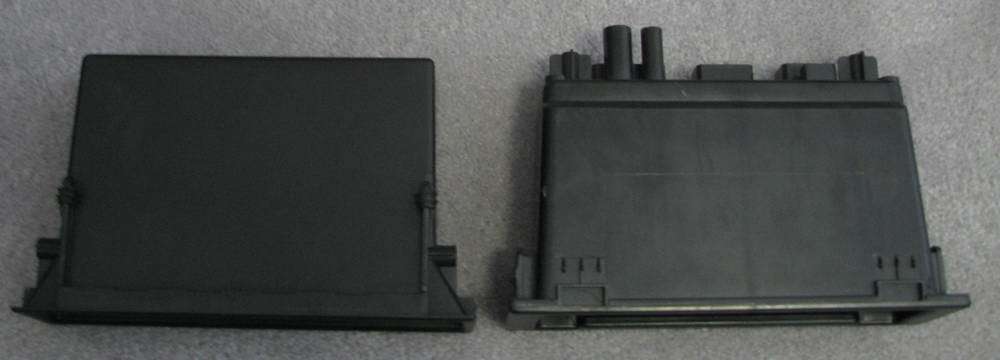
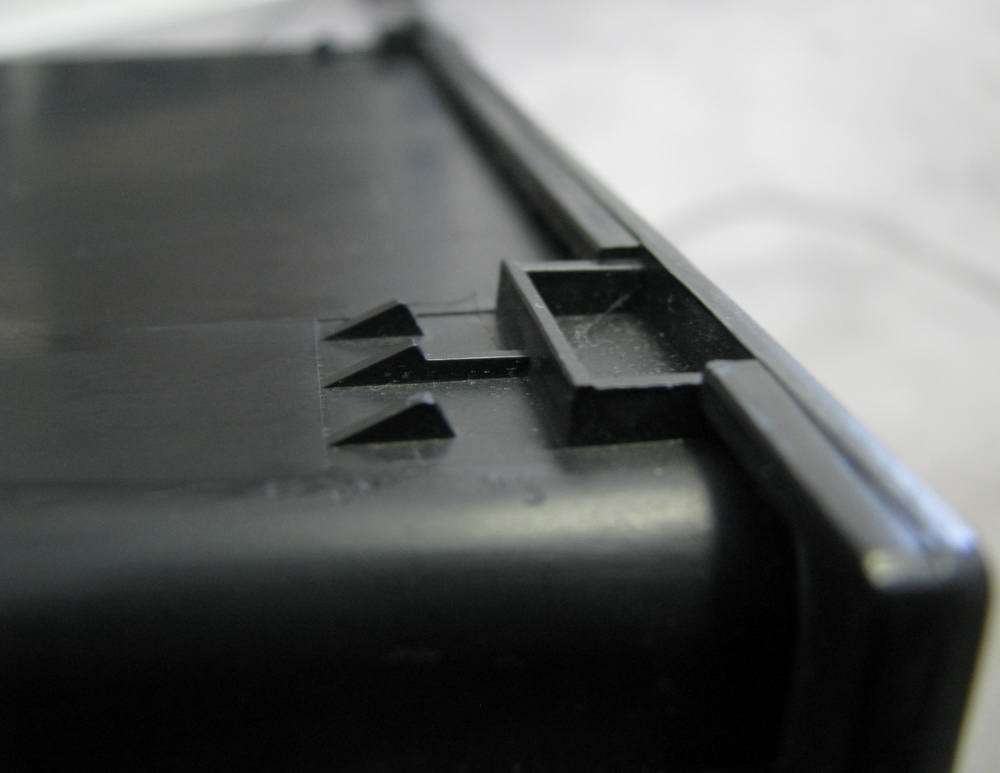
Pics of the upper lip removed.
As you can see in the 2nd pic I ground down the lip a bit too much on the sides but that's not a problem.
We attack that upper lip in order to fit it in our dash.
I started by using a dremel to grind it down, but it was too cold outside so I just put it right up against a grind wheel.
Pics of the upper lip removed.
As you can see in the 2nd pic I ground down the lip a bit too much on the sides but that's not a problem.
Thread Starter
Junior Member
Joined: Feb 2008
Posts: 337
From: TO
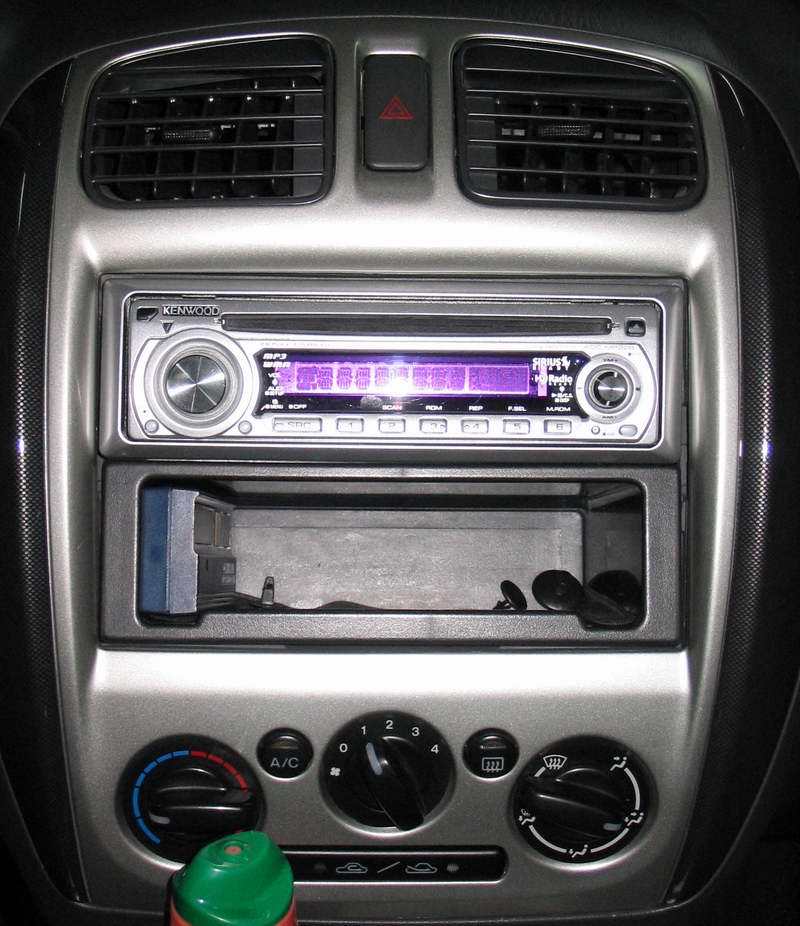
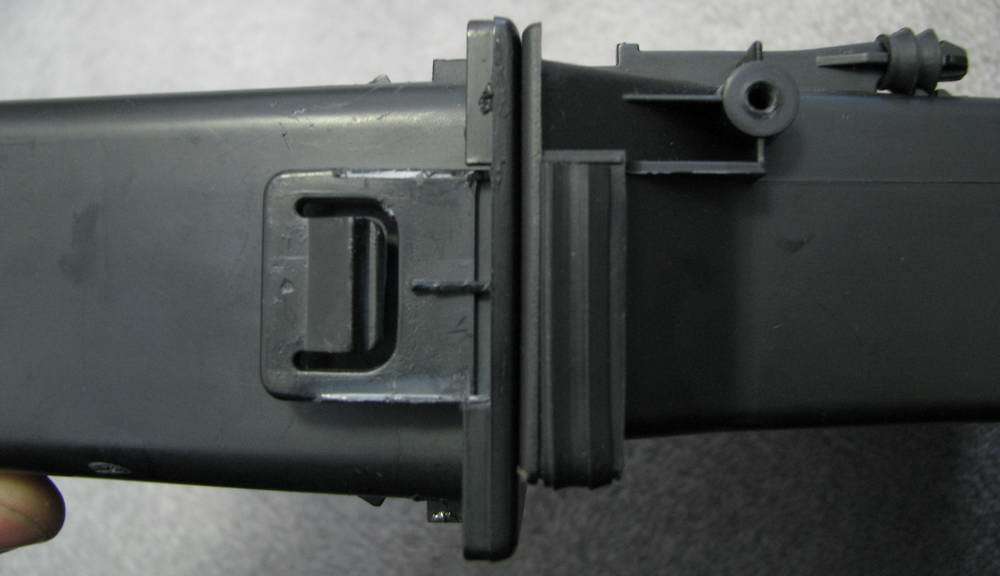
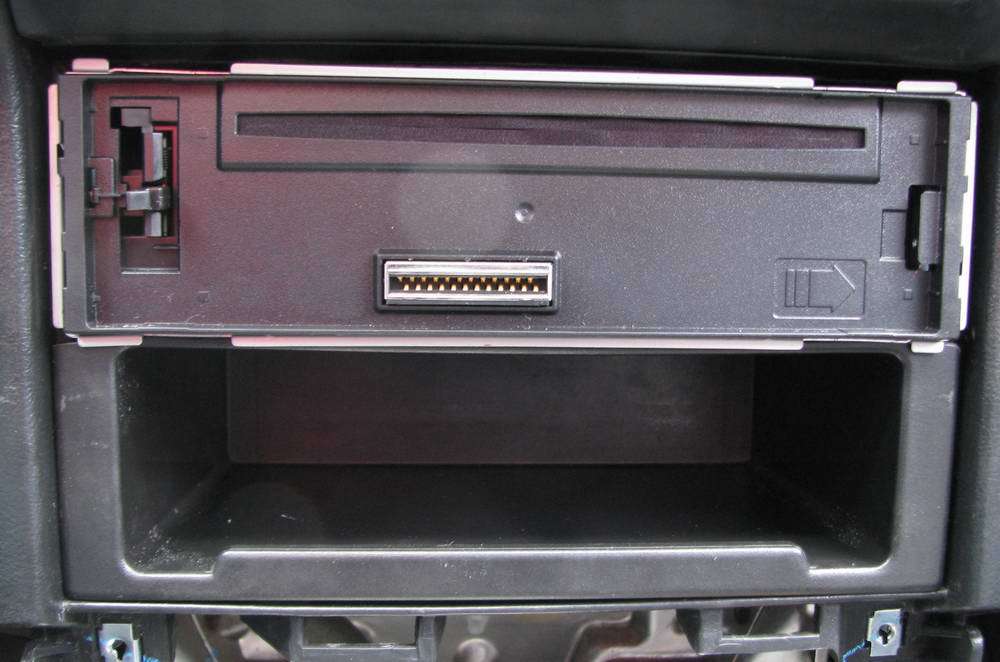
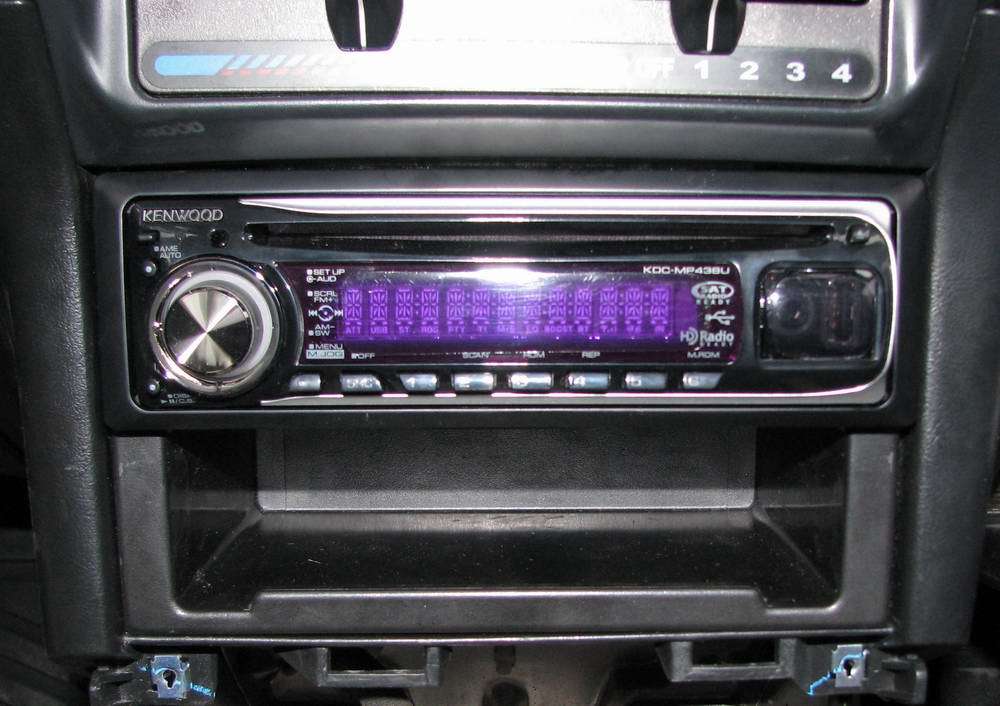
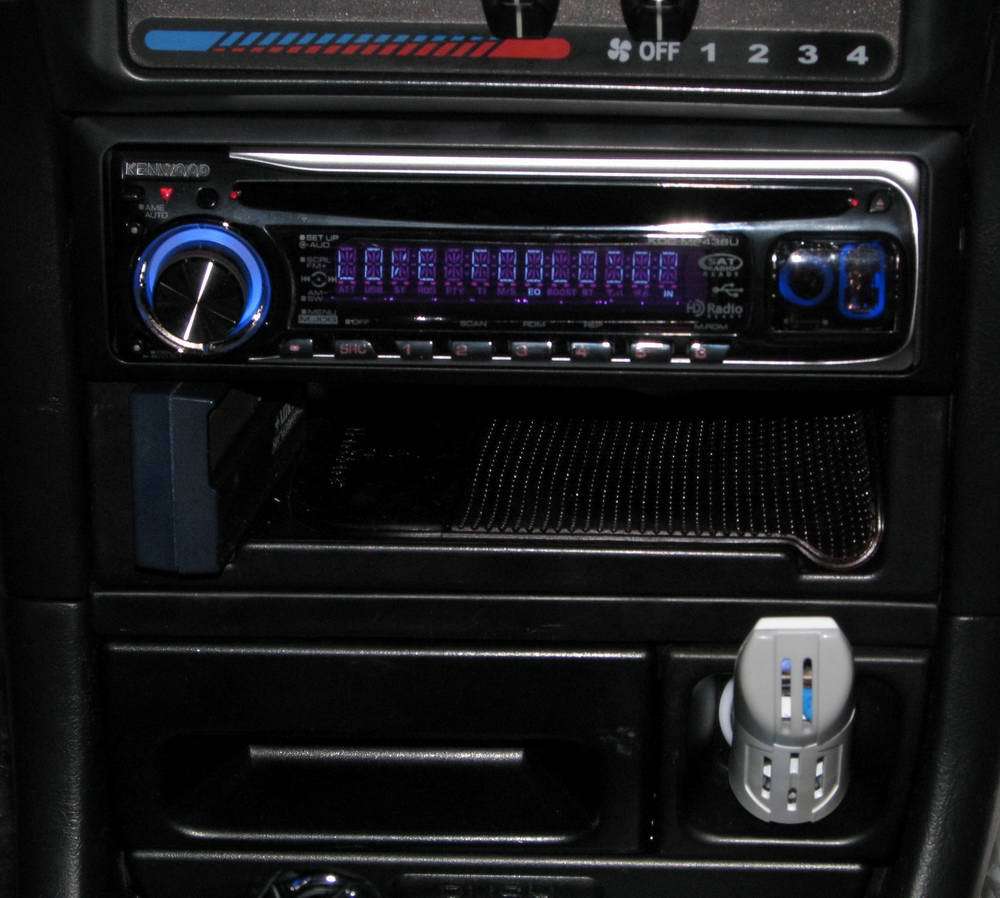
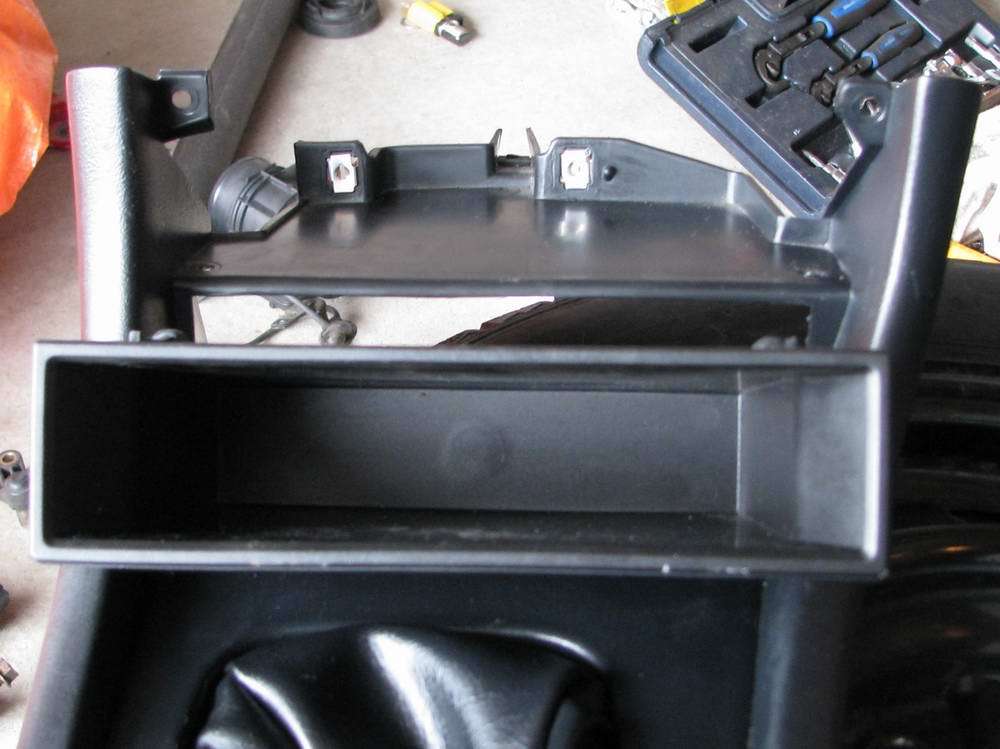
did some preliminary fitting.
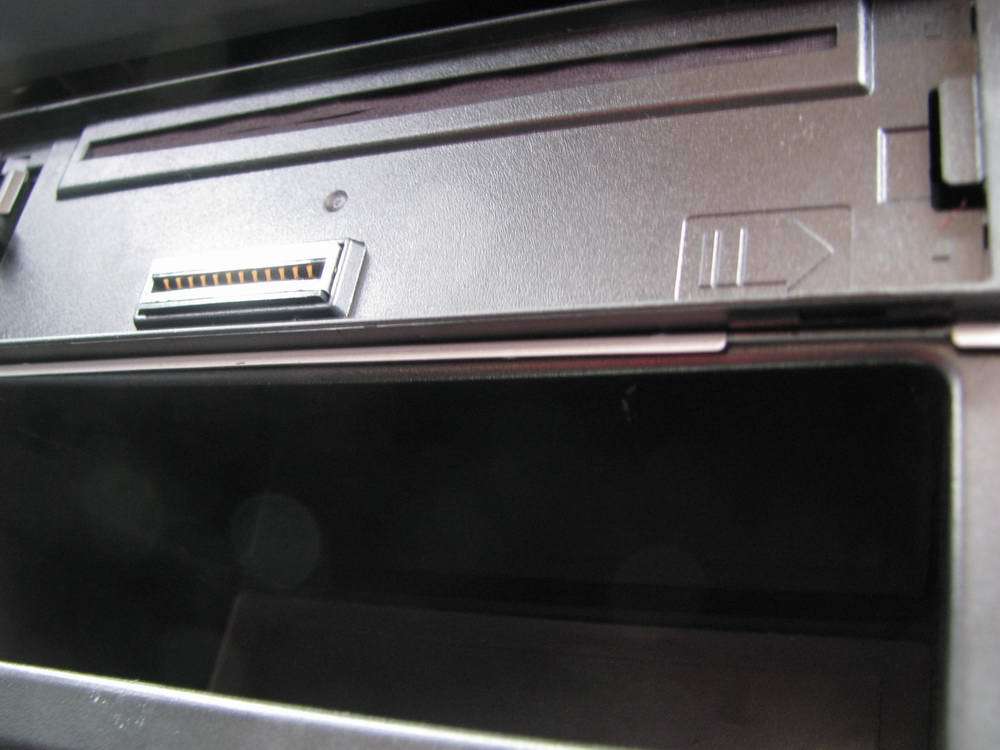
The first 2 show the pocket installed without the headunit's faceplate.
The next 3 show it with the faceplate. As you can see it hides the booboo from the grinding well.
What is not shown is that I fashioned a "support" from strapping wire just to help hold up the pocket a bit better.
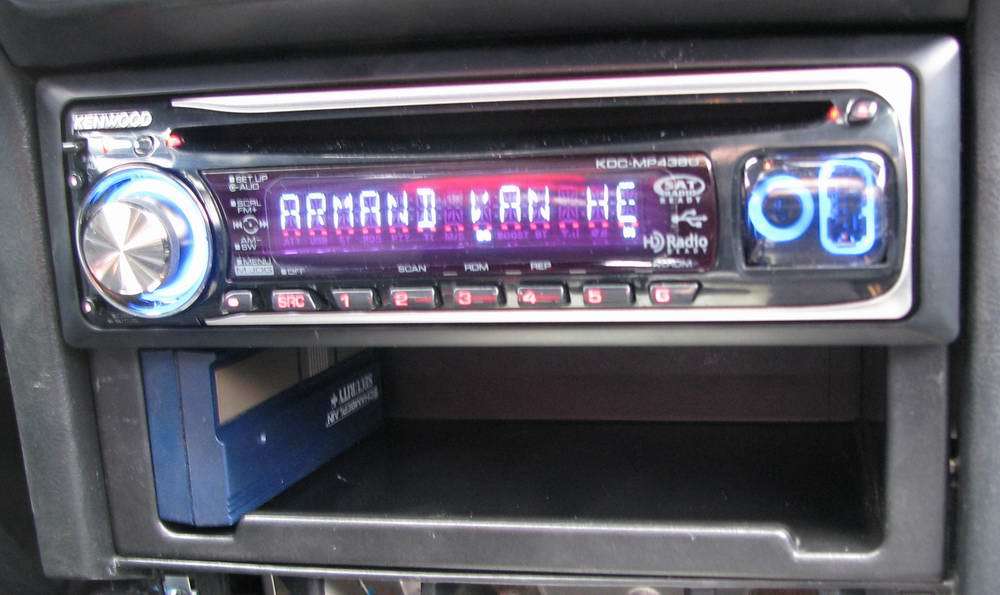
The first 2 show the pocket installed without the headunit's faceplate.
The next 3 show it with the faceplate. As you can see it hides the booboo from the grinding well.
What is not shown is that I fashioned a "support" from strapping wire just to help hold up the pocket a bit better.
Thread Starter
Junior Member
Joined: Feb 2008
Posts: 337
From: TO
Essentially you are done.
But what about the light/LED?
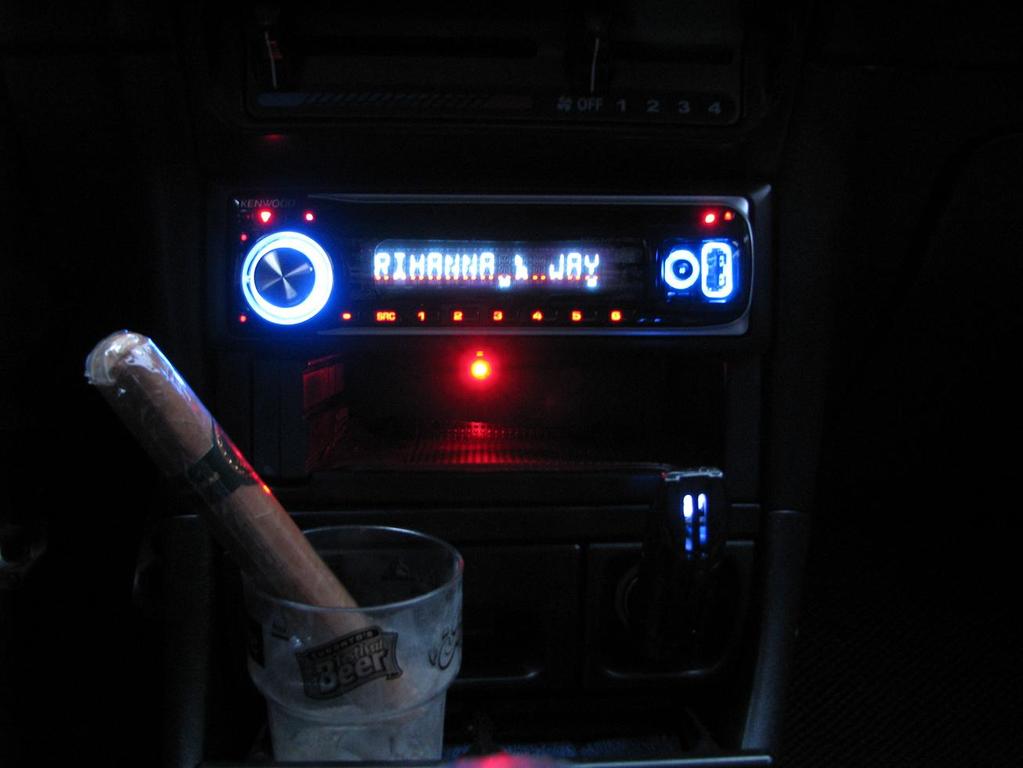
Well I found out that in the dark it's really hard to see the pocket at all so I installed a single LED. I used a Red LED, and was trying to combine it with a Red jell sticky pad to give it a great lighting effect.
I spliced power from the cigarette lighter to the LED.
The last pic shows how it looks now at night.
But what about the light/LED?
Well I found out that in the dark it's really hard to see the pocket at all so I installed a single LED. I used a Red LED, and was trying to combine it with a Red jell sticky pad to give it a great lighting effect.
I spliced power from the cigarette lighter to the LED.
The last pic shows how it looks now at night.
Thread Starter
Junior Member
Joined: Feb 2008
Posts: 337
From: TO
But wait!
I'm not finished yet.
The OEM pocket "might" fit in the lower storage area right?......
I thought about removing the ashtray/lighter combo to put the OEM pocket there too.......
And I've got to do something about those useless cupholders.

I'm not finished yet.
The OEM pocket "might" fit in the lower storage area right?......
I thought about removing the ashtray/lighter combo to put the OEM pocket there too.......
And I've got to do something about those useless cupholders.
Thread Starter
Junior Member
Joined: Feb 2008
Posts: 337
From: TO
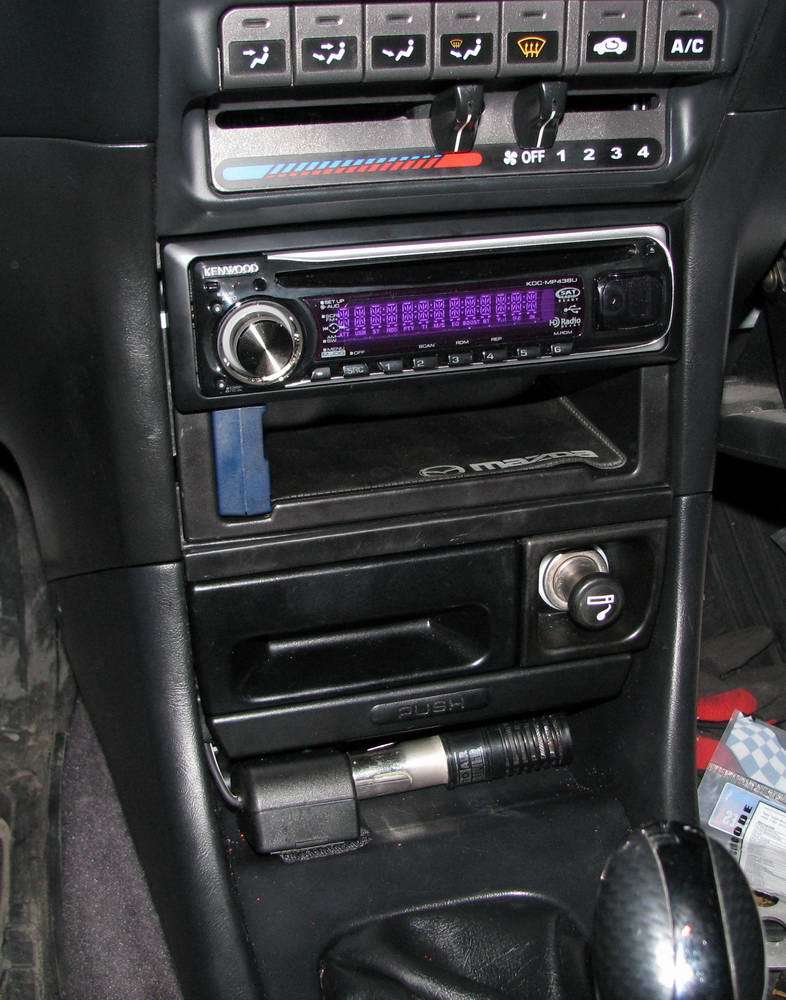
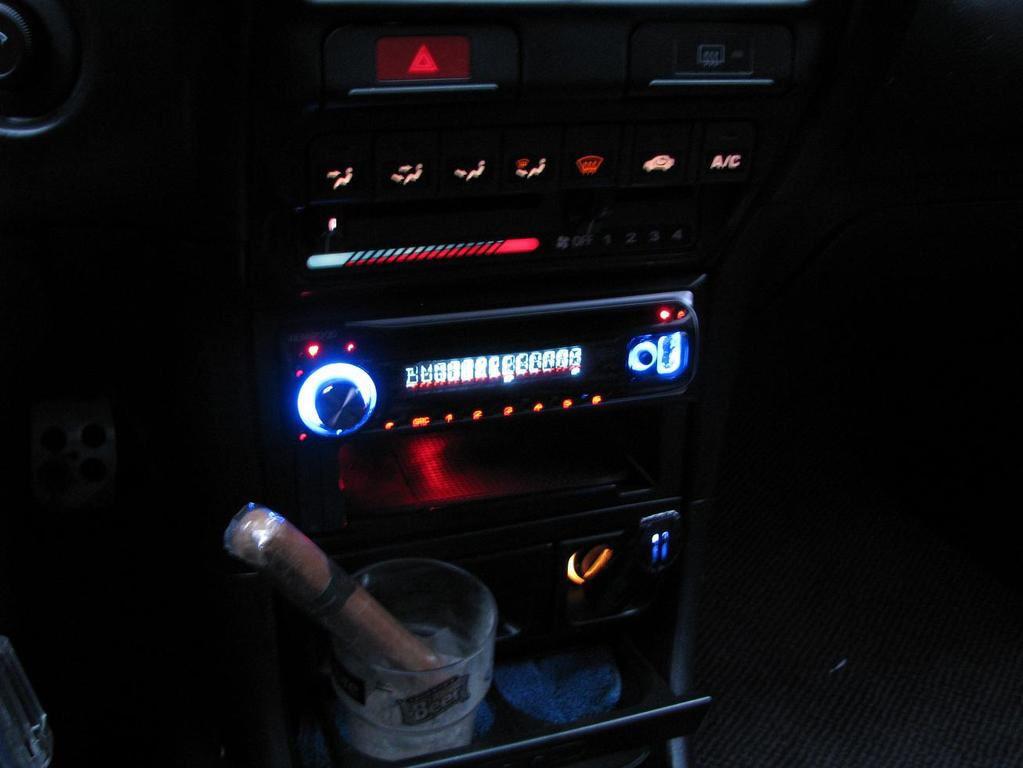
So was it worth it?
Absolutely. Stuff still flies out of the pocket under acceleration but that red "jelly" sticky pad really helps.
And the red LED helps me to reach for the pocket easier at night.
That white thing in the cigarette lighter is a air ionizer that I eventually painted black.
Isn't my defroster button supposed to light up like my hazard button?
And you can see my fan speed switch doesn't light up bright either....

Thread
Thread Starter
Forum
Replies
Last Post
Action Jackson
Integra Technical Questions and Tips
16
May 20, 2008 06:52 PM