Wildout’s Motor Build-Up with nuff pics, you've been warned
 04-23-2006, 06:00 PM
#1
Time to become a Premier Member!
Thread Starter
Join Date: Aug 2003
Location: Whitby
Posts: 4,816
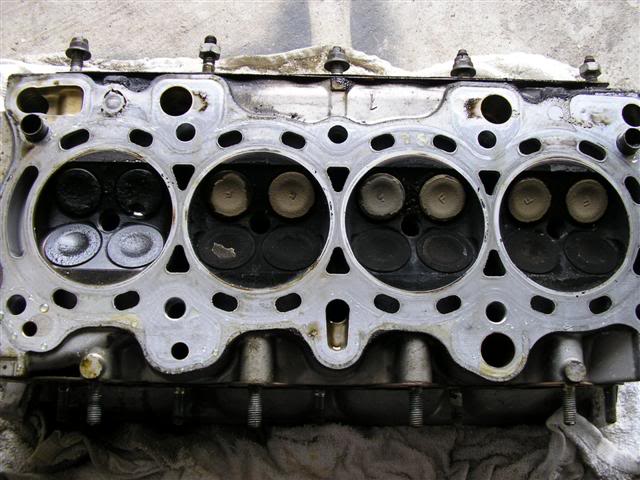
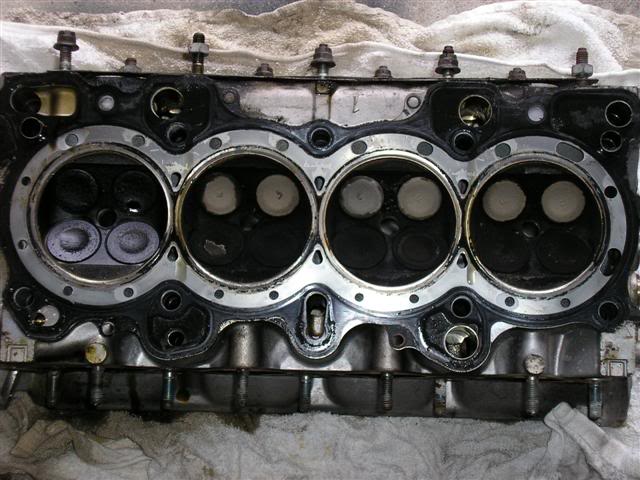
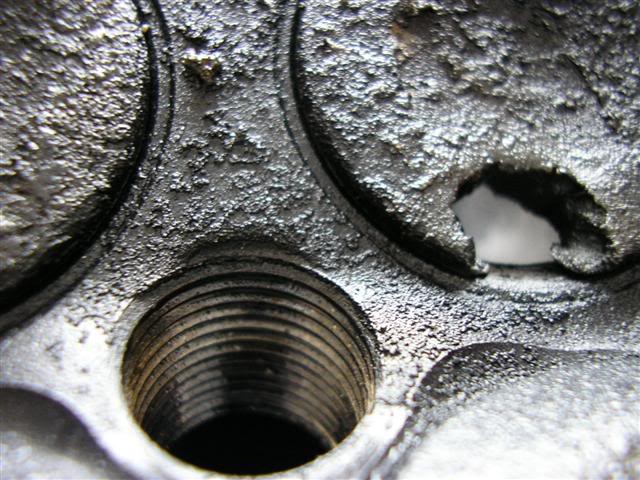
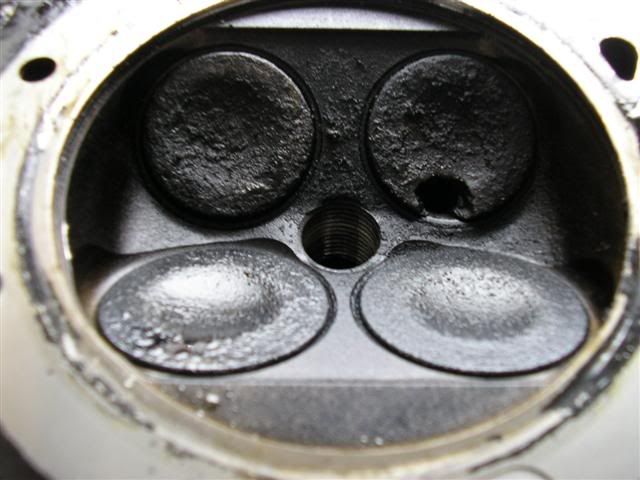
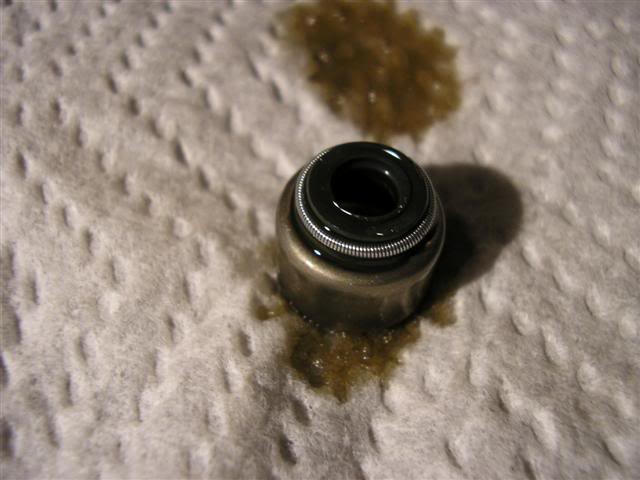
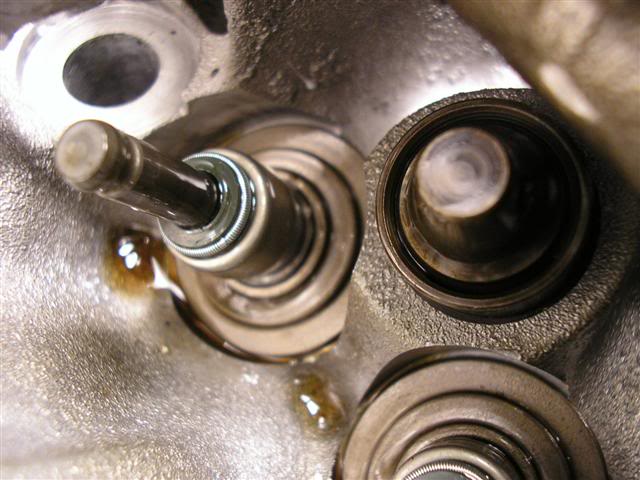
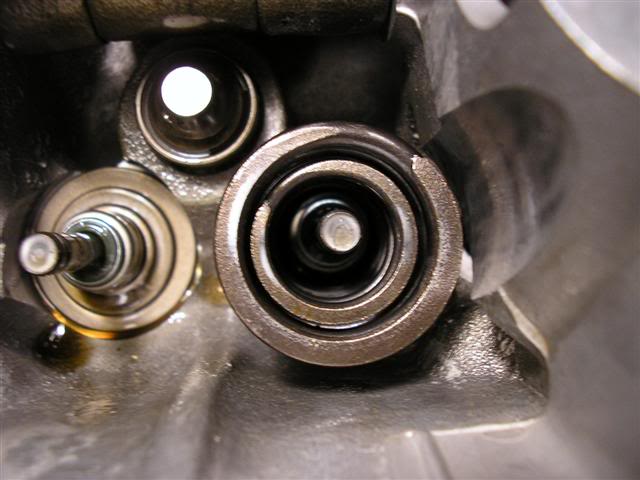
So I finally had enough time to write up a progress thread of my engine build up. The whole reason why I ended up having to rebuild the motor this year was because of a burnt 4th cylinder exhaust valve, so I decided I might as well fix all the problems now while I had the time…i.e. valve seals and oil control rings.
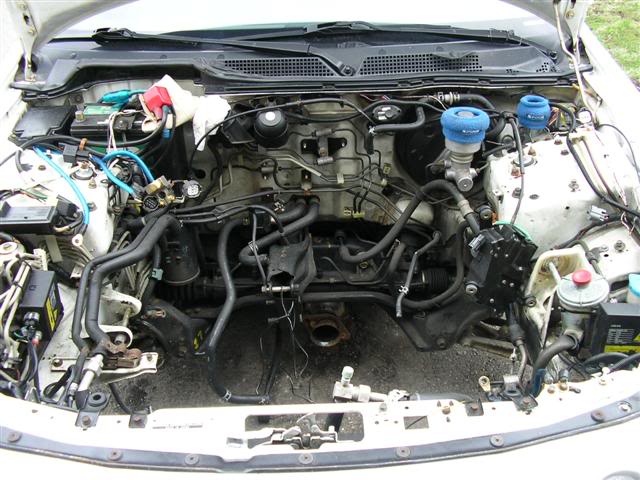
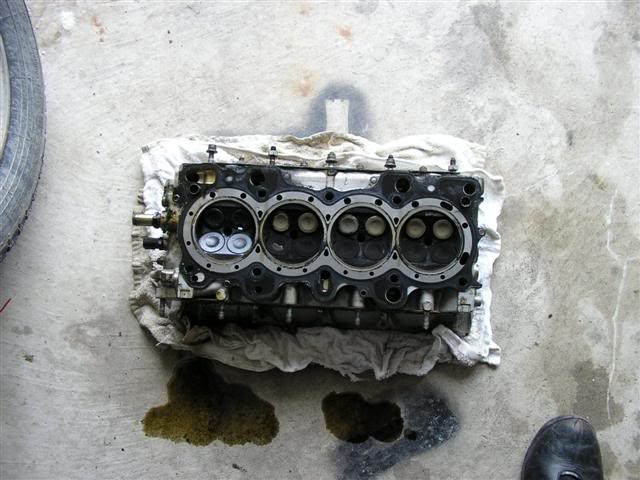
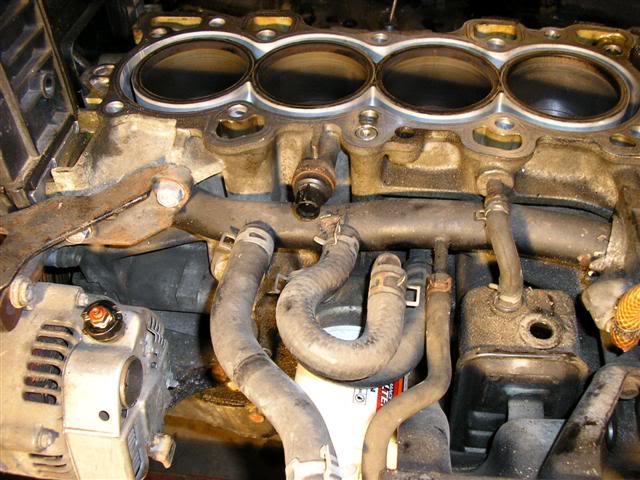
So it begins, with what my motor looked like just after pulling it from the engine bay.
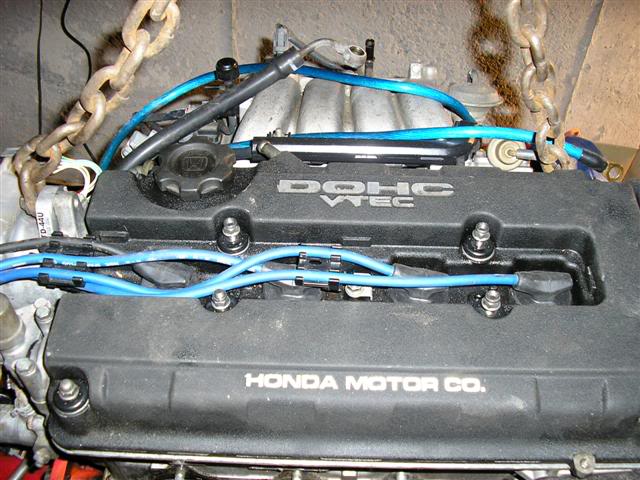

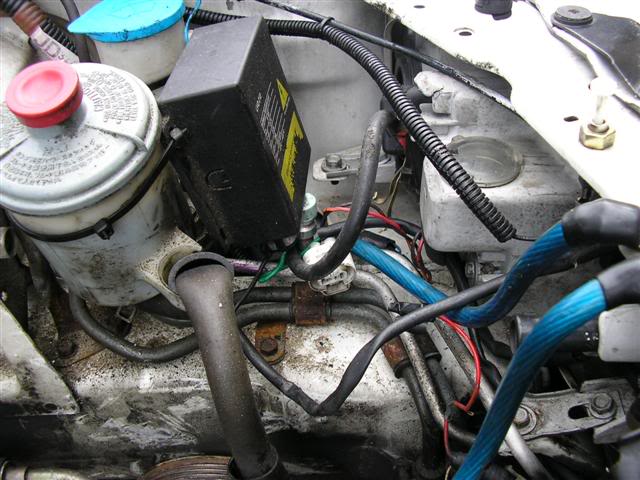
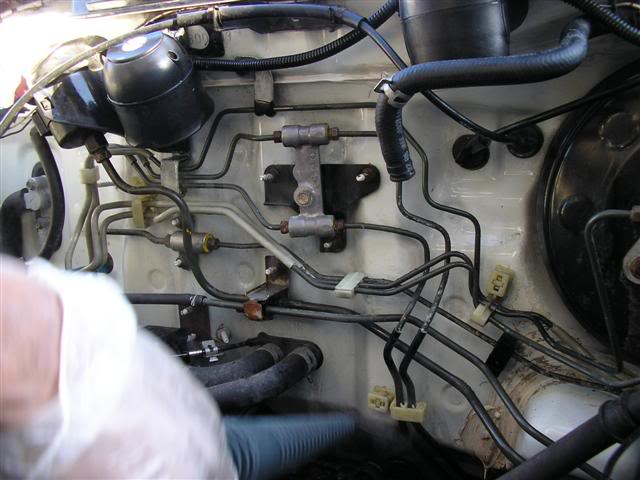
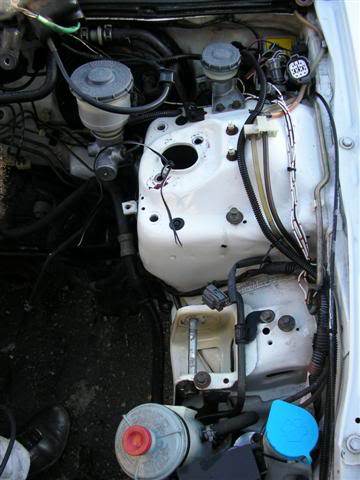
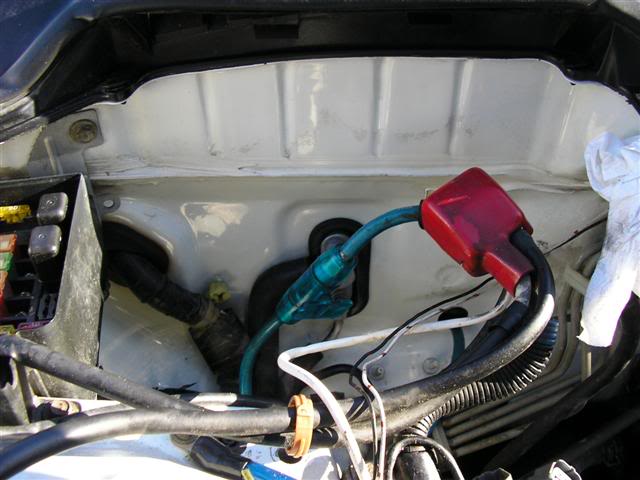
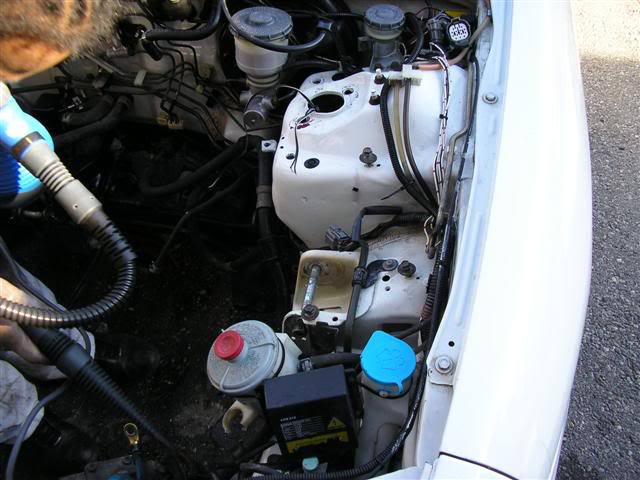
How the engine bay looked, dirty as ----, with wires everywhere

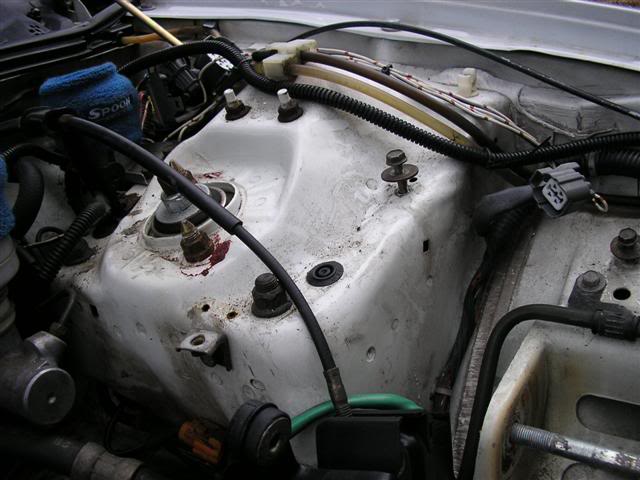
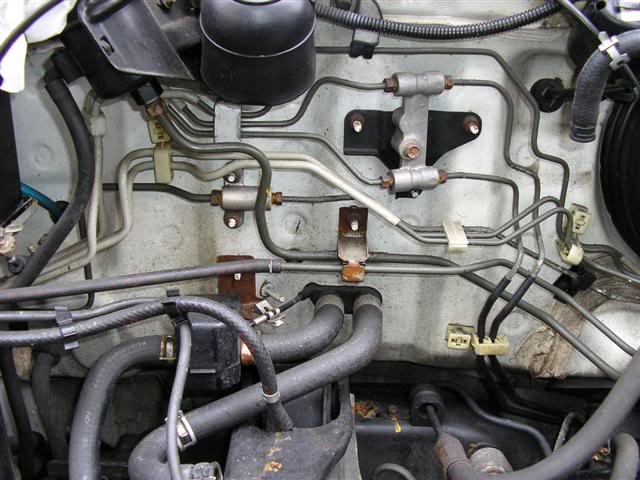
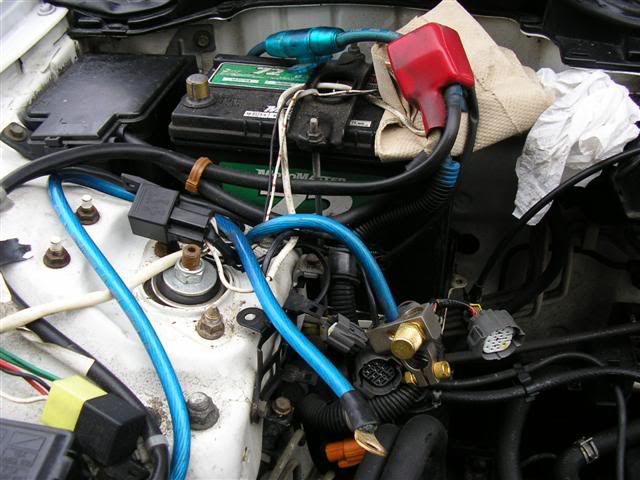
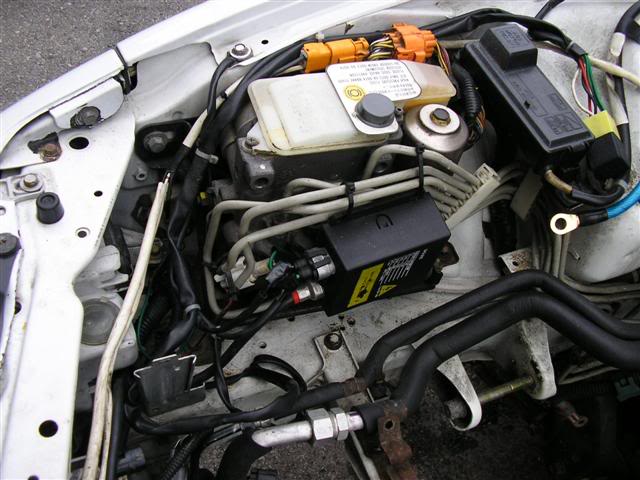
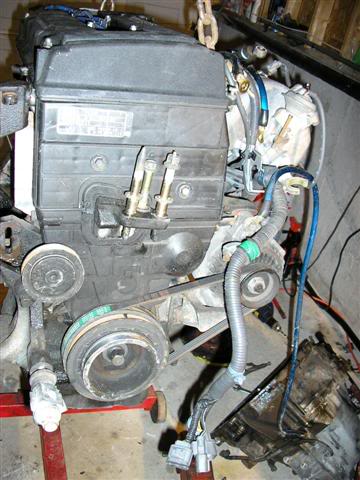
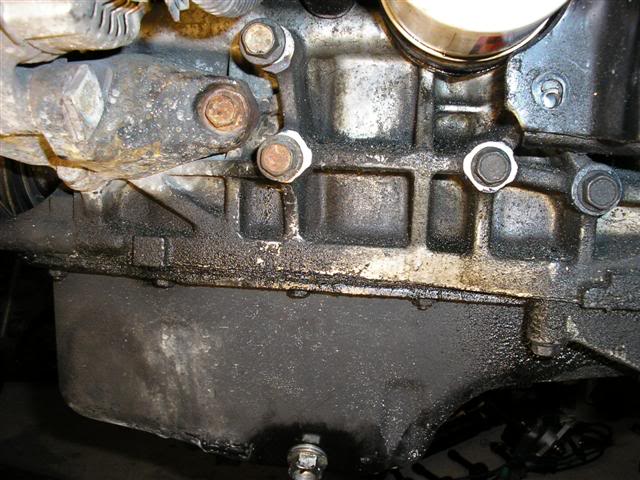
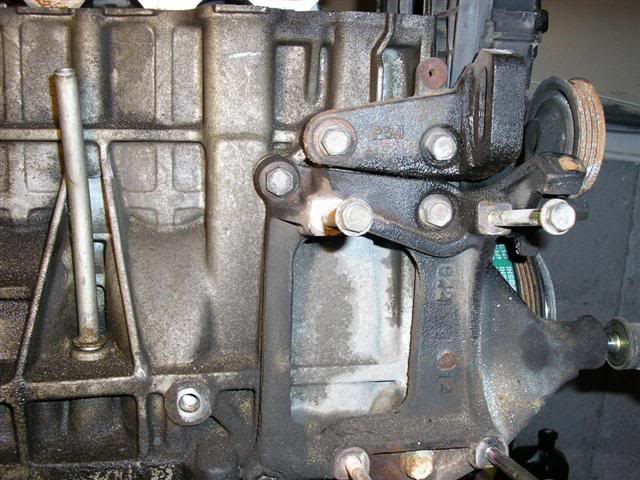
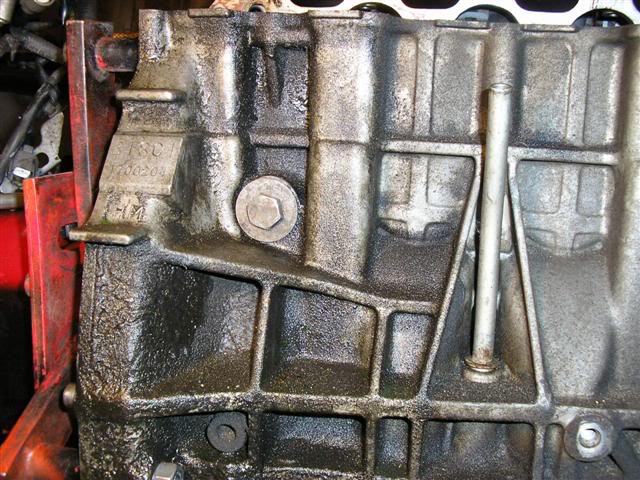
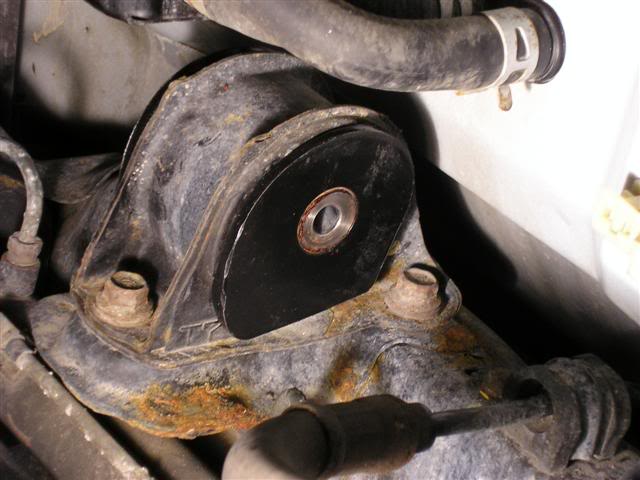
Random pics of the dirty engine

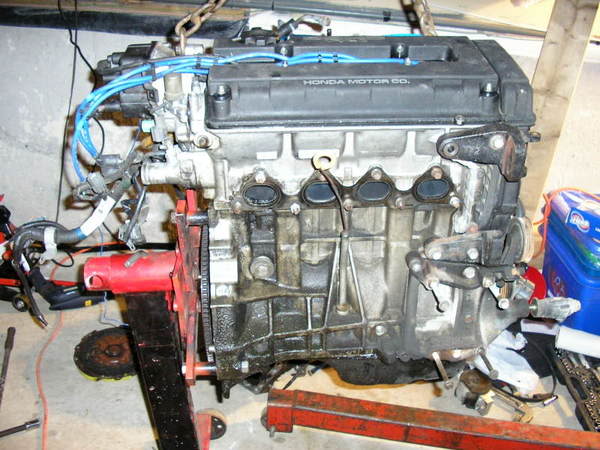
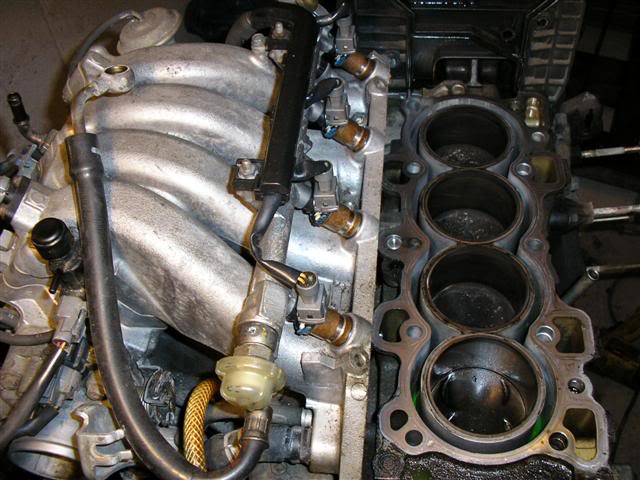
With the head off

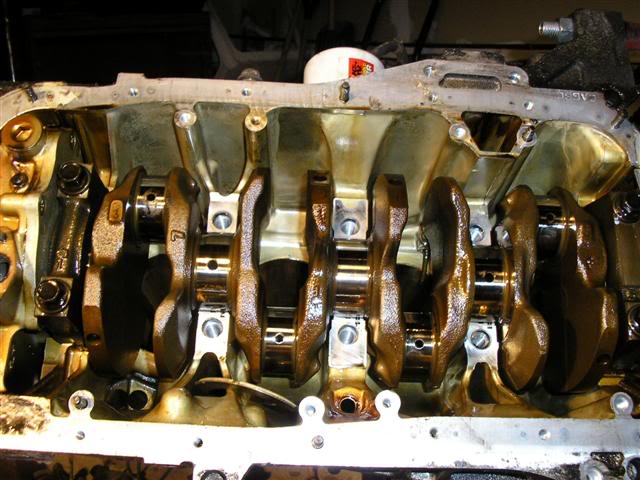
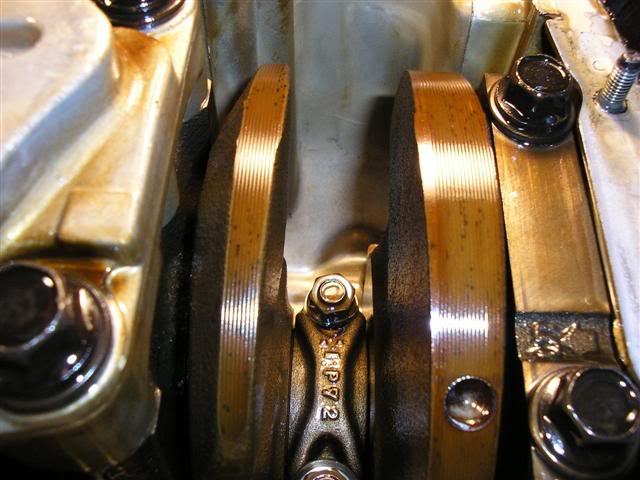
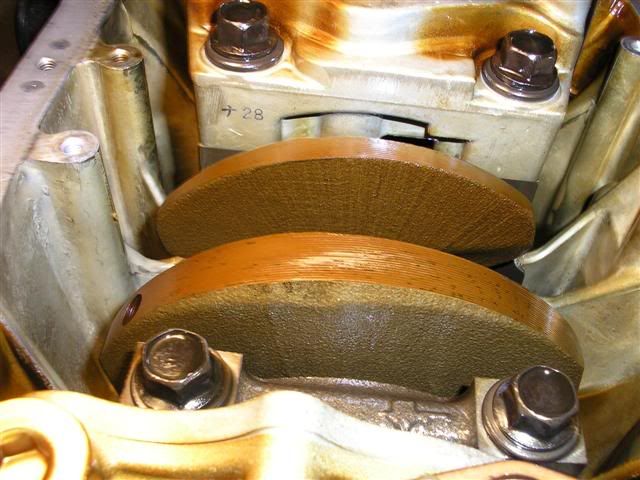
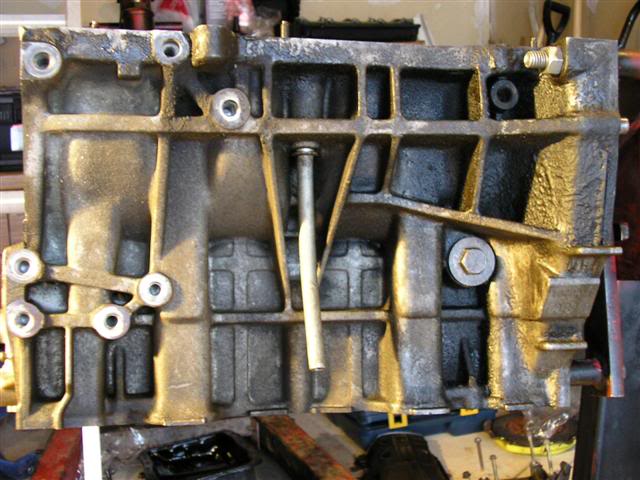
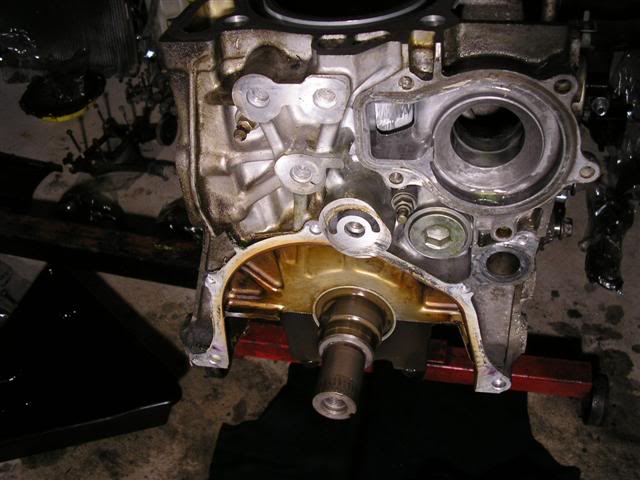
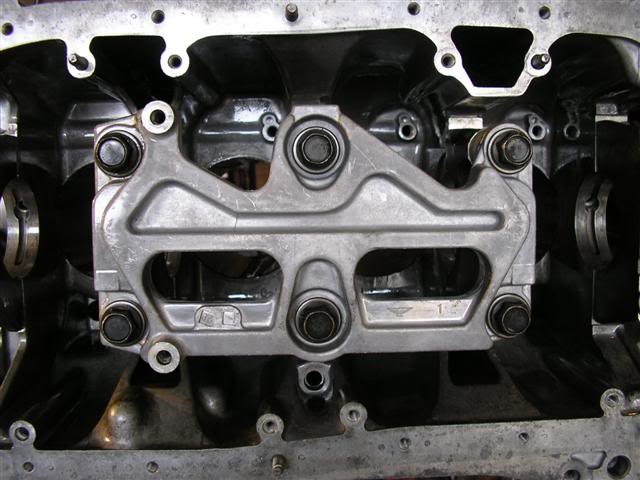
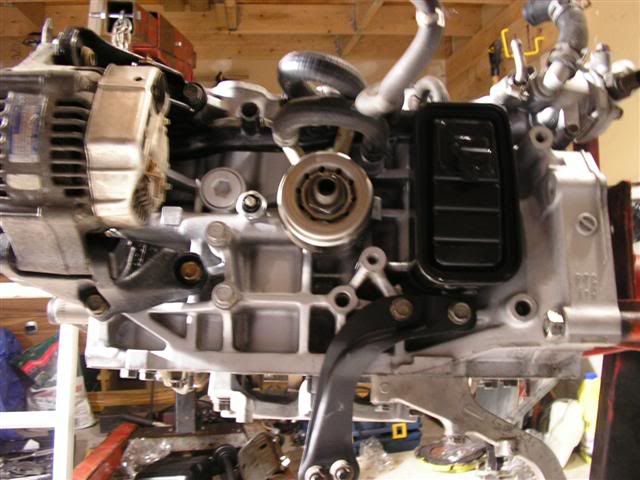
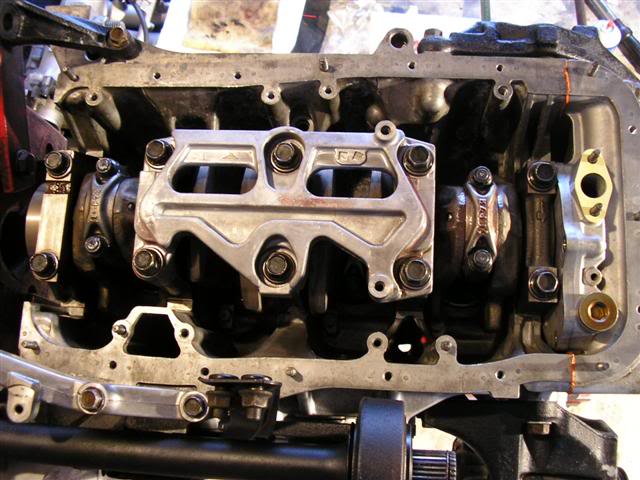
The crankshaft, bearings, girdle, main cap, oil pickup and windage tray

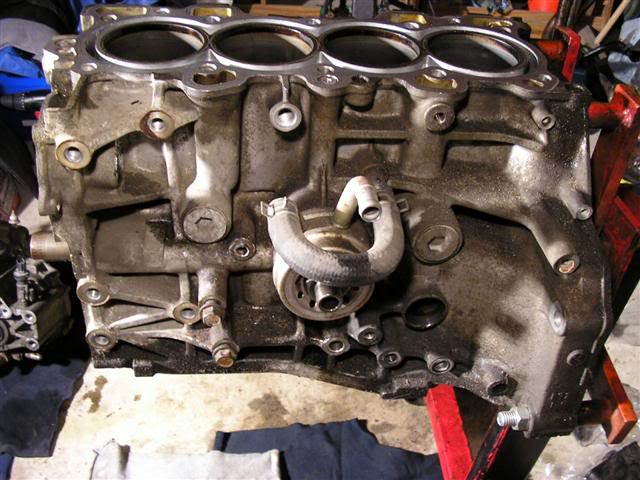
The almost bare block
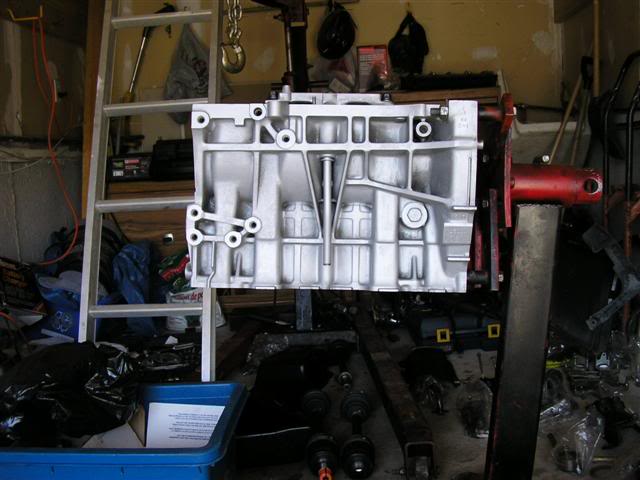
How my garage looked after removing everything off the block and head, then putting them in label sandwich bags
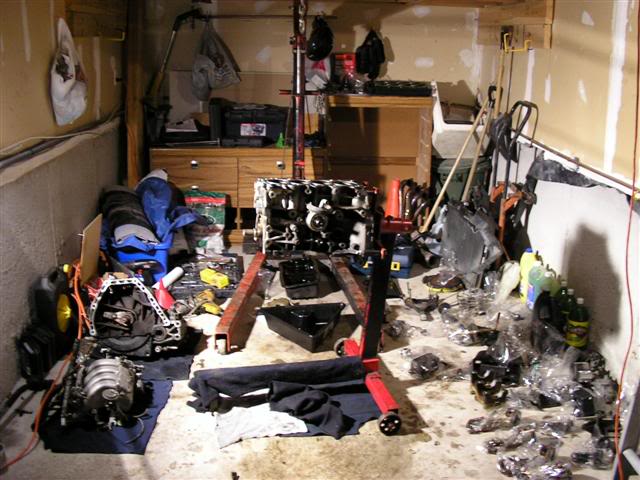
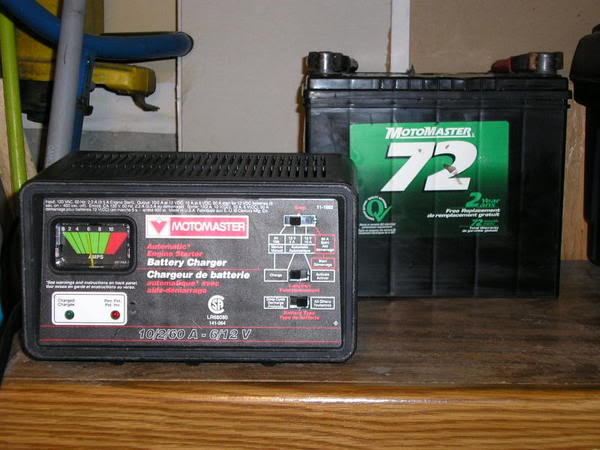
What kept my battery charged the whole time while building my engine
So it begins, with what my motor looked like just after pulling it from the engine bay.
How the engine bay looked, dirty as ----, with wires everywhere
Random pics of the dirty engine
With the head off
The crankshaft, bearings, girdle, main cap, oil pickup and windage tray
The almost bare block
How my garage looked after removing everything off the block and head, then putting them in label sandwich bags
What kept my battery charged the whole time while building my engine
Last edited by WildoutWhiteGSR; 04-23-2006 at 06:42 PM.
 04-23-2006, 06:01 PM
#2
Time to become a Premier Member!
Thread Starter
Join Date: Aug 2003
Location: Whitby
Posts: 4,816
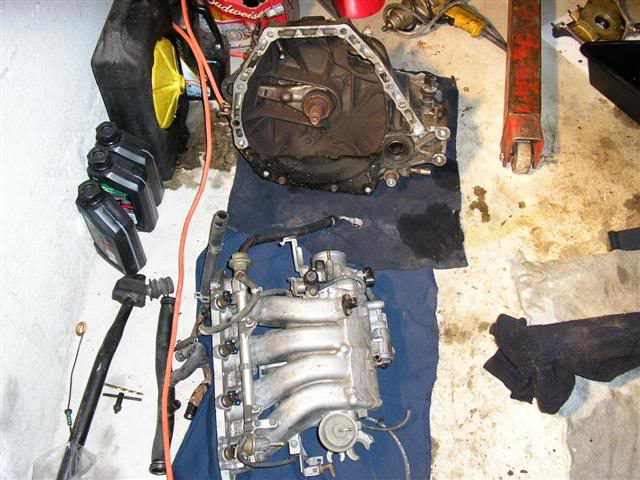
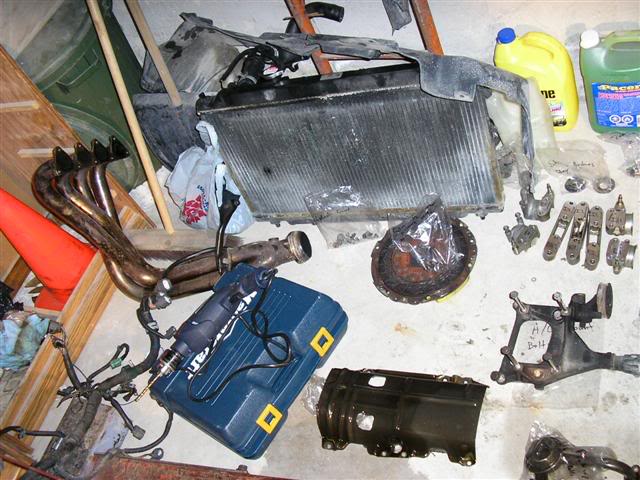
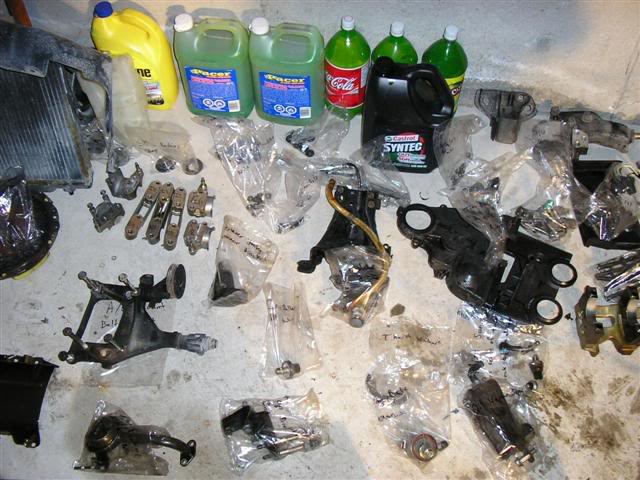
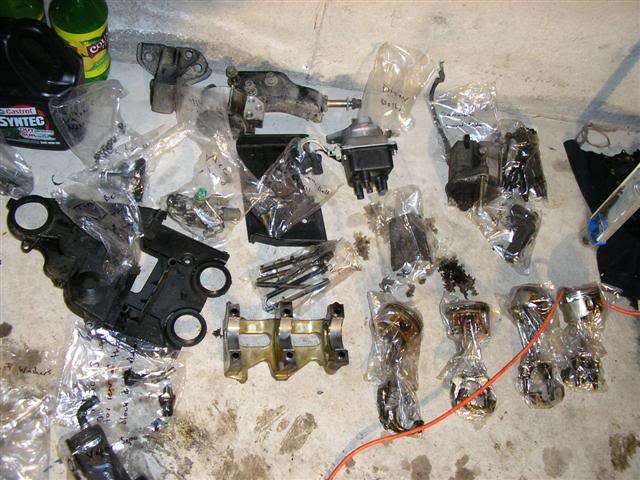
The other parts I took off the car for the time being.
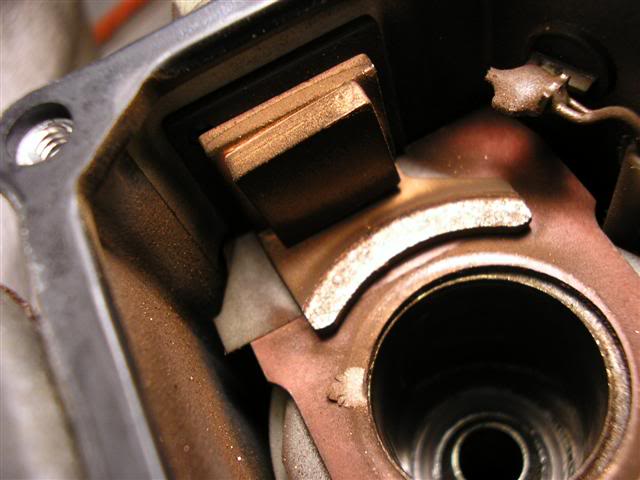
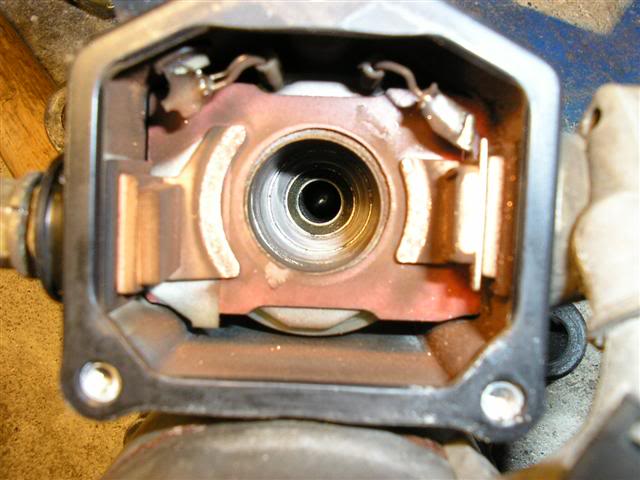
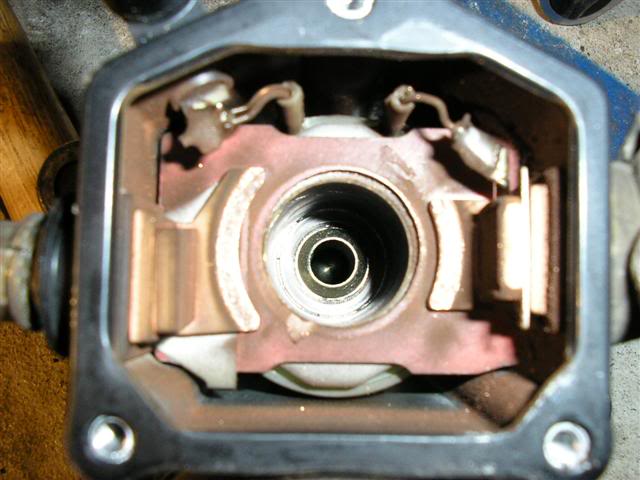
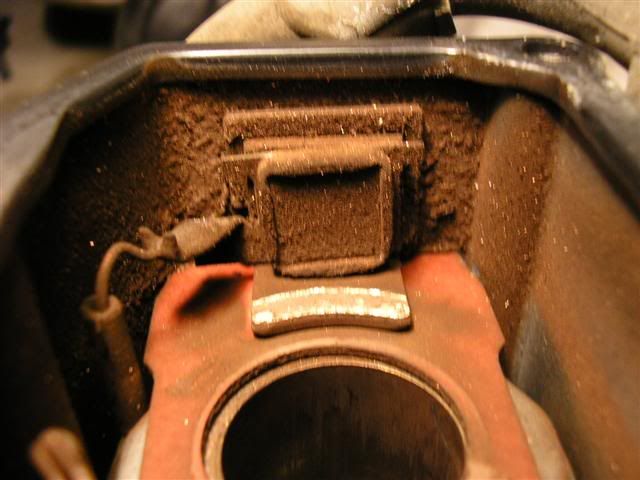
The starter opened up
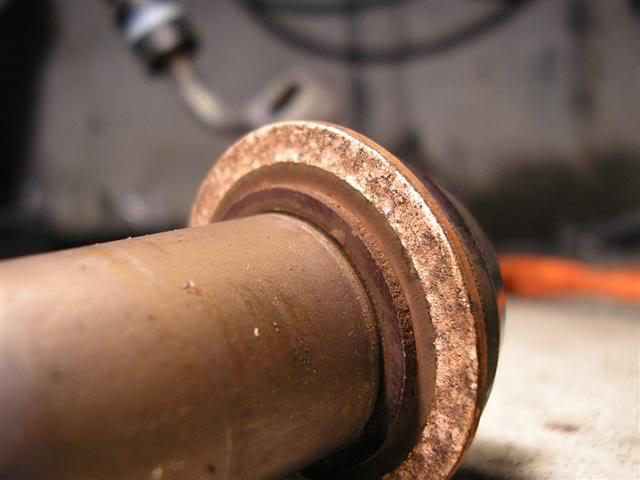
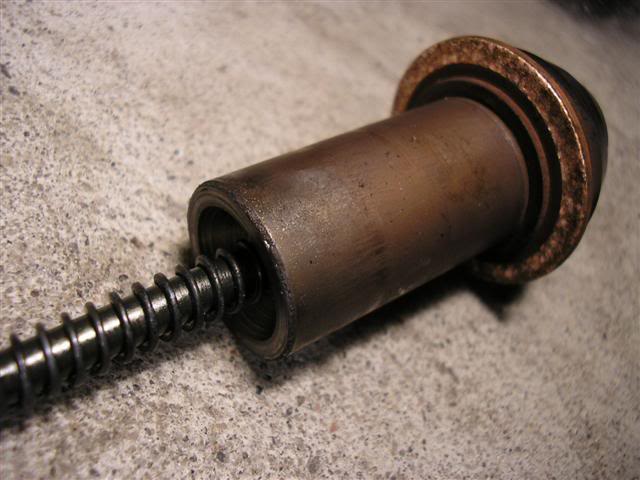

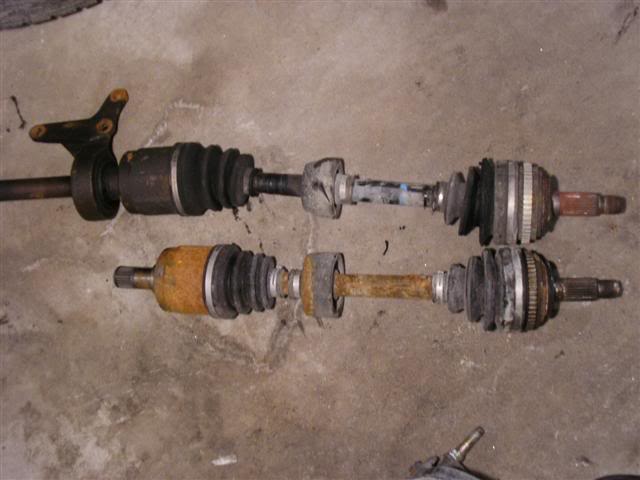
The old driveshafts and intermediate shaft
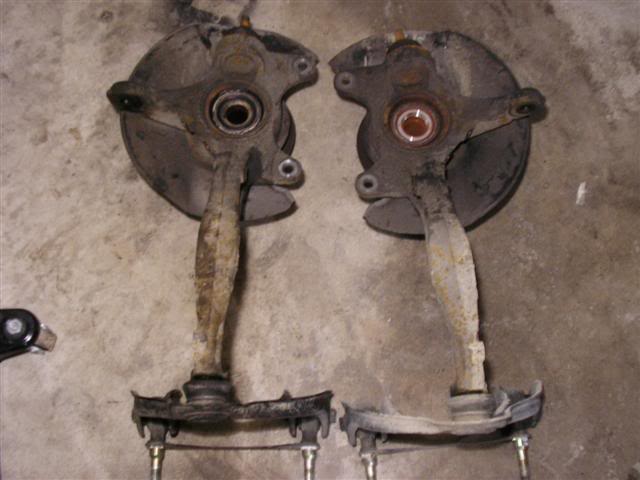
The knuckles and upper control arms
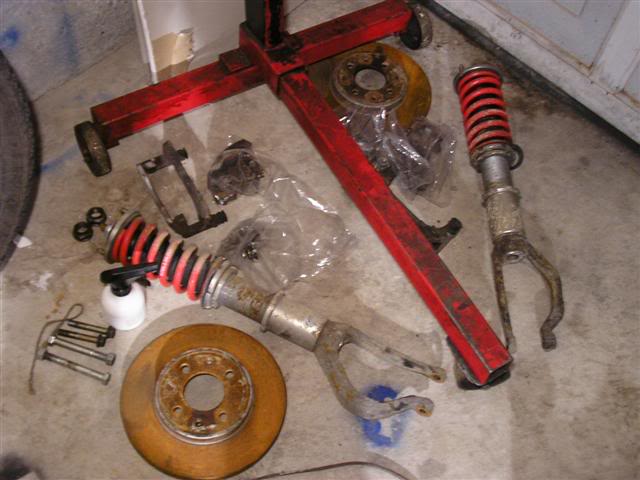
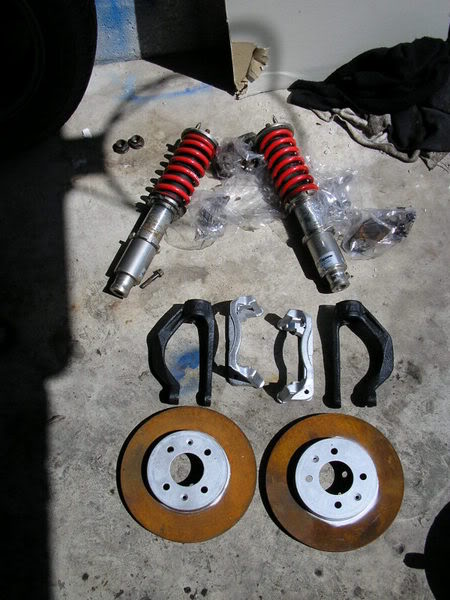
The brake caliper brackets, rotors, lower forks and my Hayame full coilover suspension
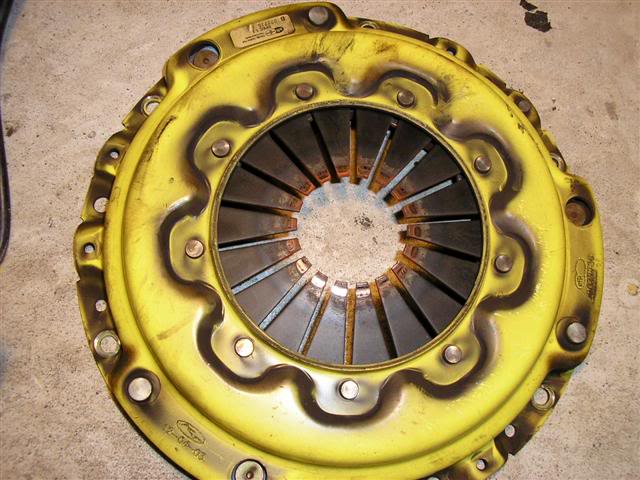
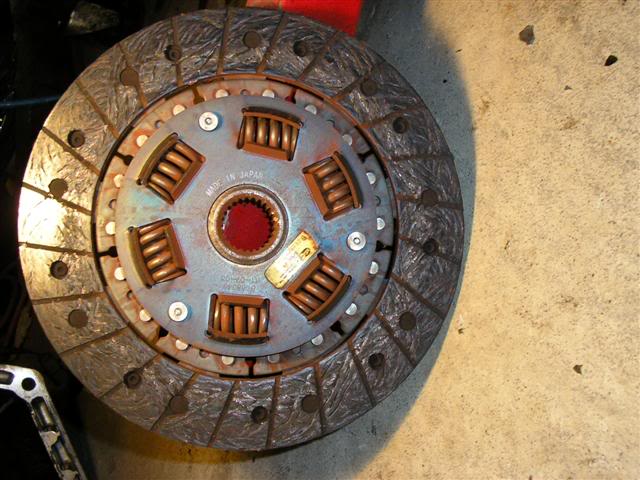
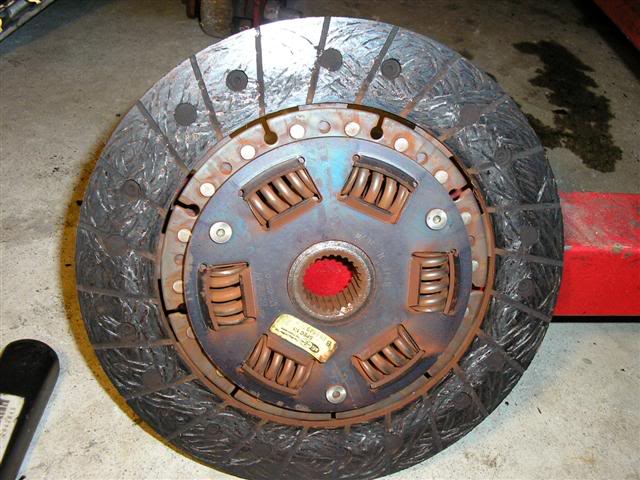
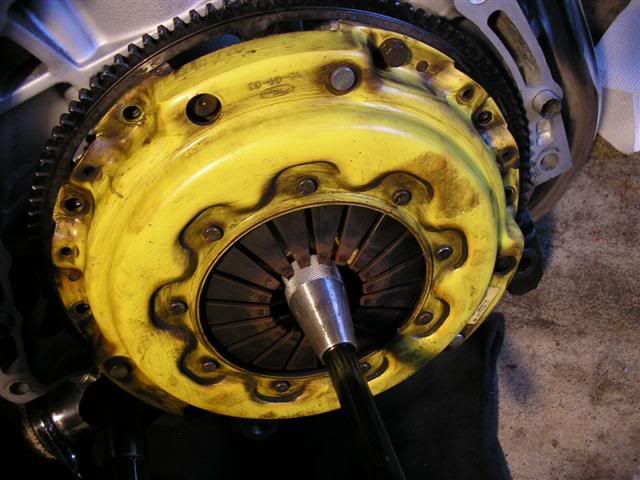
The clutch and flywheel

Now onto the progress pictures
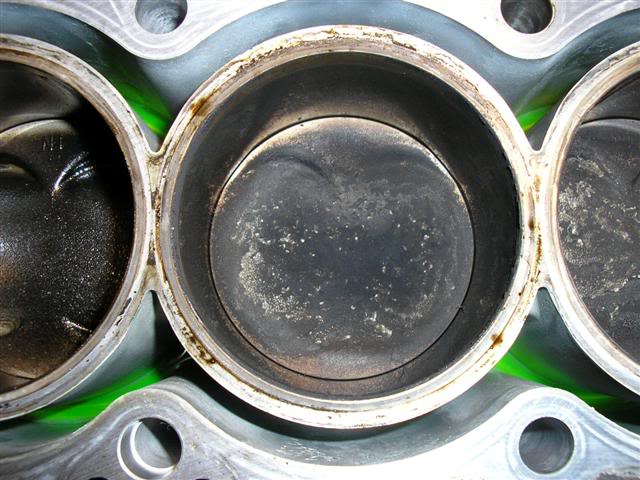
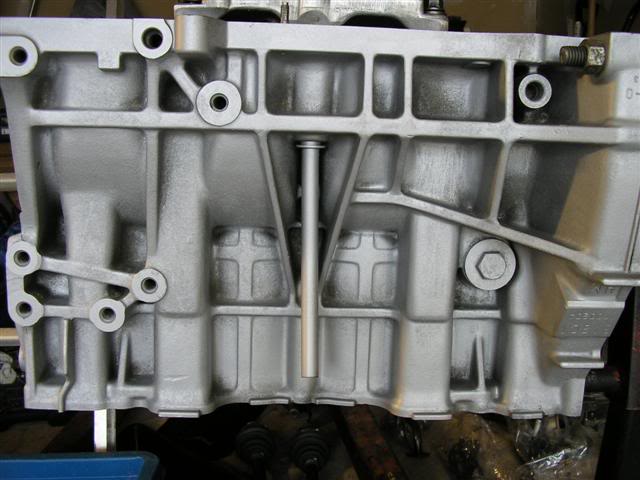
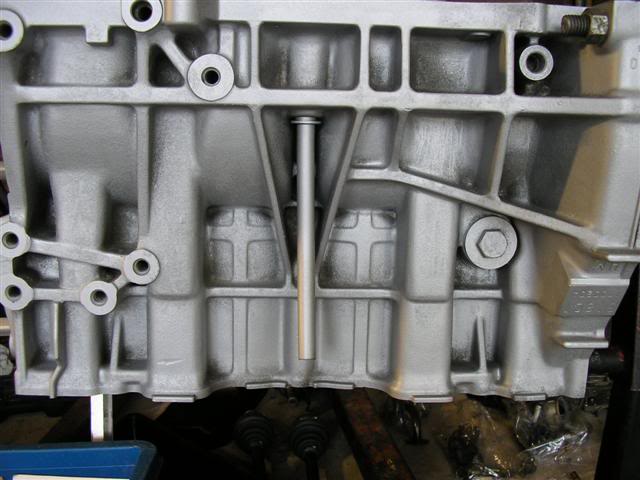
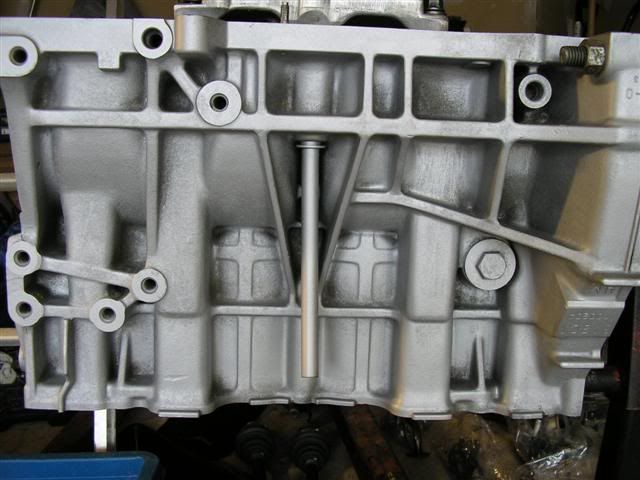
I took the block to my backyard and got some engine degreaser and brake cleaner to clean it up. Then rinse it off with some high pressure water.
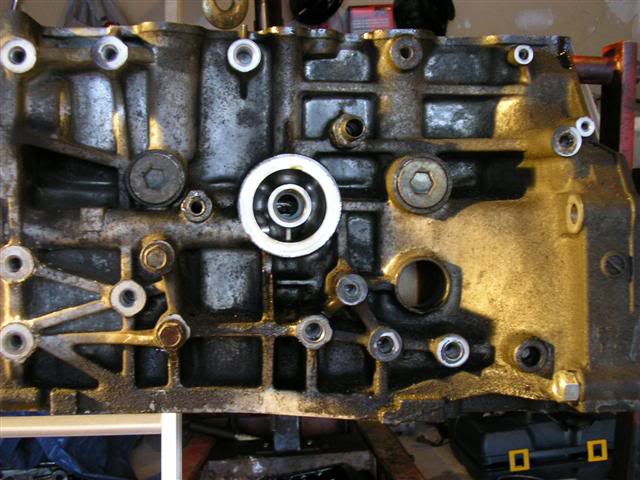
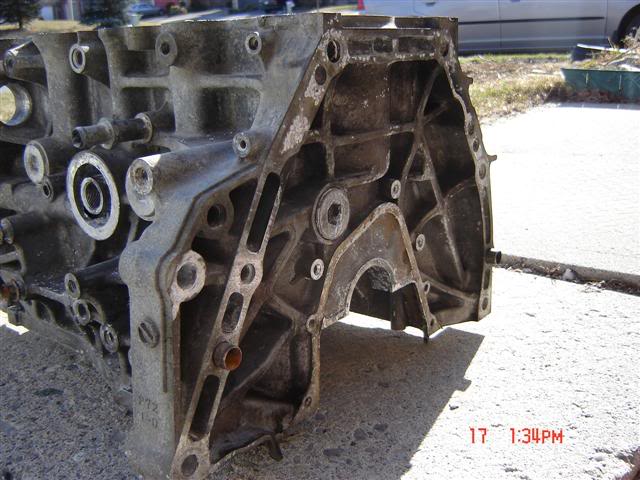
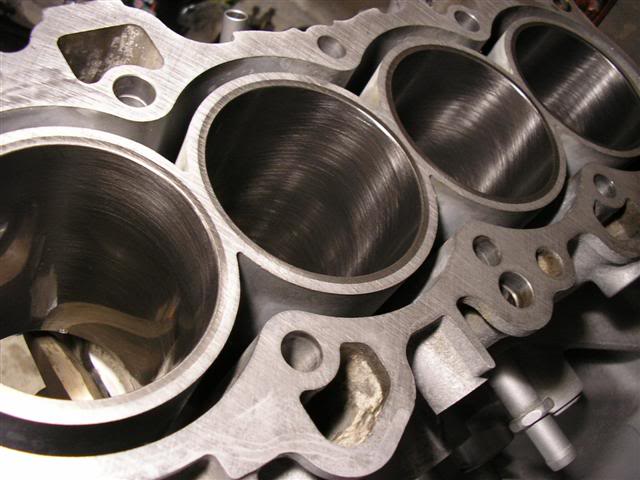
How it looked after I finished cleaning it up and done drying
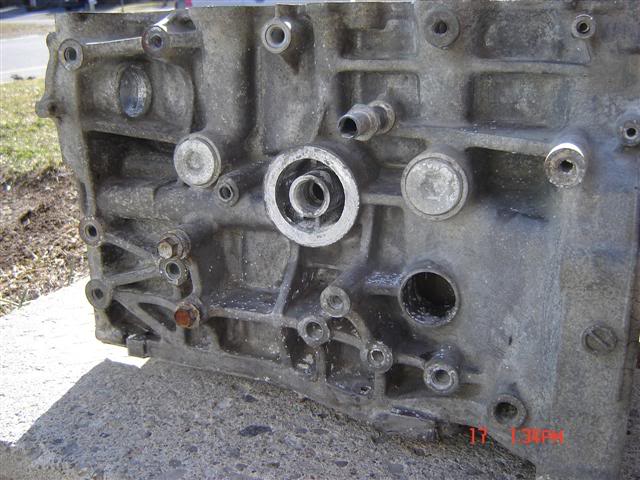
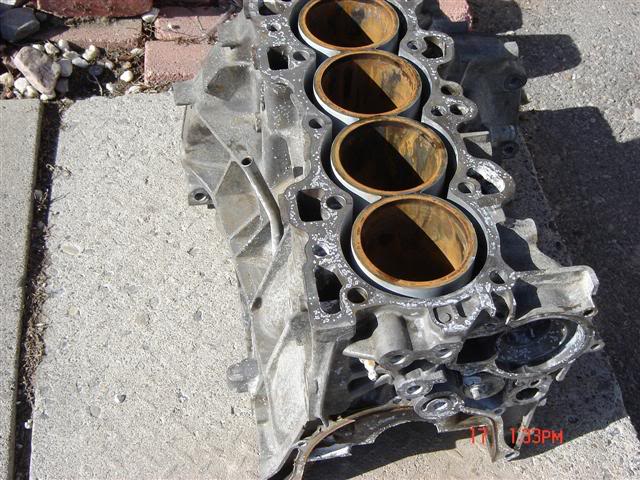
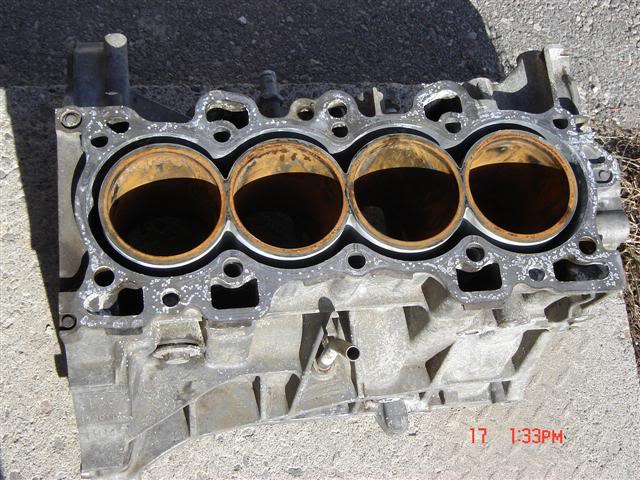
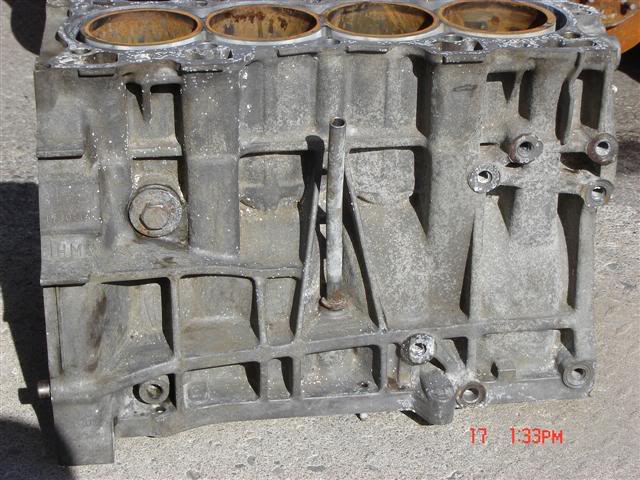
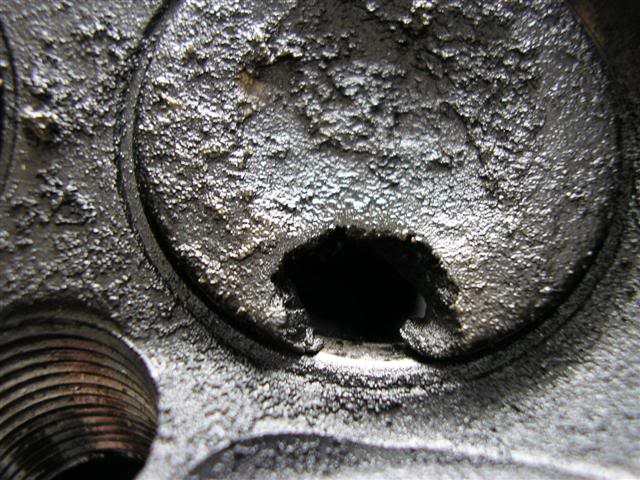
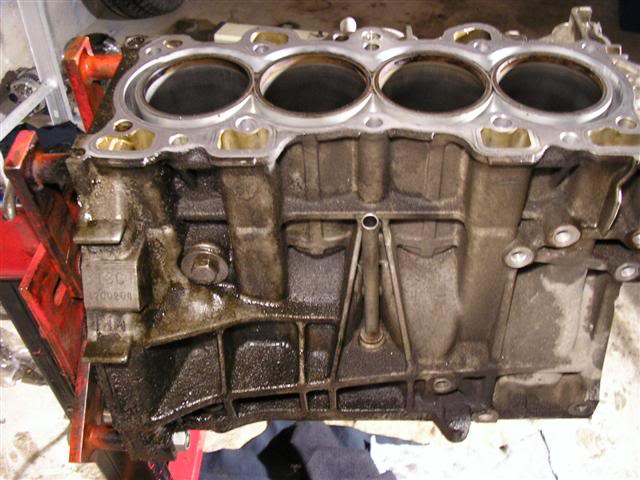
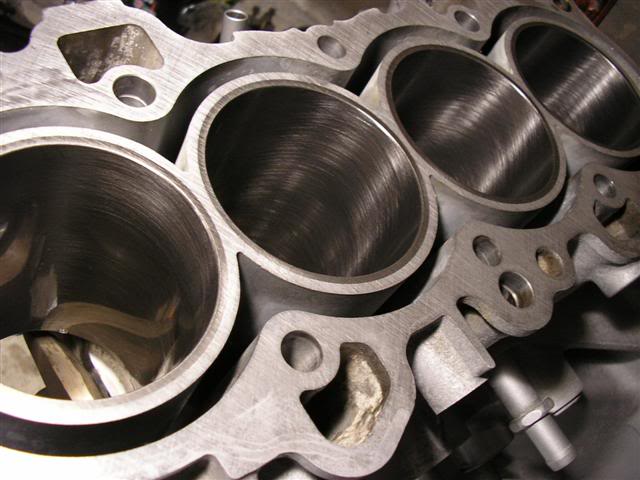
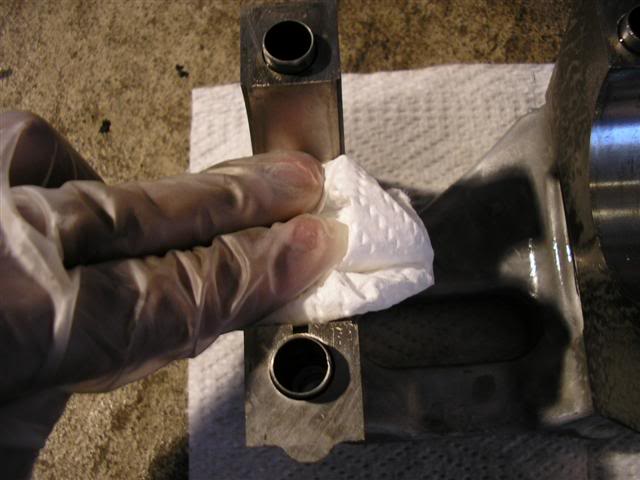
Notice the rusty looking cylinders; it was just surface rust, so I wasn’t worried at all. It came off by just wiping it with your finger. I was also boring .25 over so nothing the machine shop can’t get rid of.
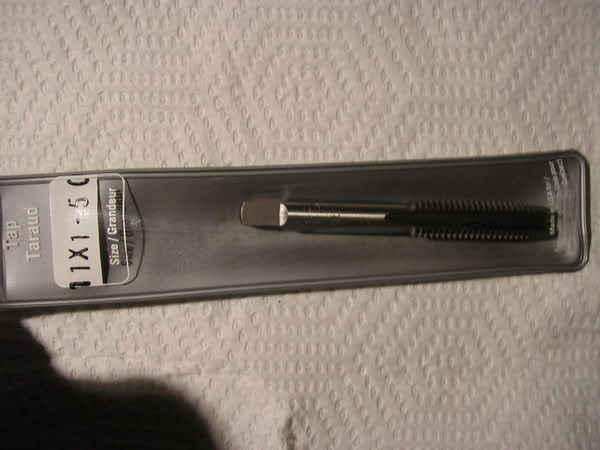
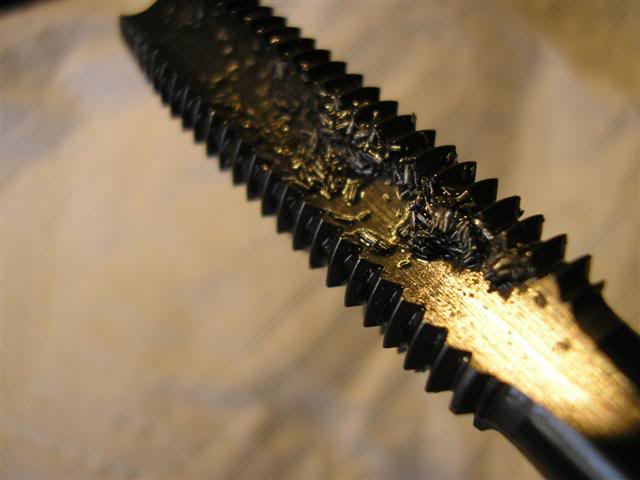
Now onto the most time consuming and looked over parts of building a motor; cleaning up the threads of the head studs and main studs holes.
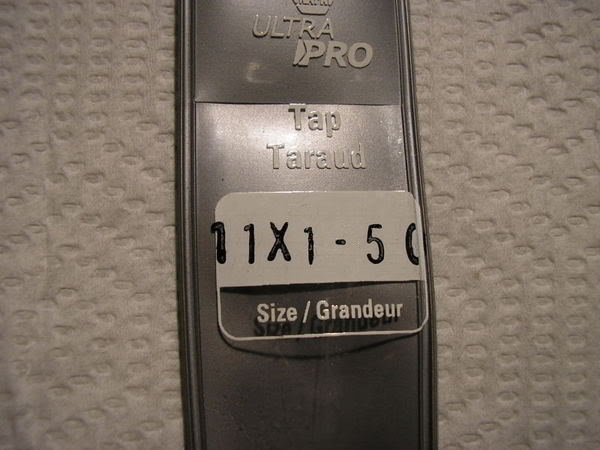
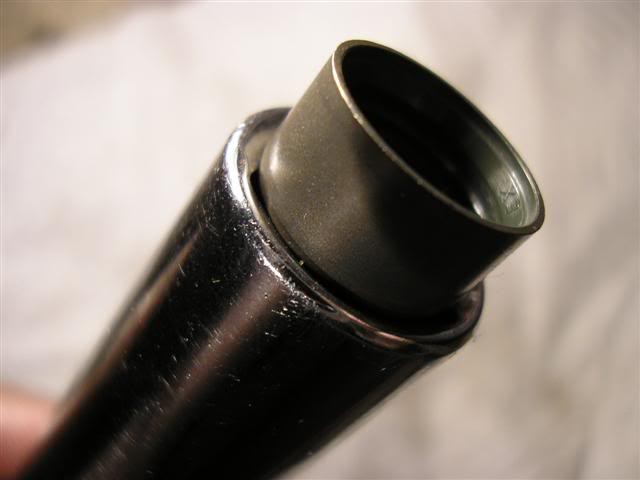
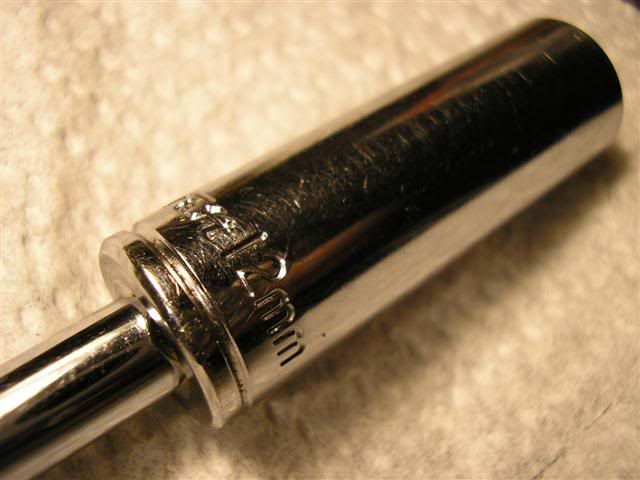
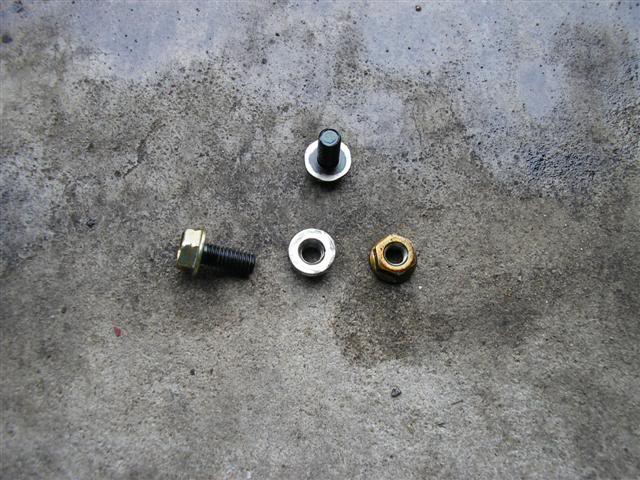
First got to make sure you buy the right sized tap. In my case it was 11mm x 1.5mm. Confirmed by the Helms manual and checking the old head bolts and main bolts that came out of the block.
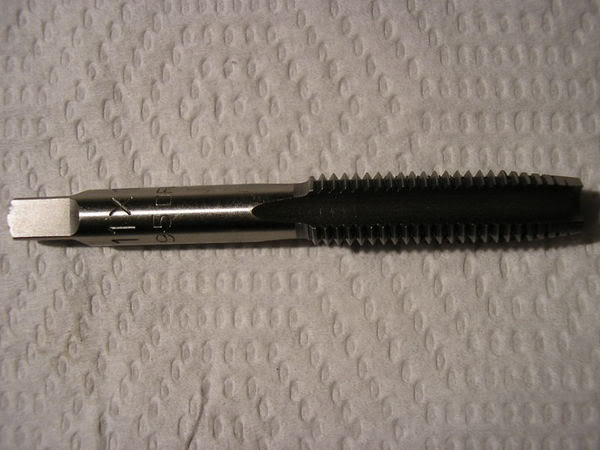
More proof, the head bolt screws into the main bolt hole perfectly. All the confirmation I need.
The starter opened up
The old driveshafts and intermediate shaft
The knuckles and upper control arms
The brake caliper brackets, rotors, lower forks and my Hayame full coilover suspension
The clutch and flywheel
Now onto the progress pictures
I took the block to my backyard and got some engine degreaser and brake cleaner to clean it up. Then rinse it off with some high pressure water.
How it looked after I finished cleaning it up and done drying
Notice the rusty looking cylinders; it was just surface rust, so I wasn’t worried at all. It came off by just wiping it with your finger. I was also boring .25 over so nothing the machine shop can’t get rid of.
Now onto the most time consuming and looked over parts of building a motor; cleaning up the threads of the head studs and main studs holes.
First got to make sure you buy the right sized tap. In my case it was 11mm x 1.5mm. Confirmed by the Helms manual and checking the old head bolts and main bolts that came out of the block.
More proof, the head bolt screws into the main bolt hole perfectly. All the confirmation I need.
04-23-2006, 06:01 PM
#3
Time to become a Premier Member!
Thread Starter
Join Date: Aug 2003
Location: Whitby
Posts: 4,816
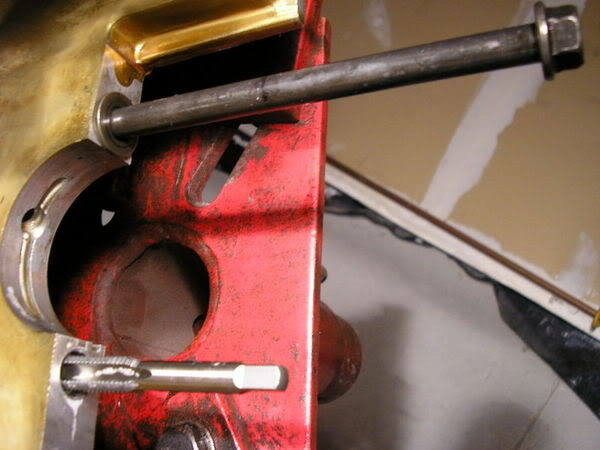
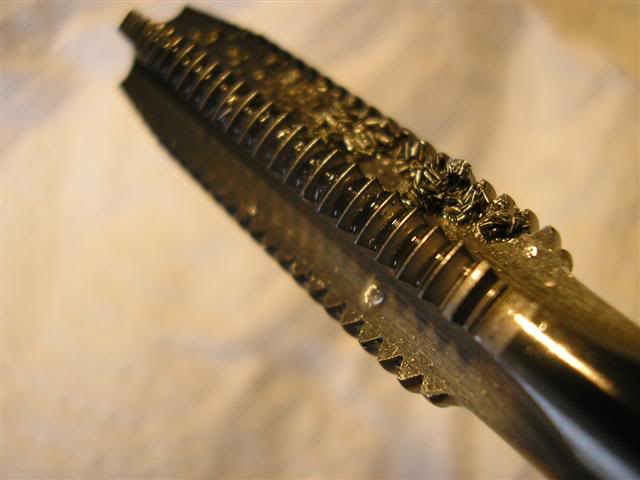
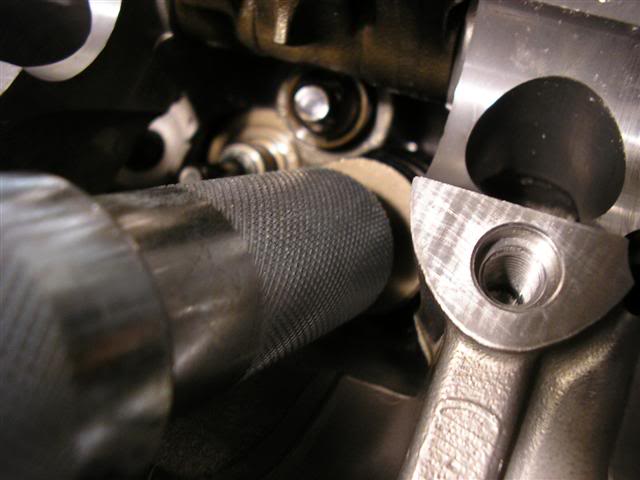
Chasing the threads of the head bolts hole
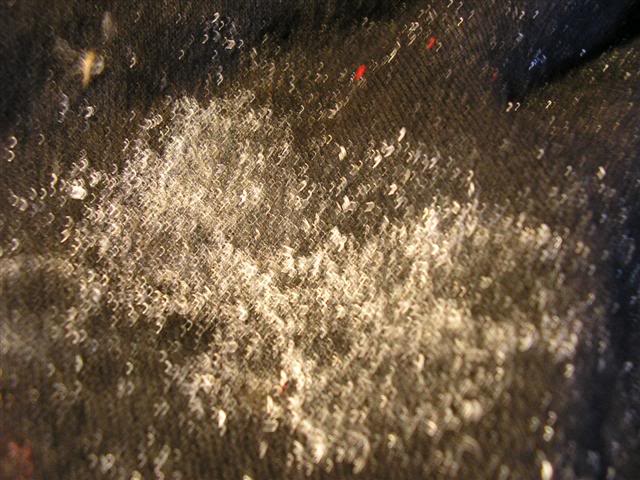
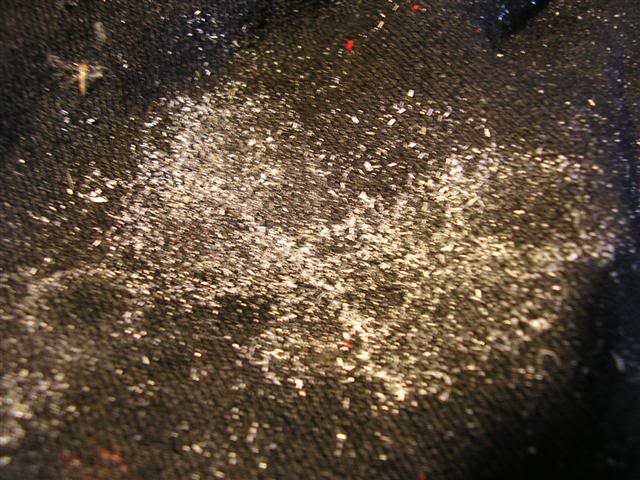
The shavings that came out of all the 10 head studs holes (sorry for the blurry pictures)
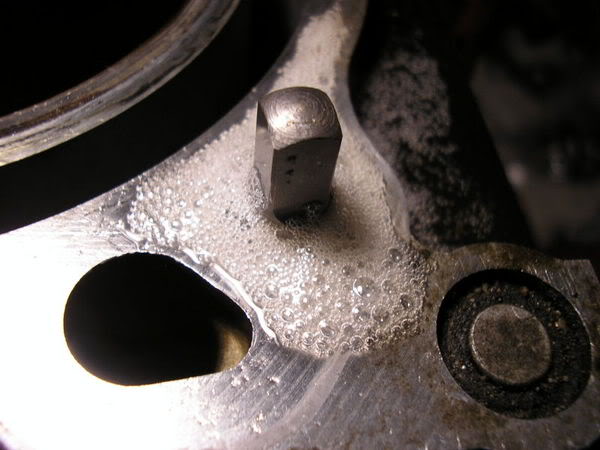
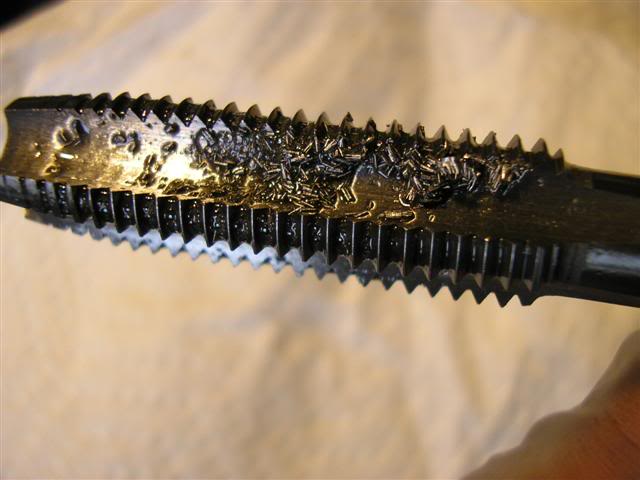
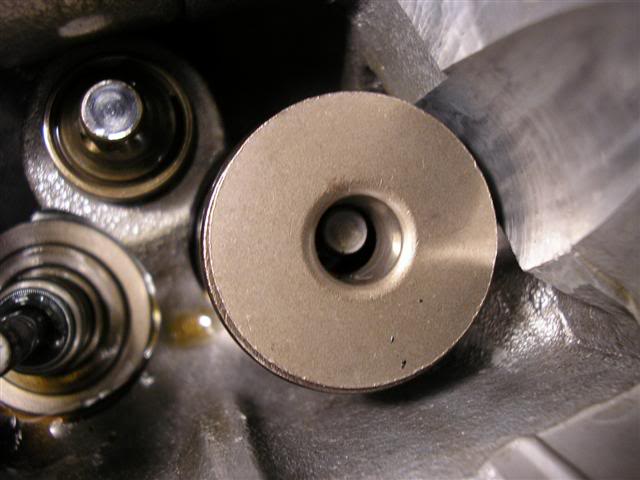
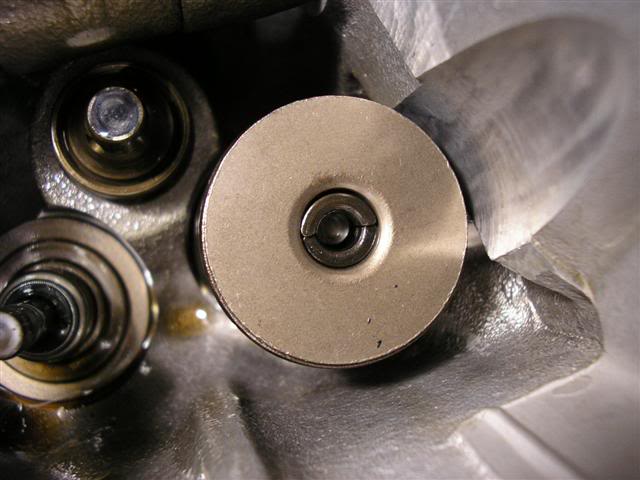
Onto the main bolt holes, it’s the same process

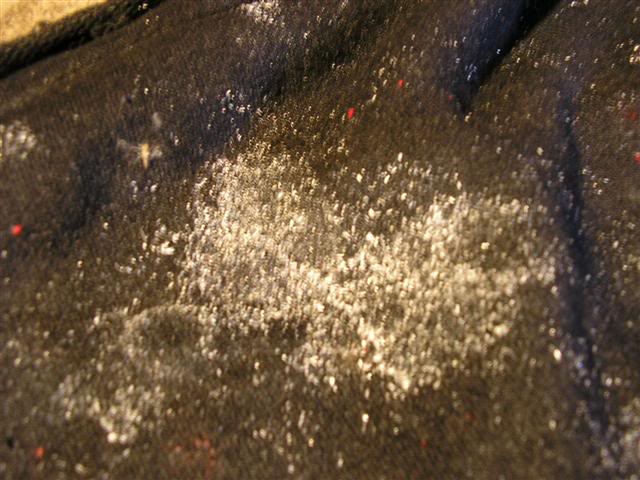
The results, this is what came out of each main bolt hole. Shocking isn’t it
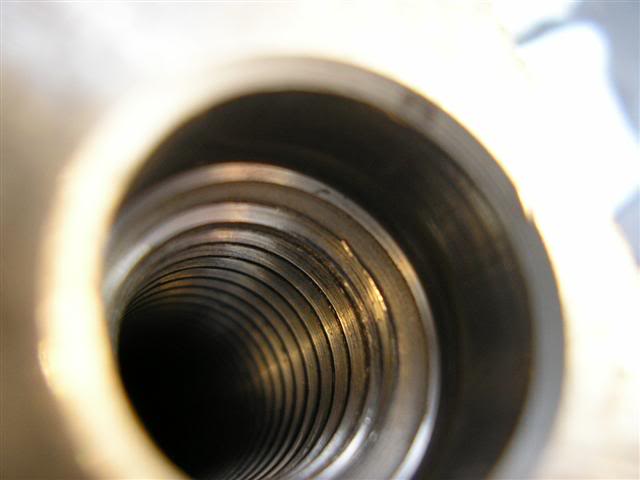
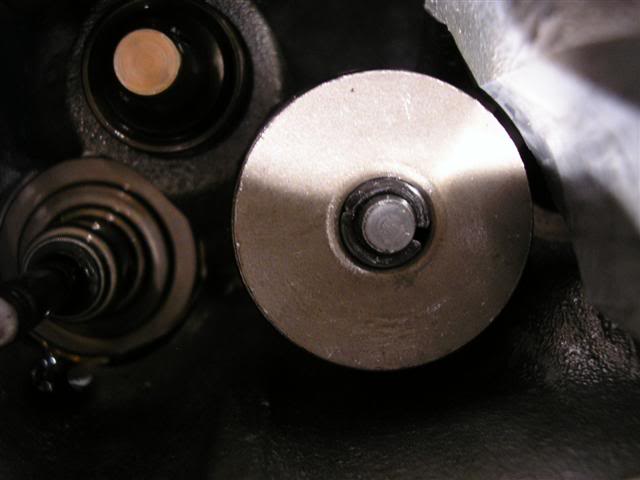
How the threads looked after, nice and clean
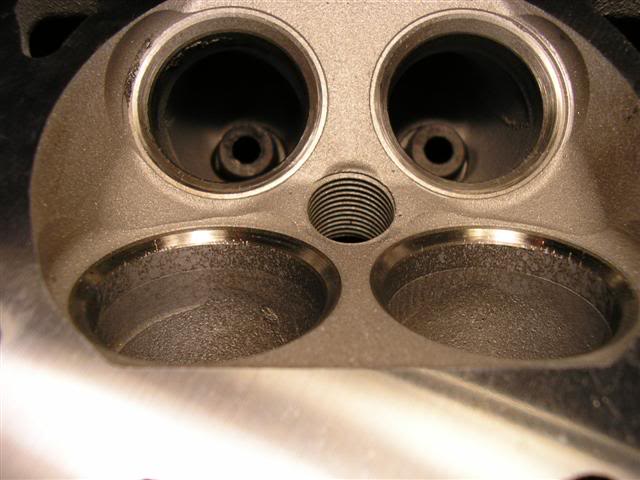
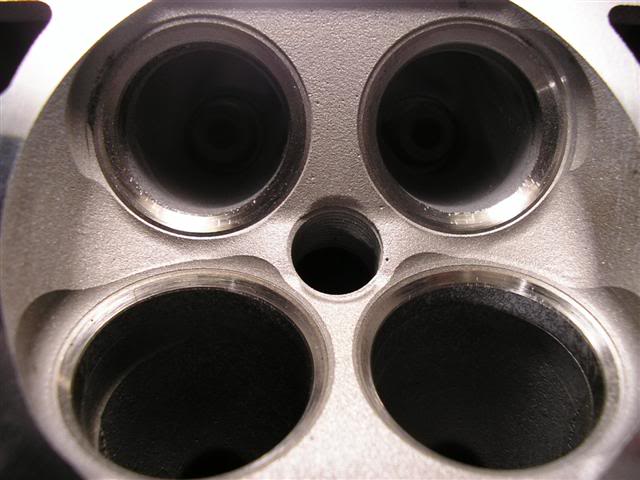
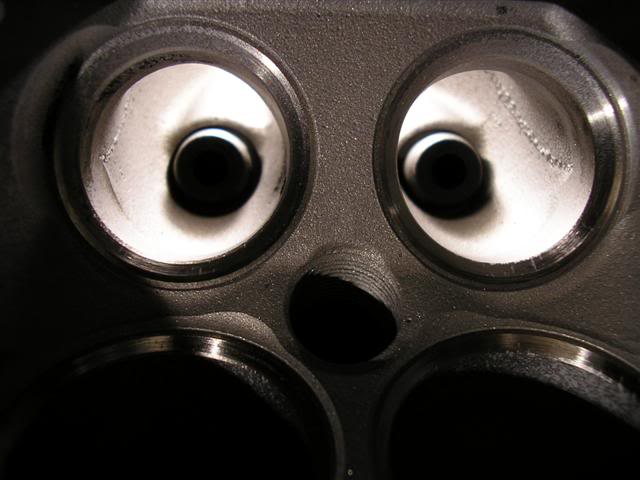
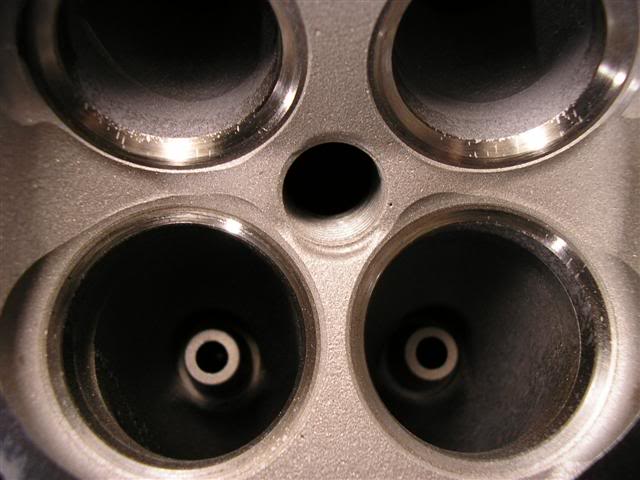
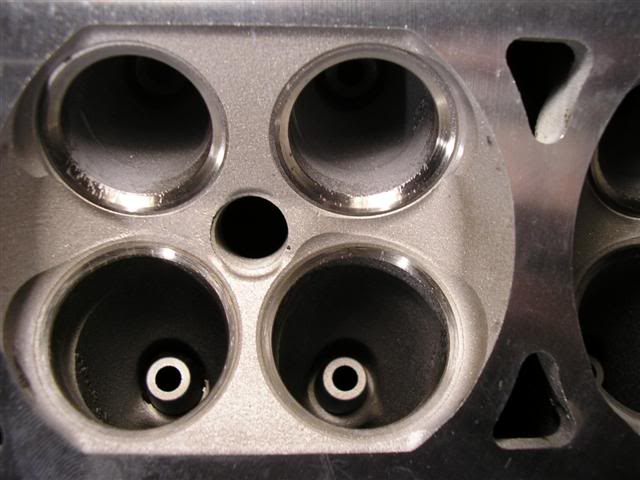
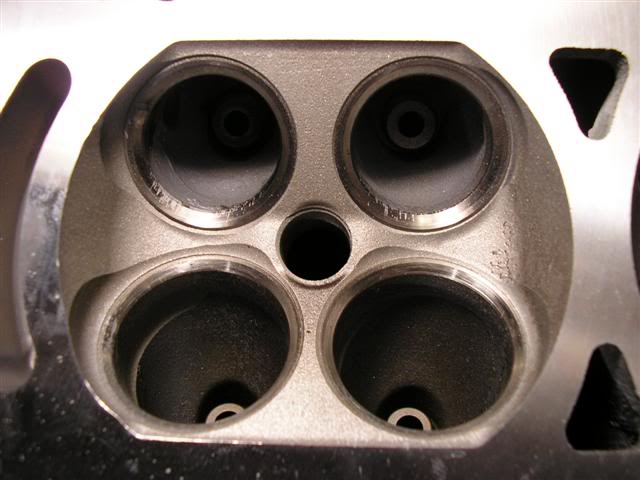
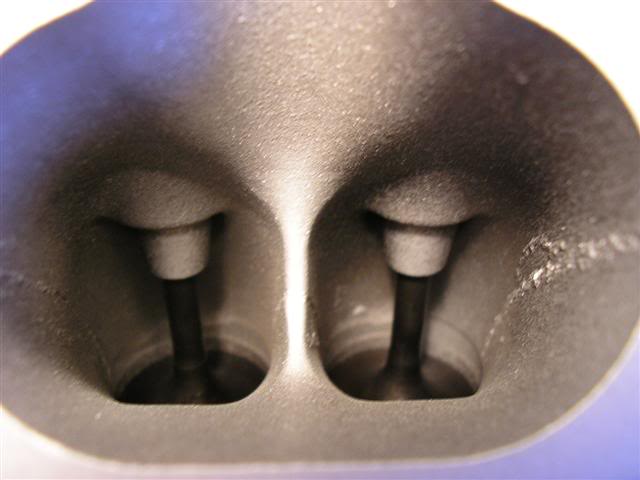
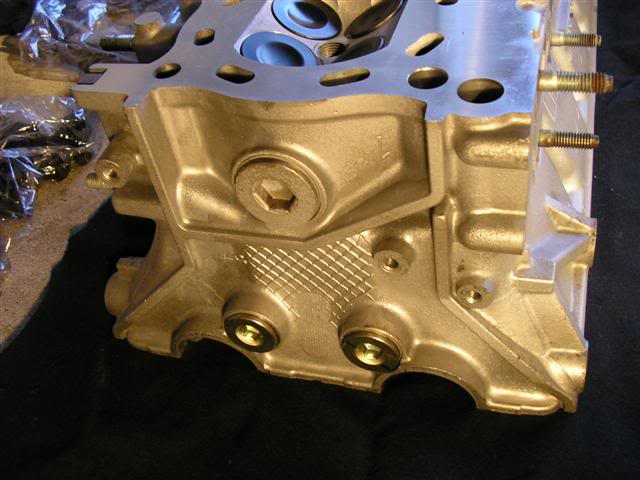
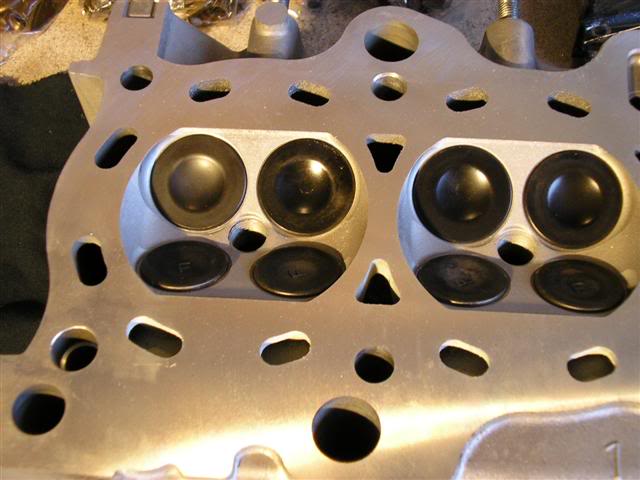
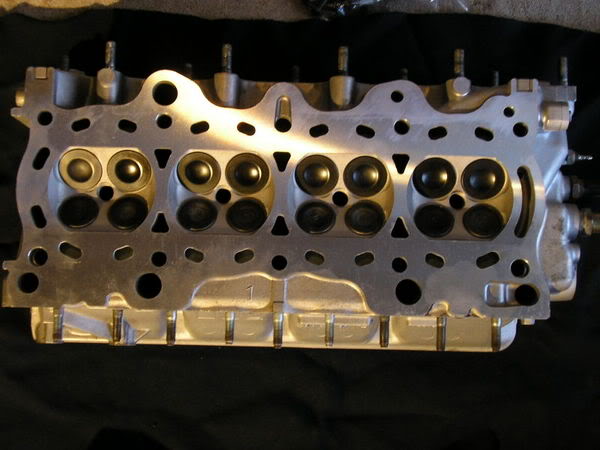
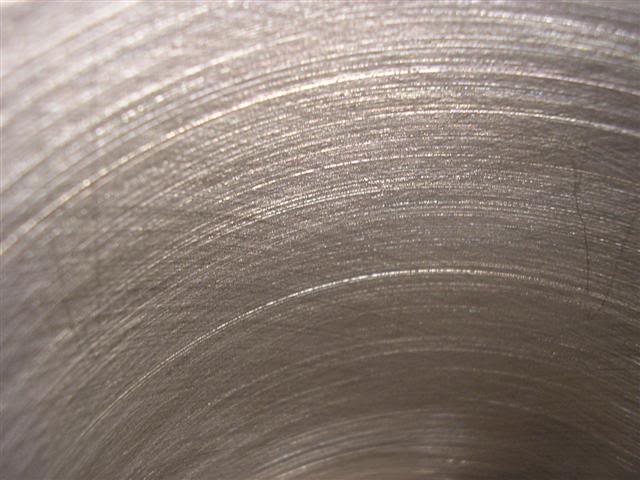
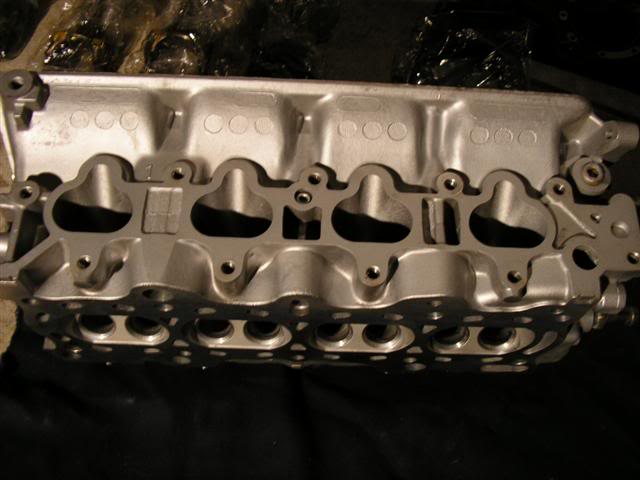
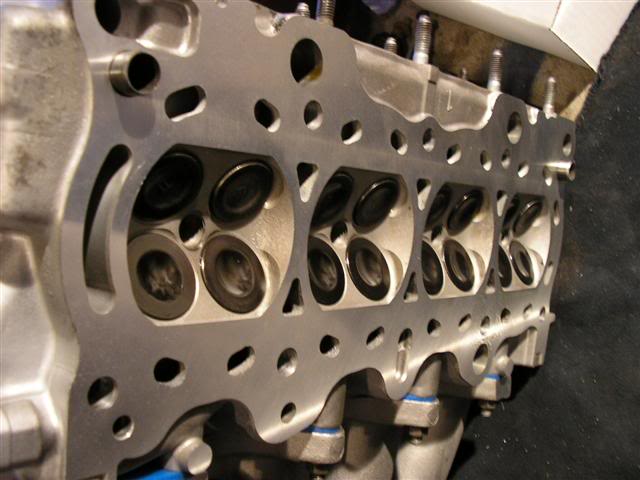
In the meantime the head was sent out to my local machine shop and this is how it looked when I got it back

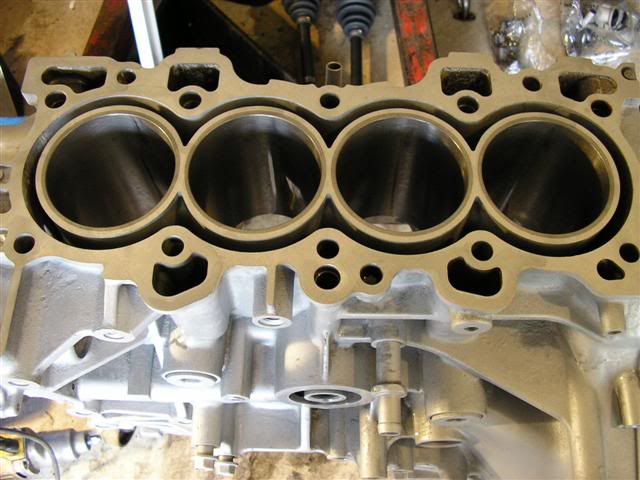
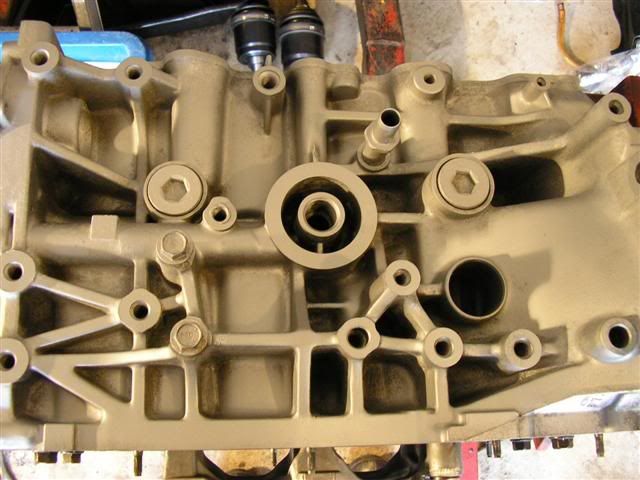
Next the block was sent off and this is how I received it back from the machine shop
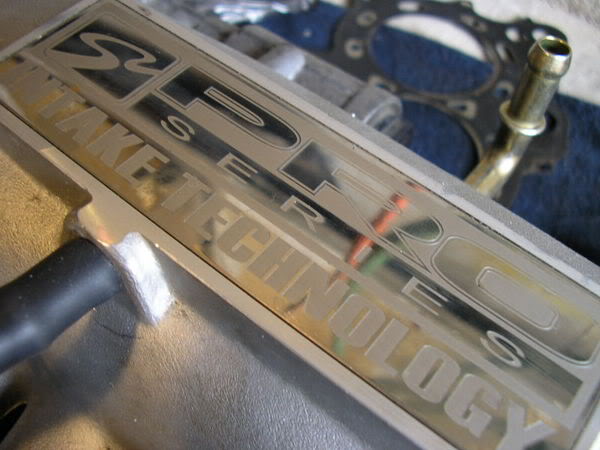
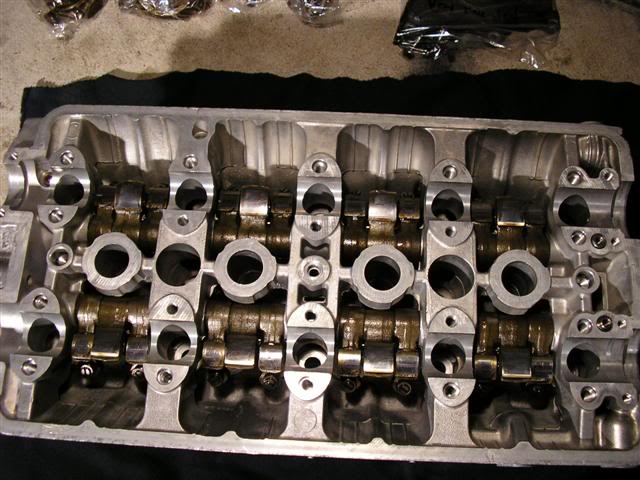
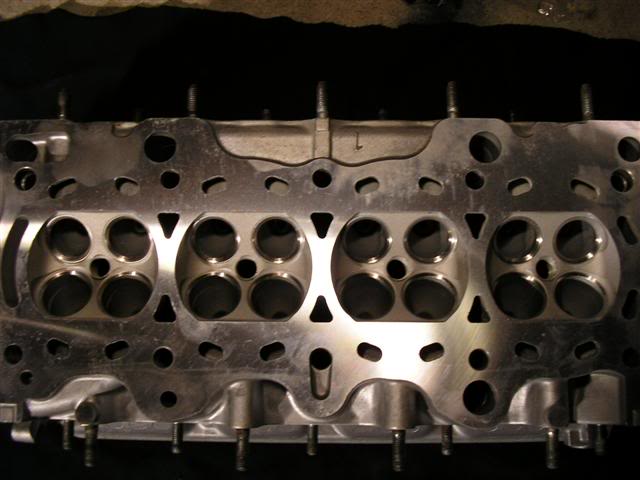
The heads done for now until I put it on the block.
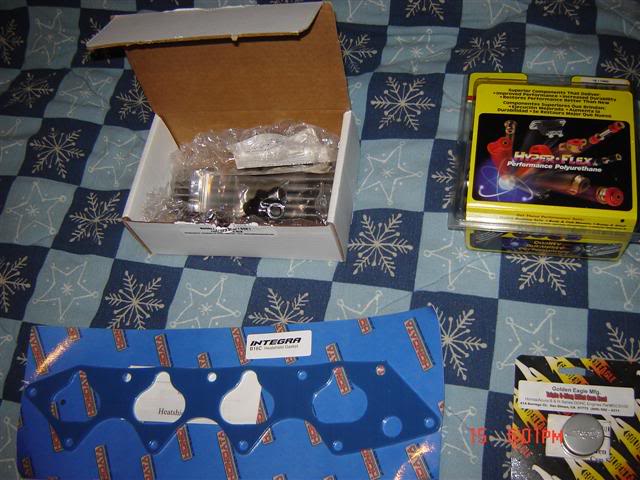
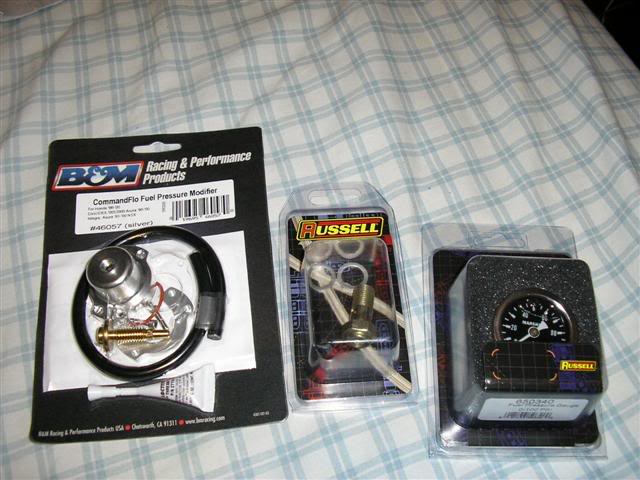
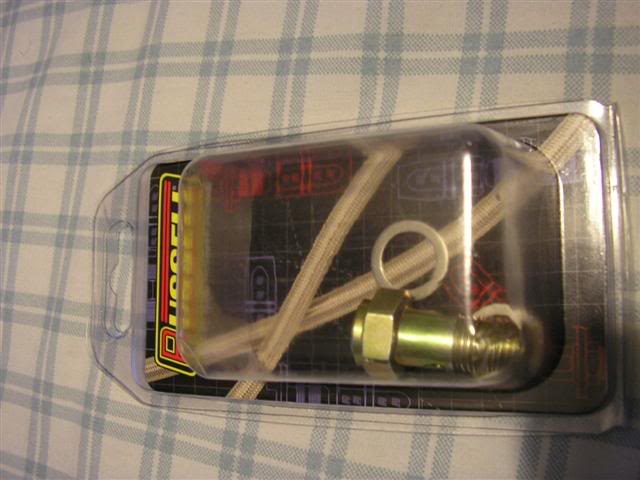
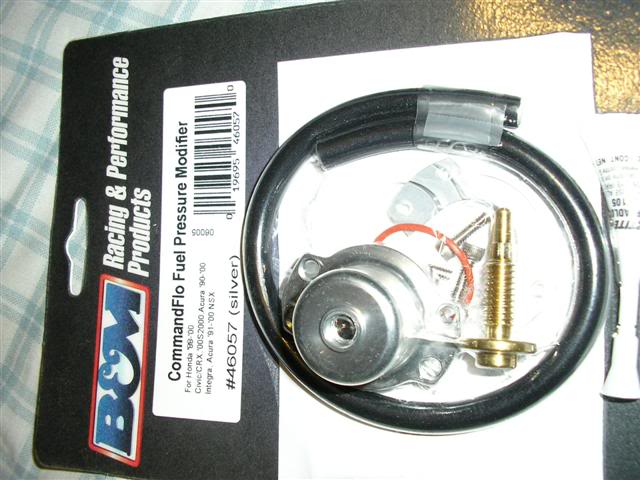
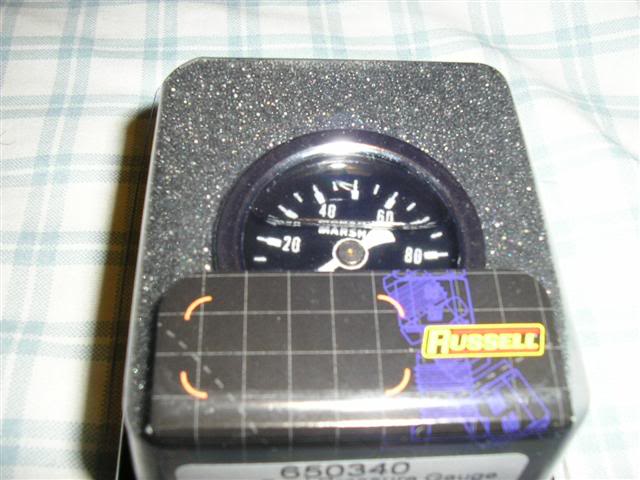
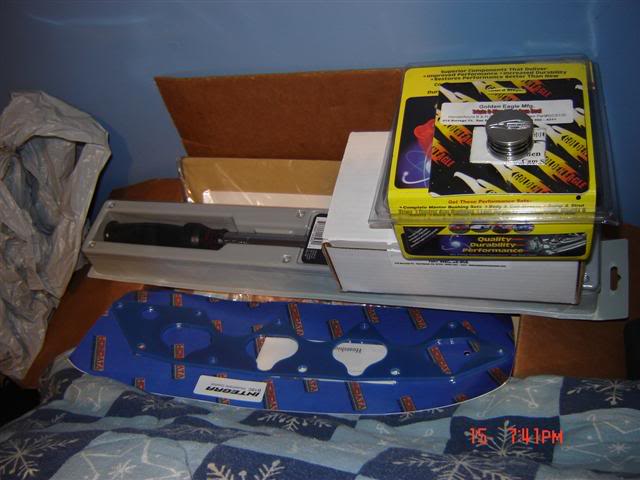
The parts I ordered have arrived, sweet.
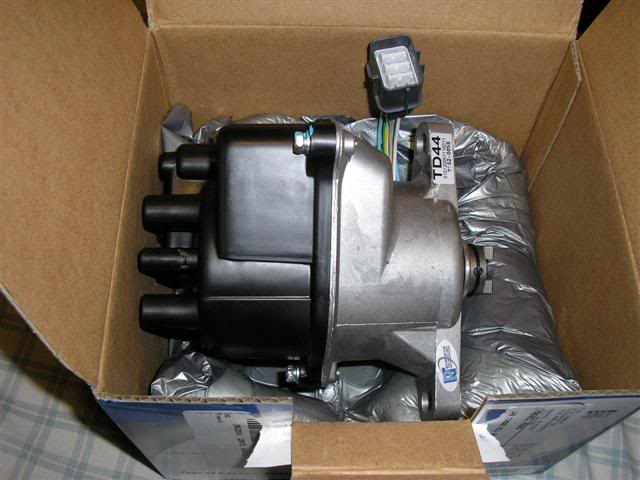
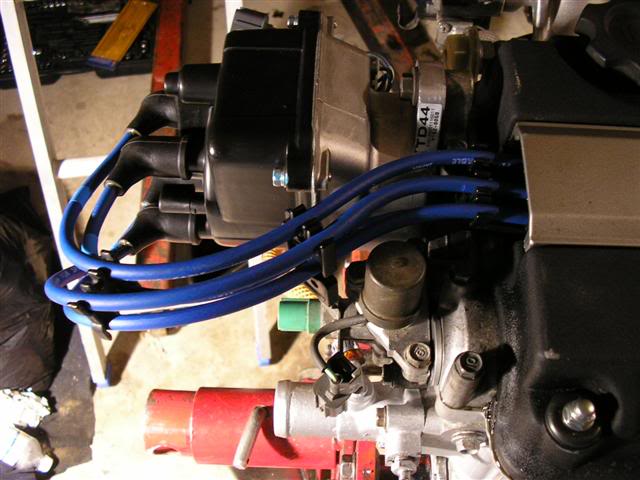
My replacement distributor king dizzy. My old one was on its way out. Gotta love 3 year warranties.
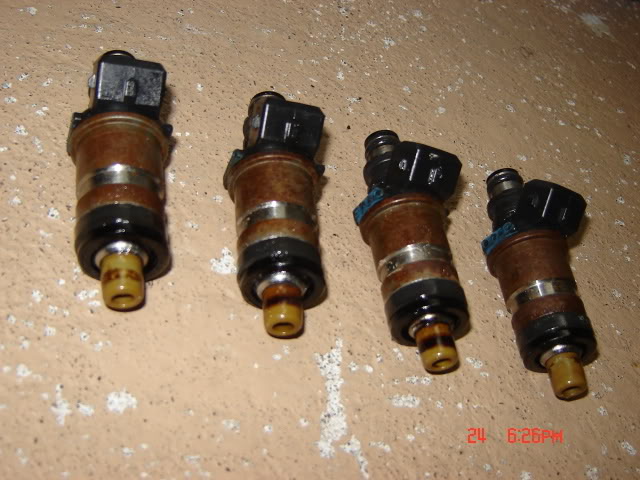
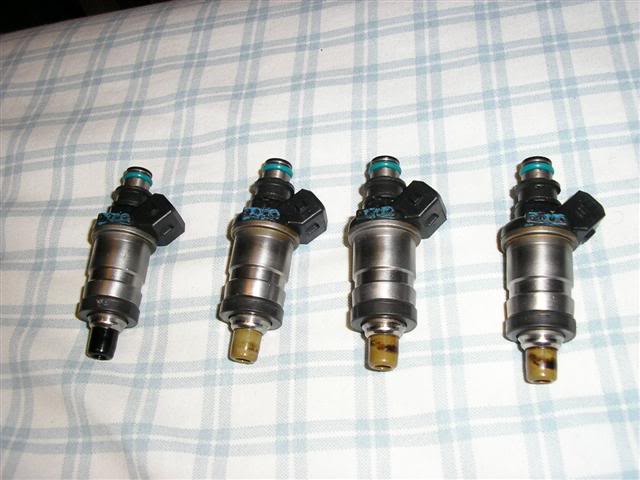
My injectors before
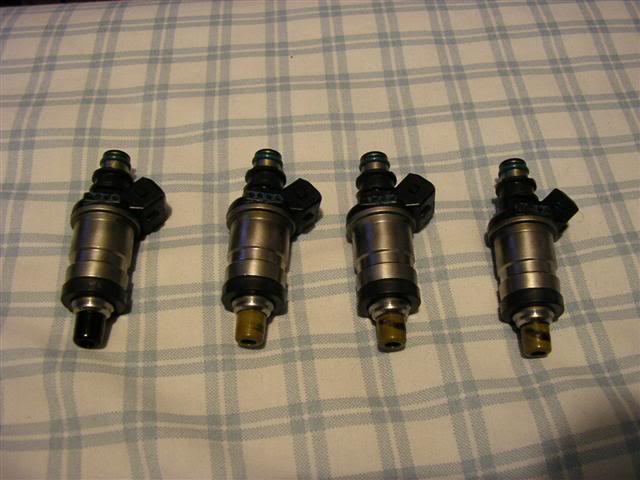
My injectors balanced and cleaned.
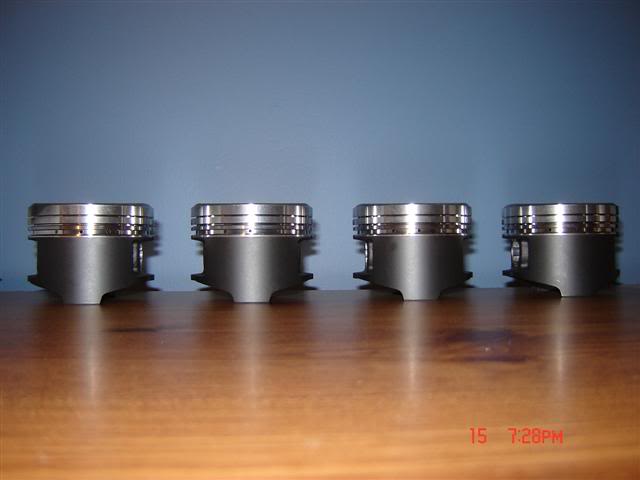
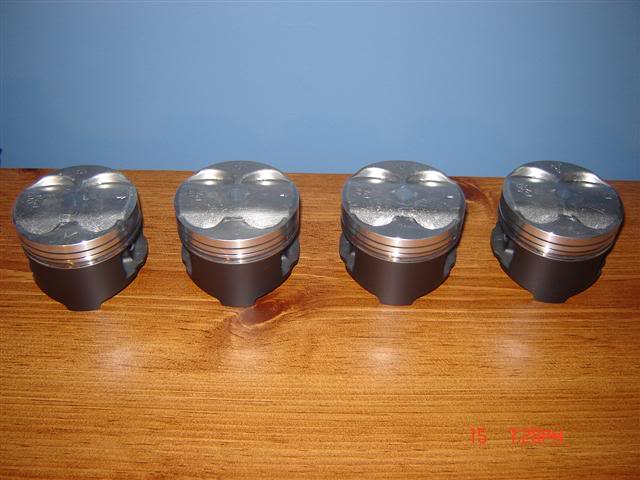
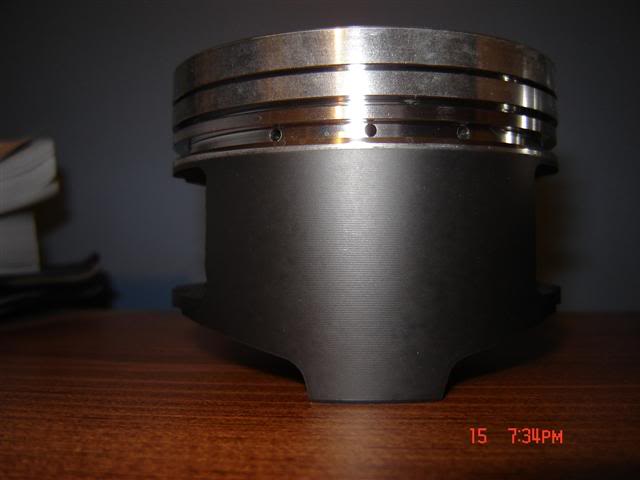
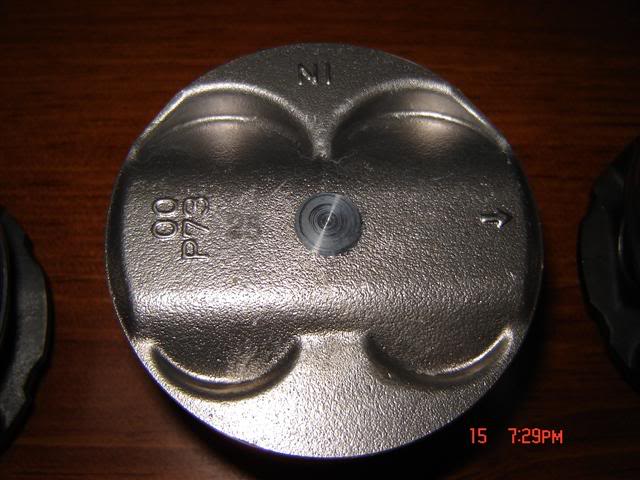
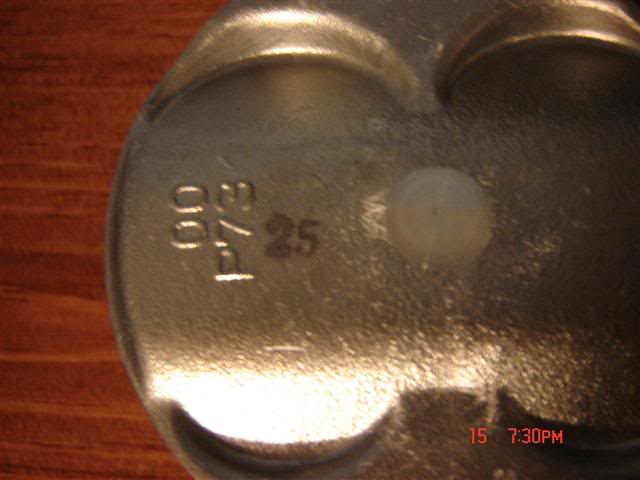
My new jdm itr pistons along with wrist pins and new OEM piston rings
My parts box
The shavings that came out of all the 10 head studs holes (sorry for the blurry pictures)
Onto the main bolt holes, it’s the same process
The results, this is what came out of each main bolt hole. Shocking isn’t it
How the threads looked after, nice and clean
In the meantime the head was sent out to my local machine shop and this is how it looked when I got it back
Next the block was sent off and this is how I received it back from the machine shop
The heads done for now until I put it on the block.
The parts I ordered have arrived, sweet.
My replacement distributor king dizzy. My old one was on its way out. Gotta love 3 year warranties.
My injectors before
My injectors balanced and cleaned.
My new jdm itr pistons along with wrist pins and new OEM piston rings
My parts box
04-23-2006, 06:05 PM
#4
Time to become a Premier Member!
Thread Starter
Join Date: Aug 2003
Location: Whitby
Posts: 4,816
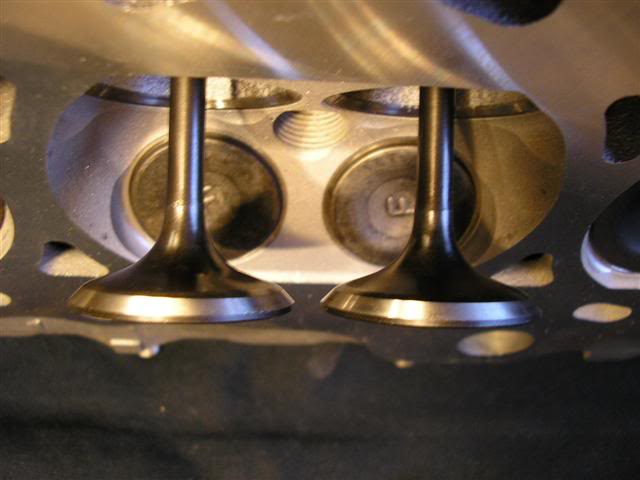
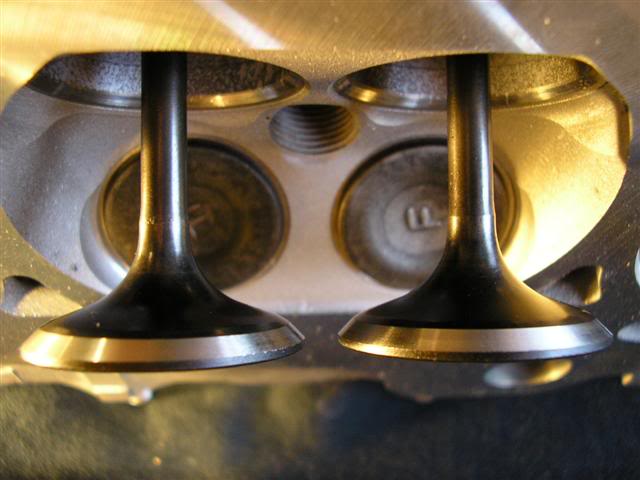
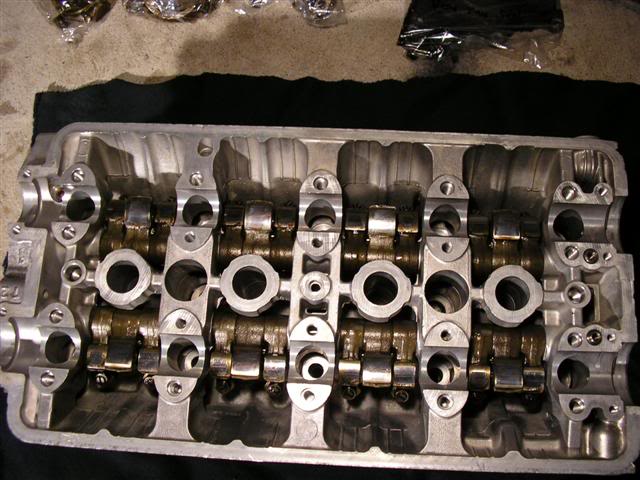
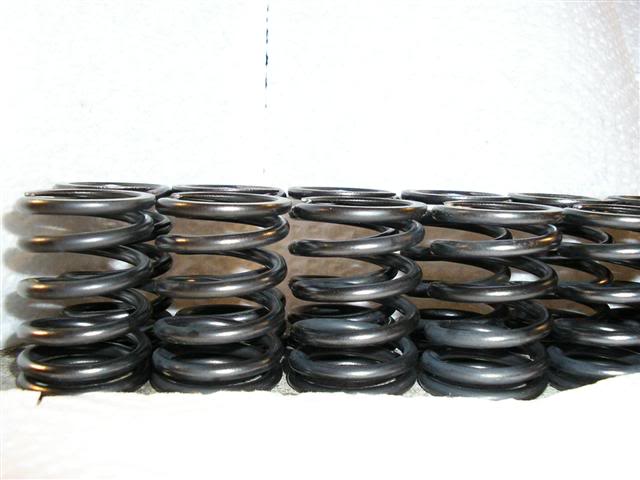
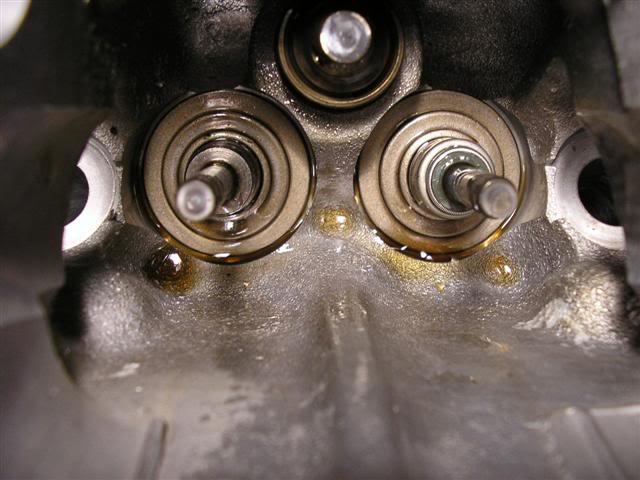
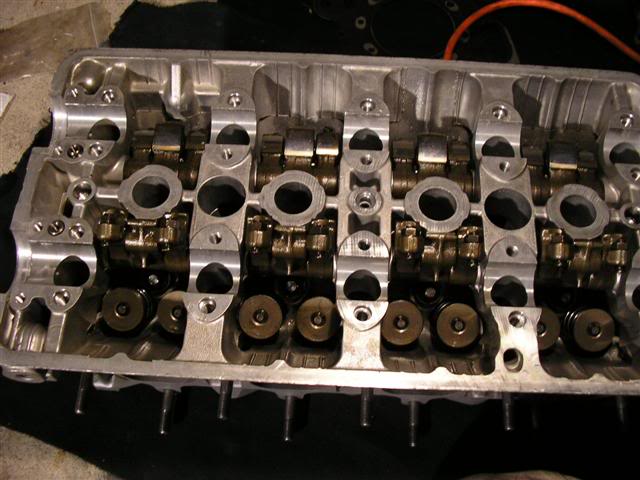
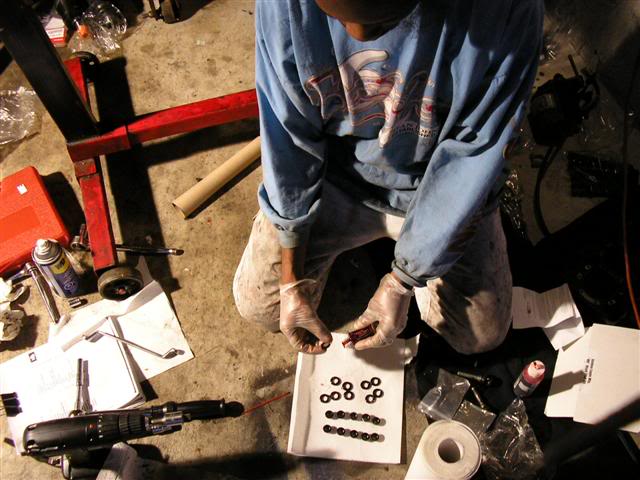
Next I started to re-assemble the head. Intake outer, intake inner and exhaust outer valve springs, along with valve spring seats and retainers. Intake is the top two springs and the exhaust is the bottom springs. Exhaust valve springs are slightly taller than the intake valve spring for the GSR.
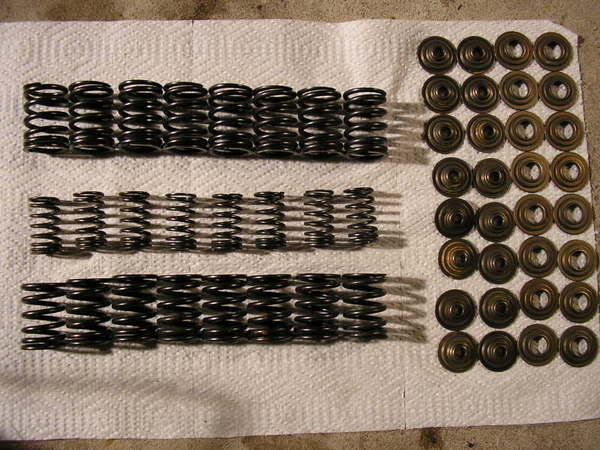
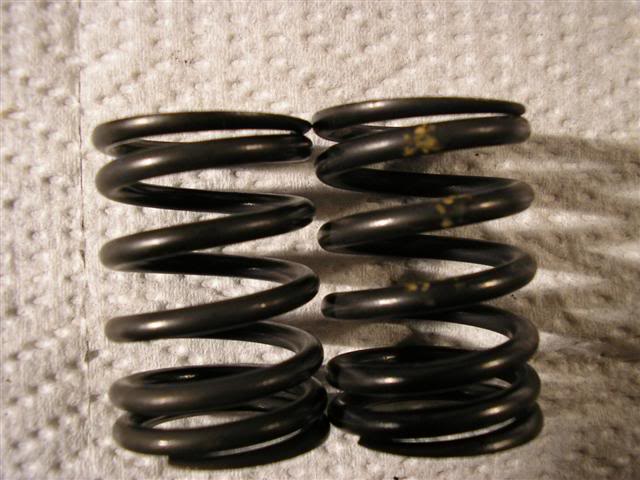
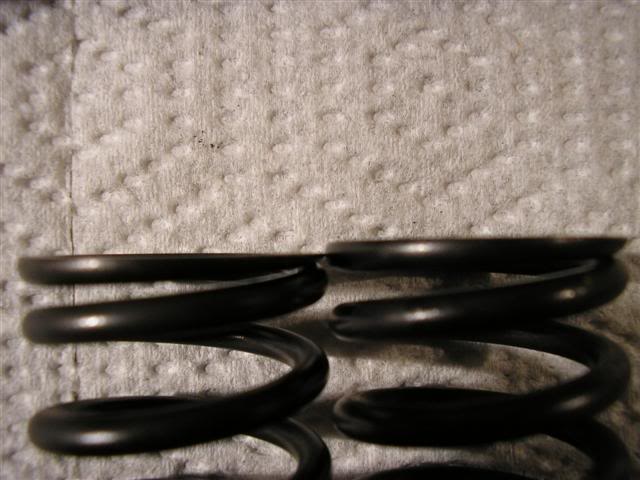
Exhaust valve springs in the back, intake outer up front
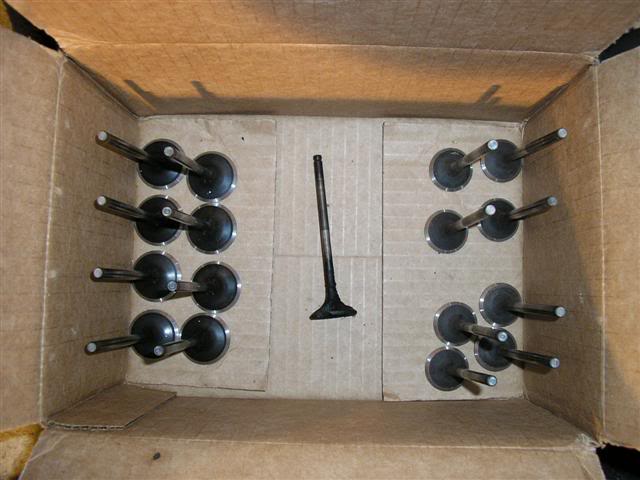
Intake valves on the left and exhaust on the right. My burnt 4th cylinder exhaust valve in the middle
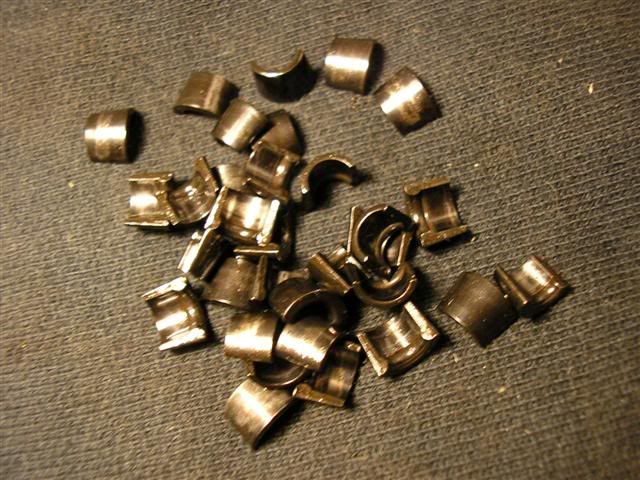
The valve keepers a.k.a. ping -----it!
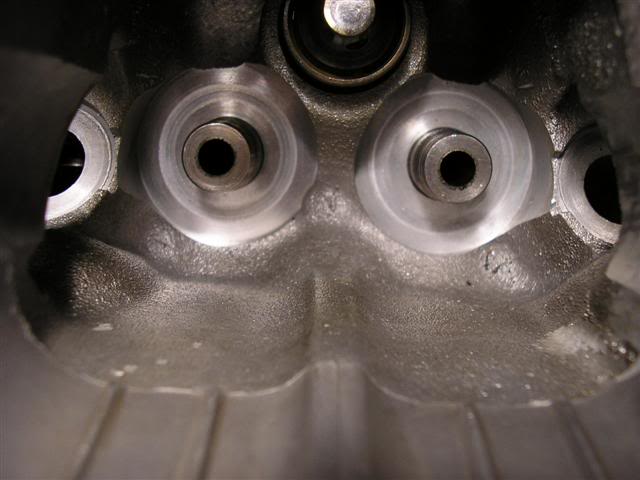

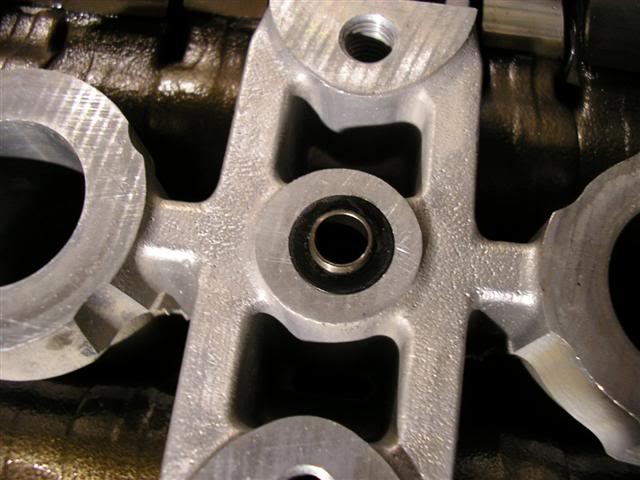
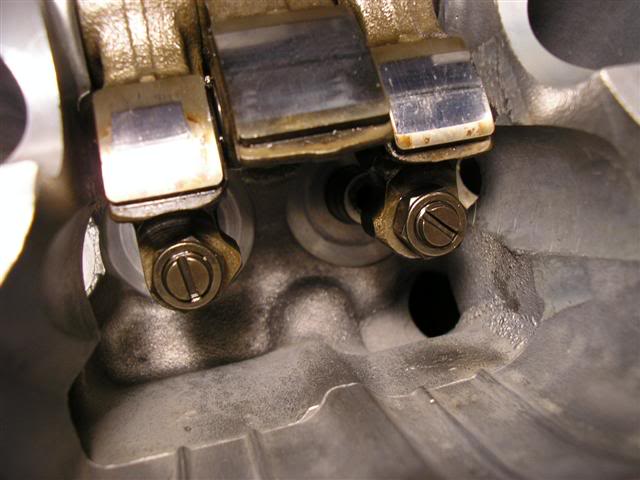
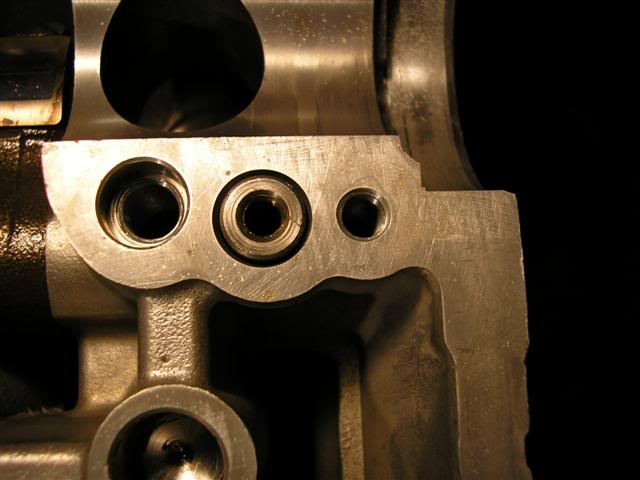
It’s the same for the exhaust side. Then I made sure that the intake and exhaust oil orifice was in place.
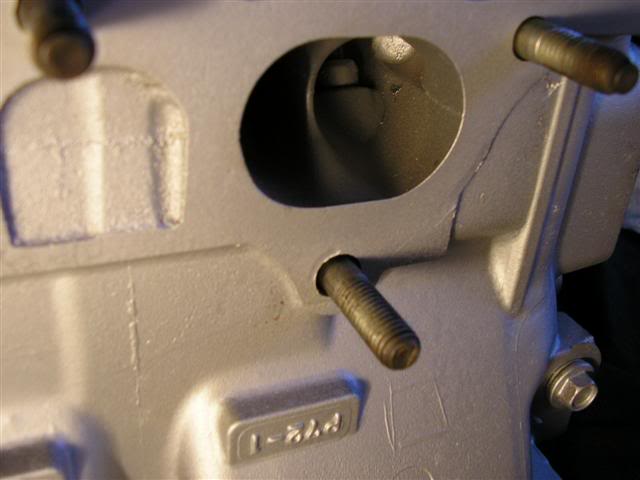
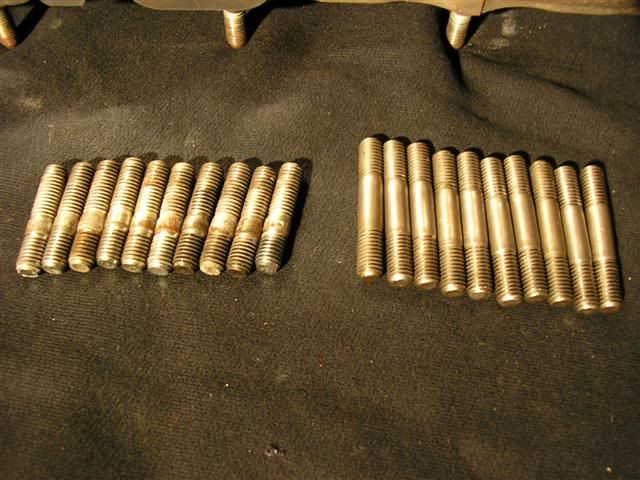
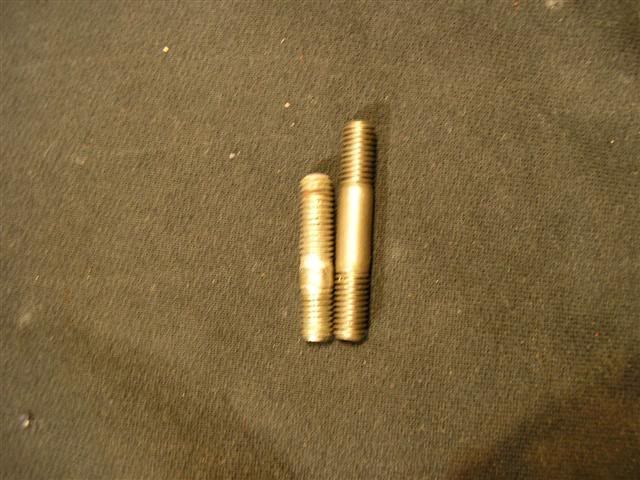
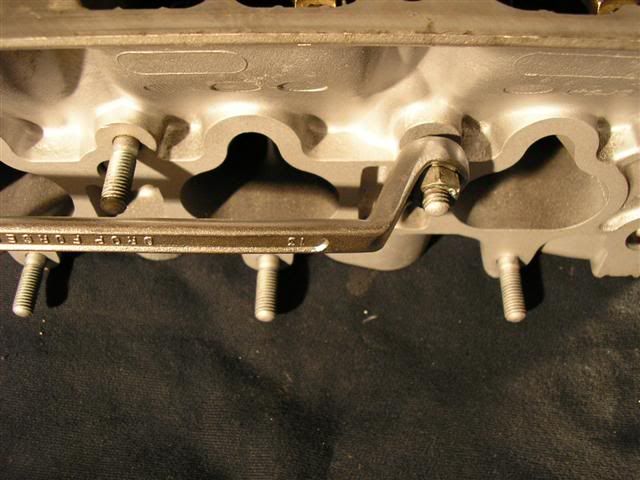
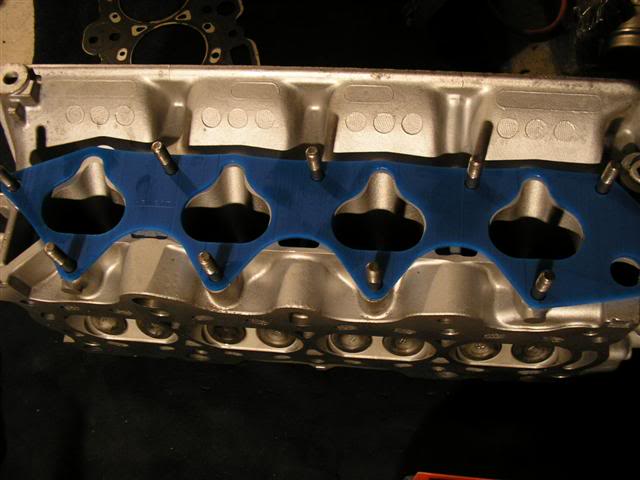
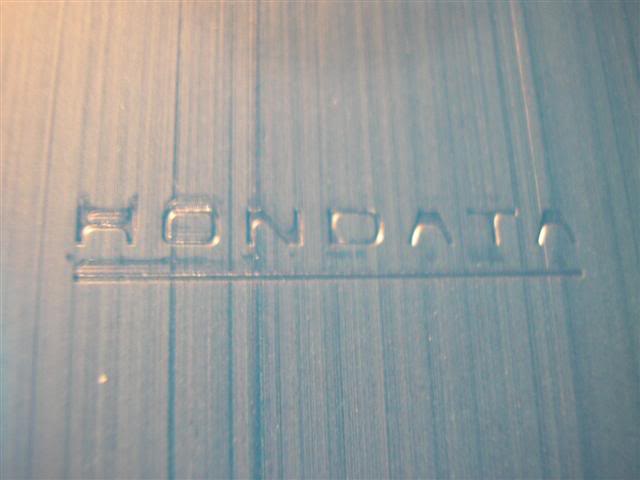
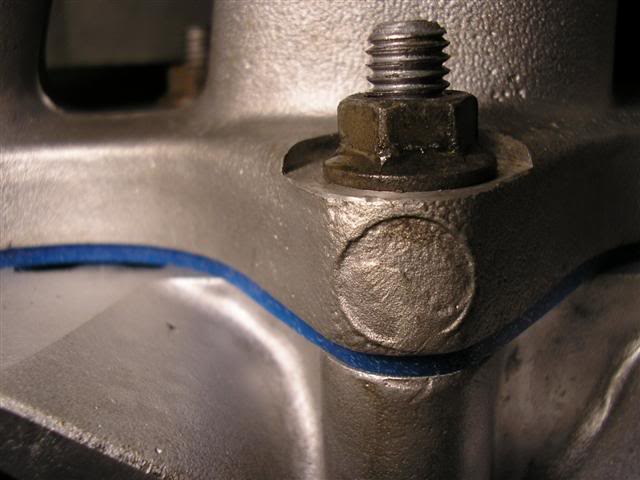
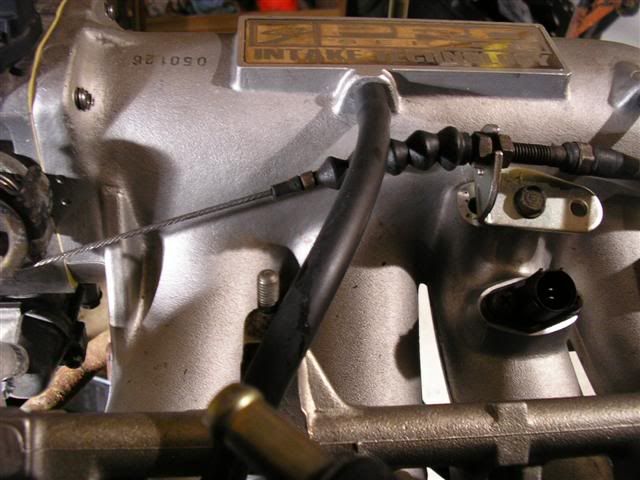
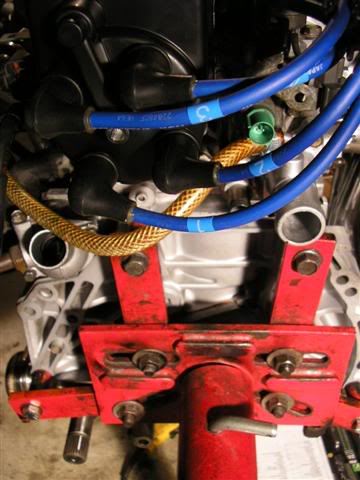
Then next I replaced all the studs on the intake side of the head to accommodate the thicker Hondata intake gasket


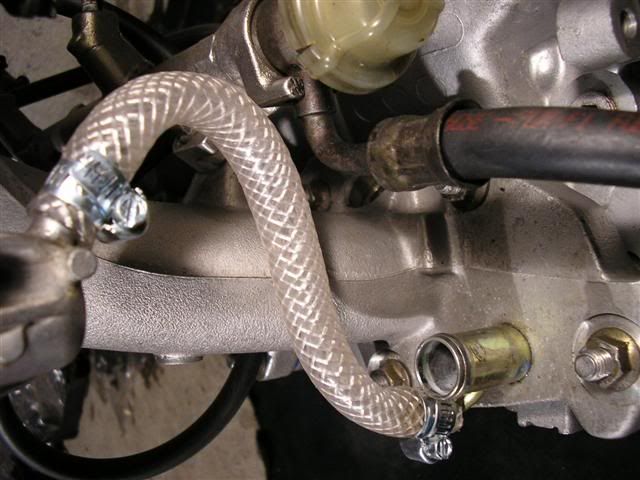
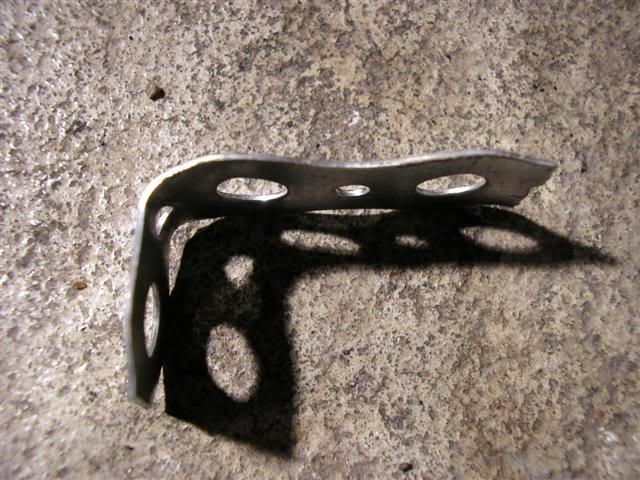
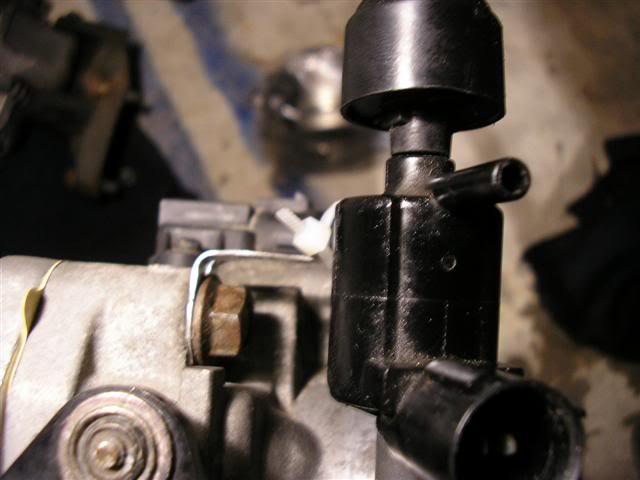
I made a bracket for the EVAP Purge Solenoid and connected the rest of the little things
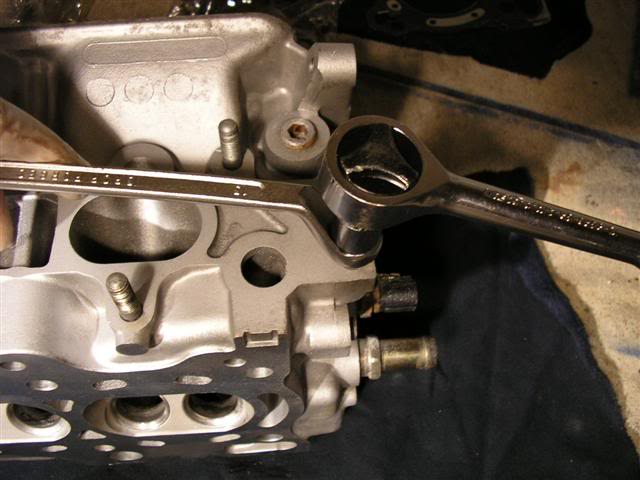
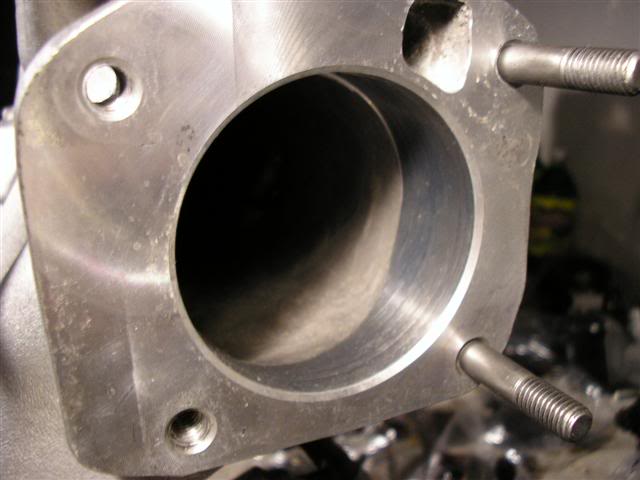
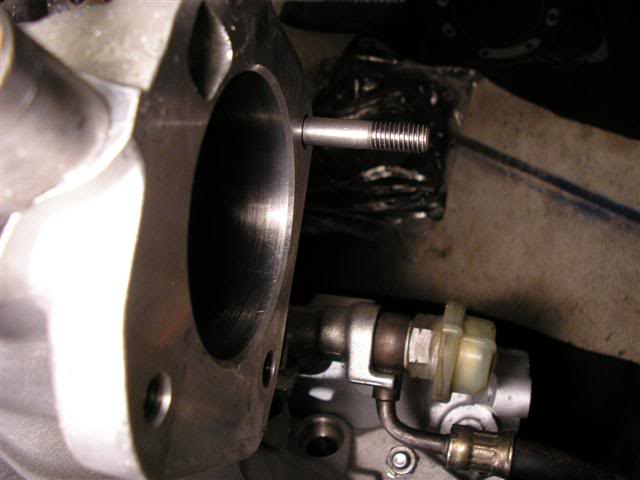
I also replaced the studs that connect the throttle body to the intake manifold.
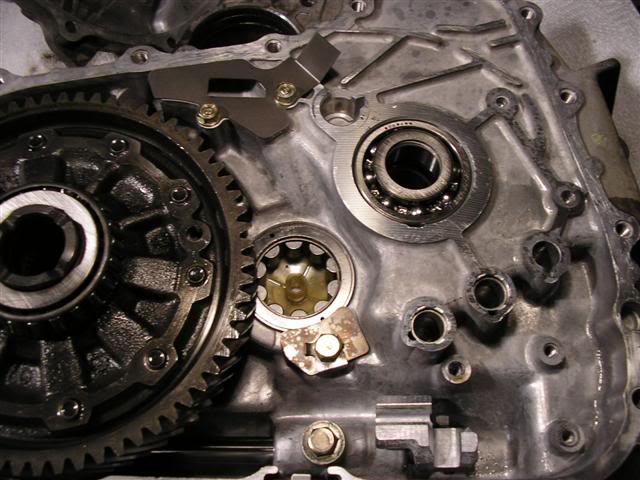
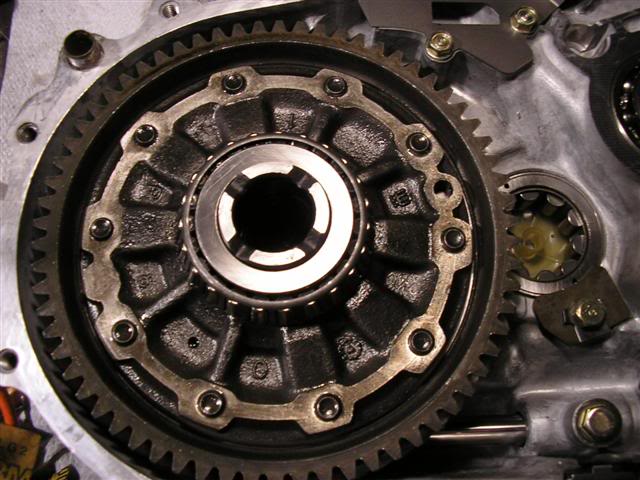
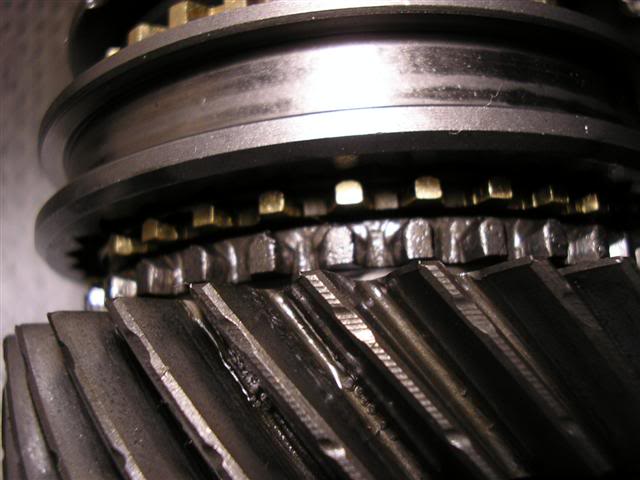
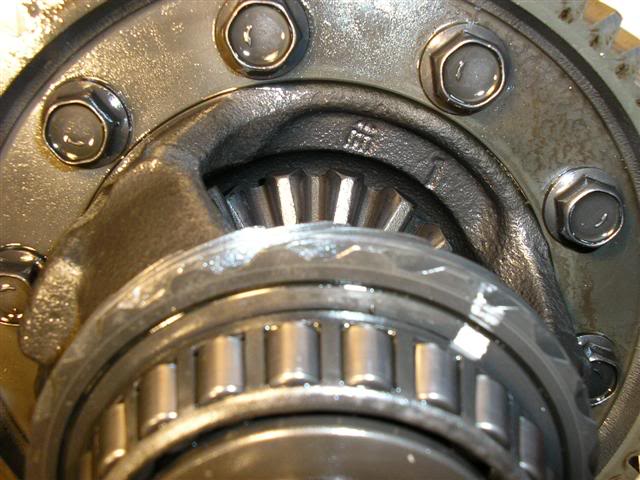
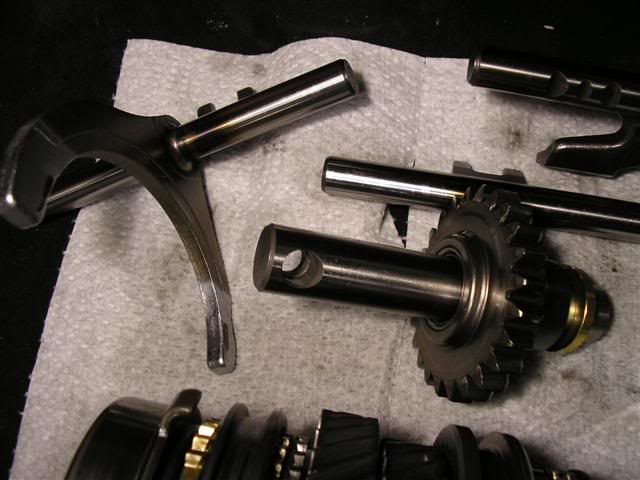
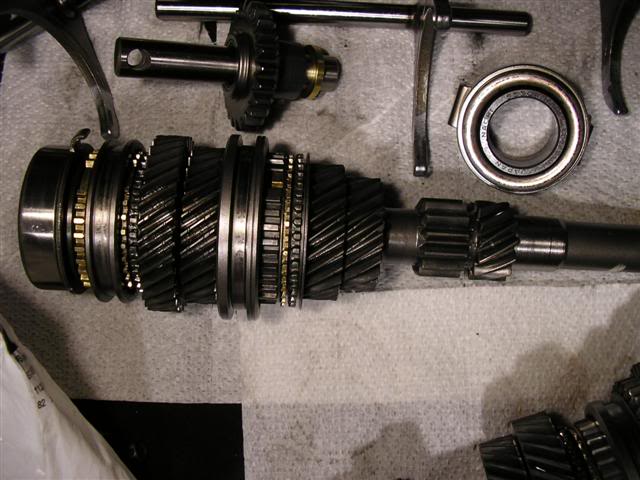
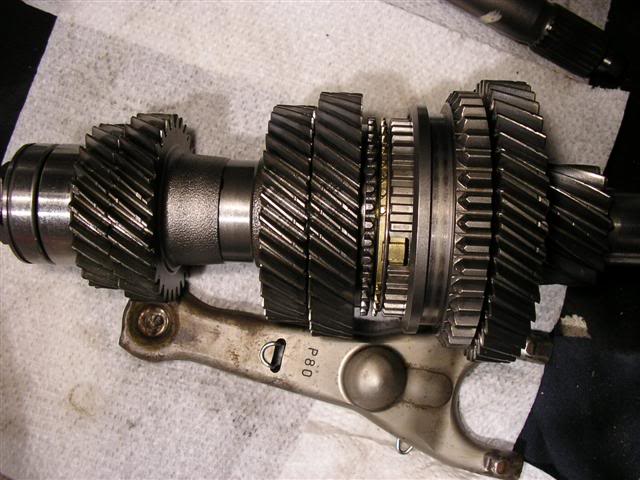
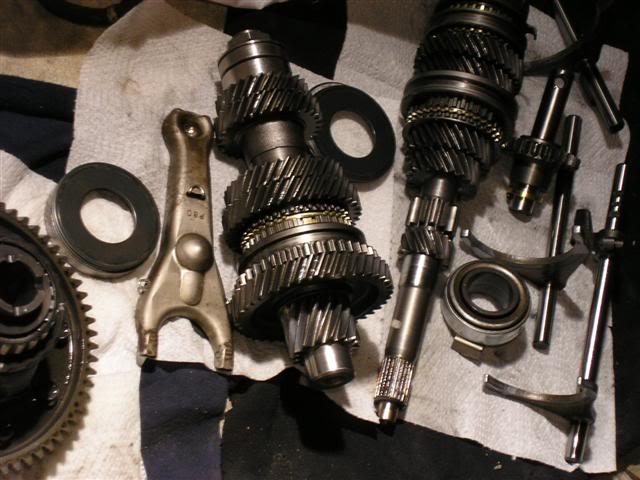
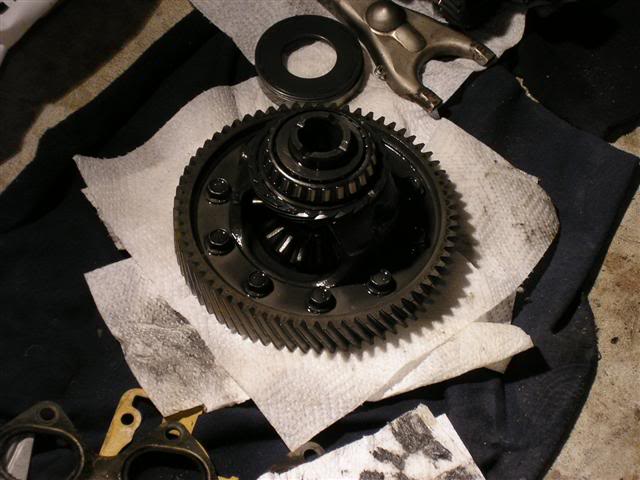
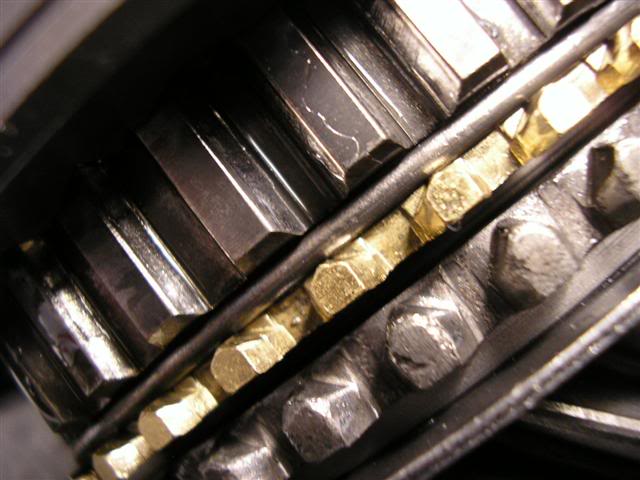
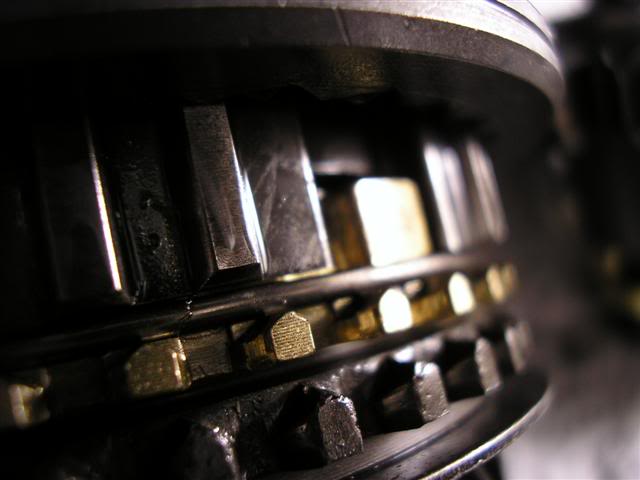
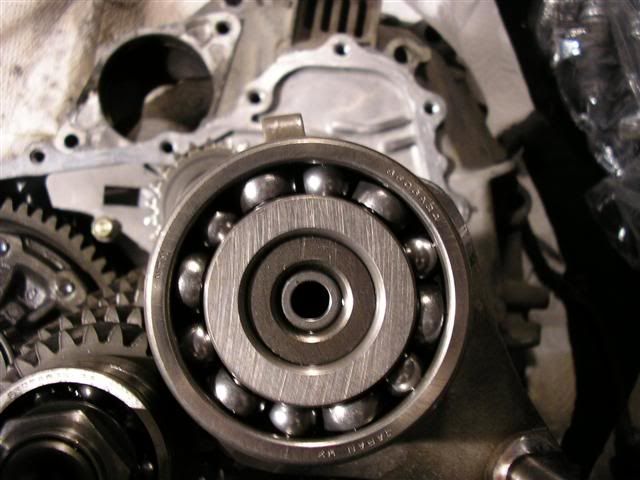
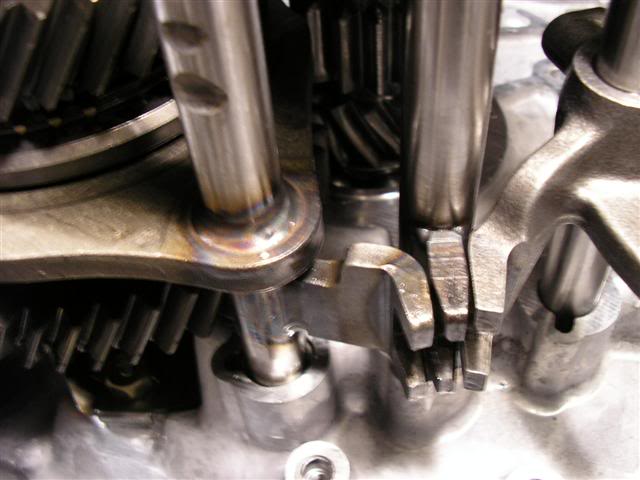
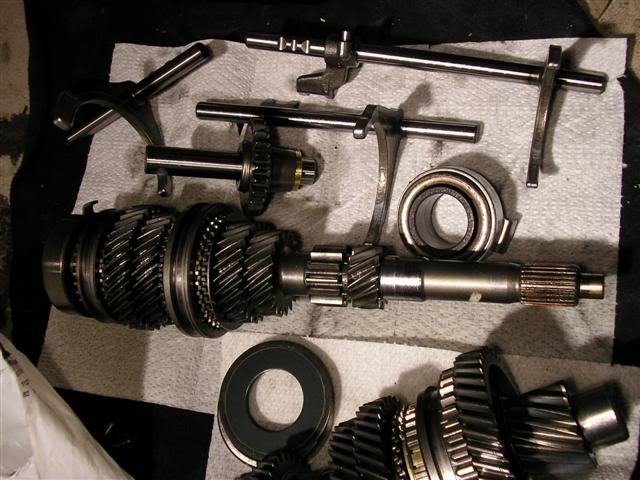
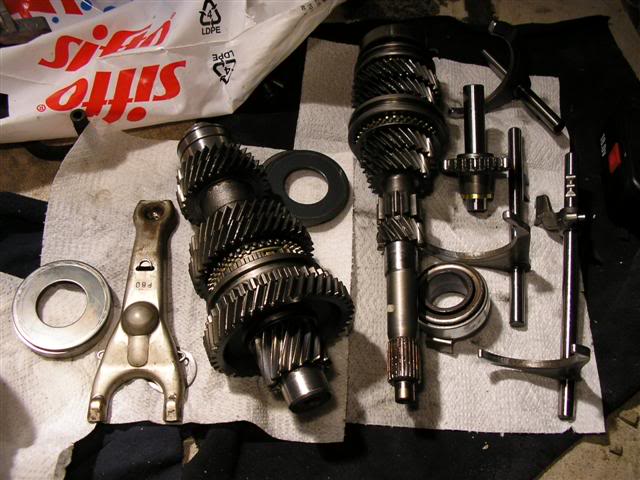
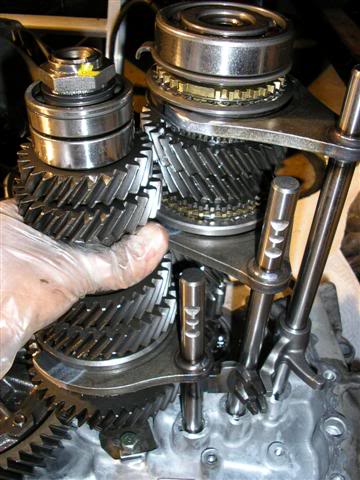
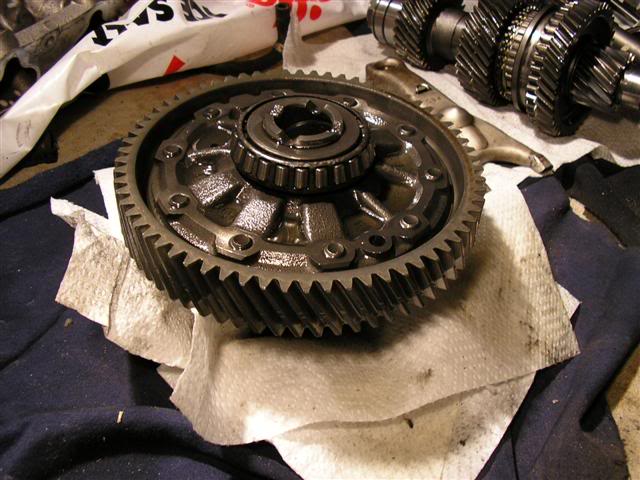
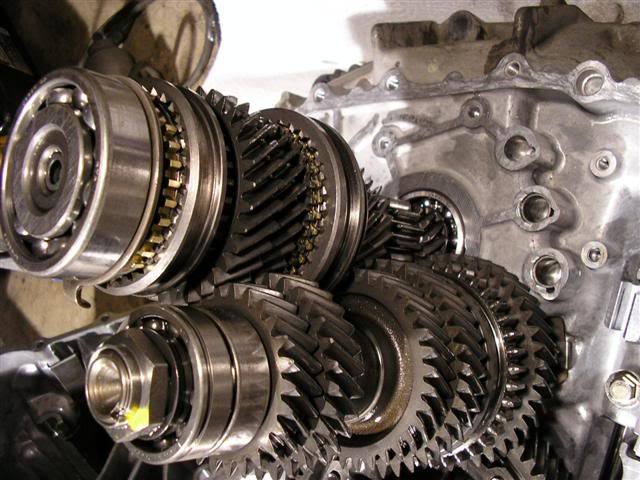
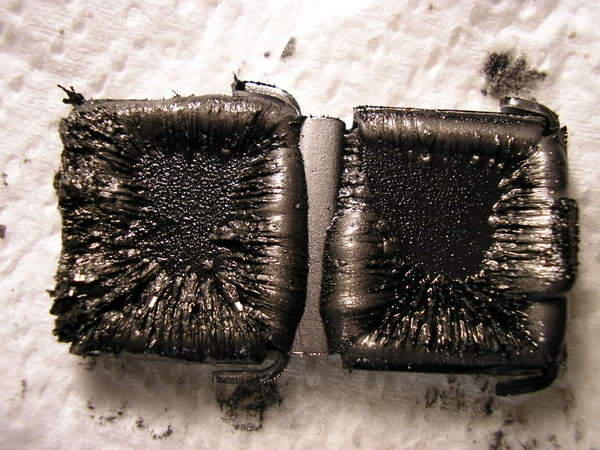
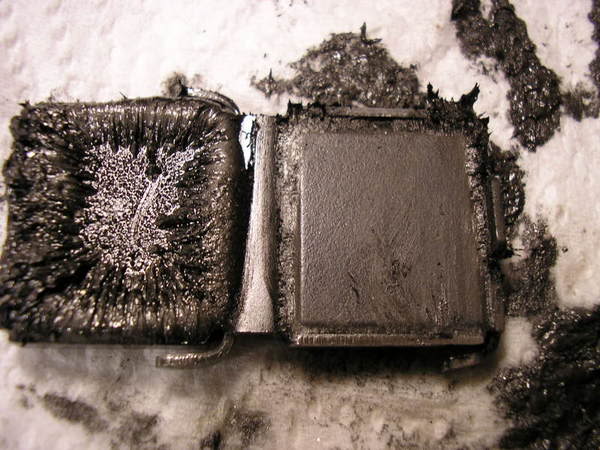
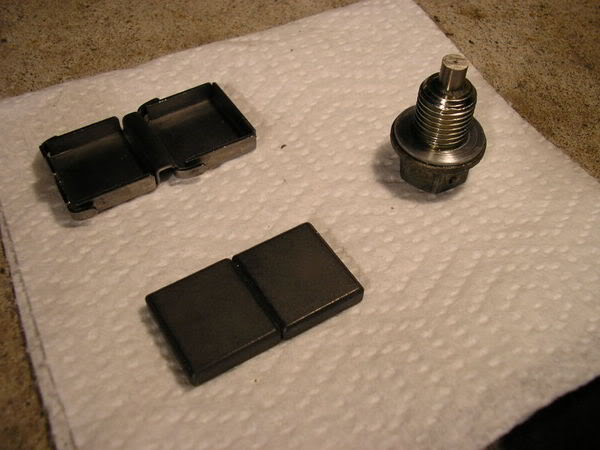
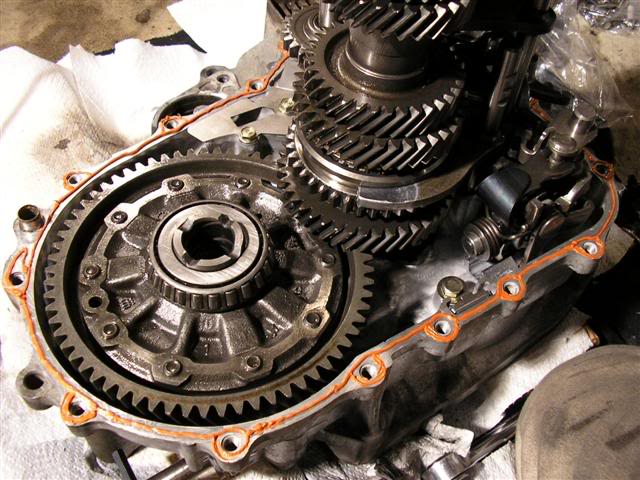
Next I took the transmission apart and cleaned all the gears and transmission magnet. I also inspected the syncro’s, gears and gear sleeves


After all that work, it was time to work on putting the block back together.
****will finish the rest of the progress write up with pics a little later on****
Exhaust valve springs in the back, intake outer up front
Intake valves on the left and exhaust on the right. My burnt 4th cylinder exhaust valve in the middle
The valve keepers a.k.a. ping -----it!
It’s the same for the exhaust side. Then I made sure that the intake and exhaust oil orifice was in place.
Then next I replaced all the studs on the intake side of the head to accommodate the thicker Hondata intake gasket
I made a bracket for the EVAP Purge Solenoid and connected the rest of the little things
I also replaced the studs that connect the throttle body to the intake manifold.
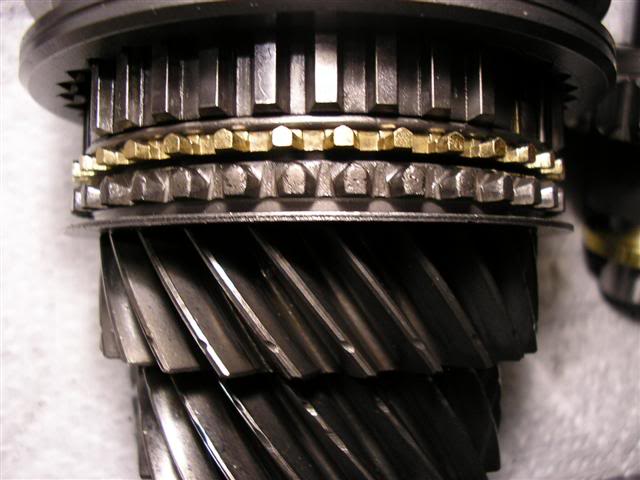
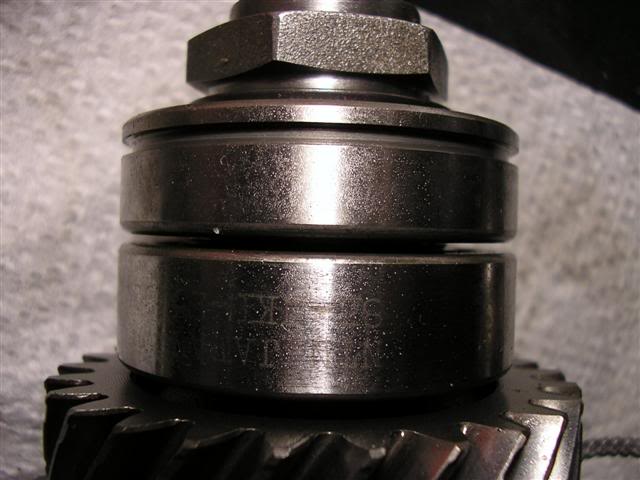
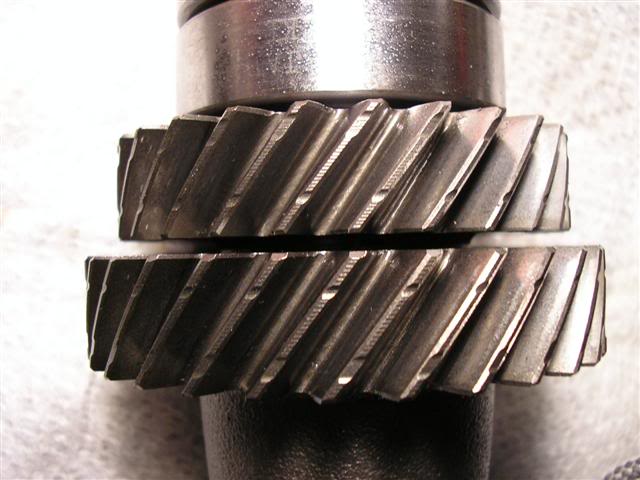
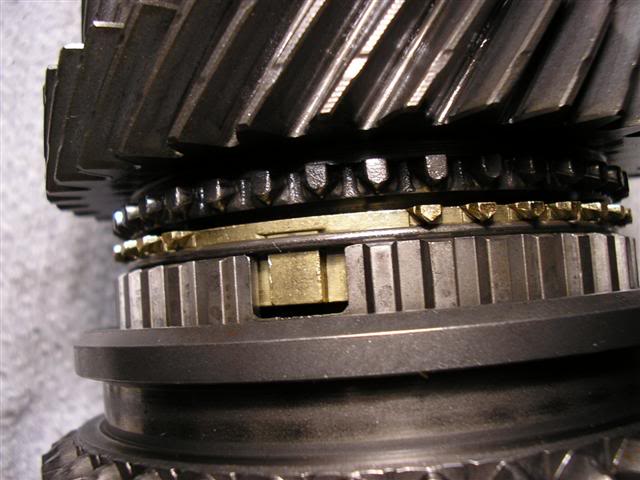
Next I took the transmission apart and cleaned all the gears and transmission magnet. I also inspected the syncro’s, gears and gear sleeves
After all that work, it was time to work on putting the block back together.
****will finish the rest of the progress write up with pics a little later on****
04-23-2006, 06:30 PM
#5
Senior Member

Join Date: Aug 2003
Location: Toronto
Posts: 1,049
damnnnnnnnn T thats some serious work you put in. Glad to see you took pics to show what it was to what it will become. Nuff respects for the effort and patient you have to do that. Can't wait to see how it runs, good work T!
 04-23-2006, 07:23 PM
#9
Time to become a Premier Member!
Thread Starter
Join Date: Aug 2003
Location: Whitby
Posts: 4,816
Wayne for a couple of reasons
-price

-mine are still good, except one
-I'm going to use that money for valvesprings instead
-and you can use prelude vtec lma's which are basically the same as the itr's except that they're $180 cheaper
I'll be replacing them anyways when I get cams
-price
-mine are still good, except one
-I'm going to use that money for valvesprings instead
-and you can use prelude vtec lma's which are basically the same as the itr's except that they're $180 cheaper
I'll be replacing them anyways when I get cams
04-23-2006, 07:52 PM
#11
There's plenty to do outside my room but I choose not to!
Join Date: Sep 2003
Location: Somewhere
Posts: 5,183
Ok guys...here's the truth...I did all the work and Trenell only took pics...
but honestly...you guys have NO idea how much time went into this...I think Trenell knew the Helms manual WAY better than any school textbook! We're all very proud of him...
(hides and runs for being girly...:*****: )
but honestly...you guys have NO idea how much time went into this...I think Trenell knew the Helms manual WAY better than any school textbook! We're all very proud of him...
(hides and runs for being girly...:*****: )
 04-23-2006, 10:22 PM
#17
Time to become a Premier Member!
Thread Starter
Join Date: Aug 2003
Location: Whitby
Posts: 4,816
Thanks guys, I'm still not done just yet.
Omar in total with tools, parts, shipping, brokerage, machine work and tax roughly $2200
Lou at the time I couldn't find any LSD's or JDM 4.785 or ATS 4.9 FD what-so-ever, now that it's back together they're popping up all over.
Figures eh
Omar in total with tools, parts, shipping, brokerage, machine work and tax roughly $2200
Lou at the time I couldn't find any LSD's or JDM 4.785 or ATS 4.9 FD what-so-ever, now that it's back together they're popping up all over.
Figures eh
04-23-2006, 10:26 PM
#18
Member

Join Date: Apr 2003
Posts: 563
Originally Posted by WildoutWhiteGSR
Lou at the time I couldn't find any LSD's or JDM 4.785 or ATS 4.9 FD what-so-ever, now that it's back together they're popping up all over.
Figures eh
Figures eh


 04-24-2006, 10:55 AM
#22
Time to become a Premier Member!
Thread Starter
Join Date: Aug 2003
Location: Whitby
Posts: 4,816
Sorry Lou no OBX for me, thanks though. If you have a JDM final drive I'll gladly buy it 
Mark and Scott the machine work was done by Canadian Cylinder Head in North York
Mark and Scott the machine work was done by Canadian Cylinder Head in North York
Last edited by WildoutWhiteGSR; 04-24-2006 at 10:58 AM.
04-24-2006, 02:17 PM
#25
Junior Member
Join Date: Mar 2003
Location: Mississauga
Posts: 438

 04-26-2006, 12:08 PM
#31
Time to become a Premier Member!
Thread Starter
Join Date: Aug 2003
Location: Whitby
Posts: 4,816
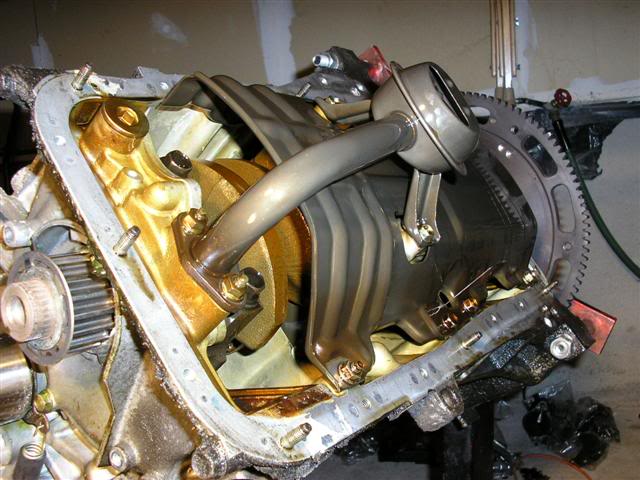
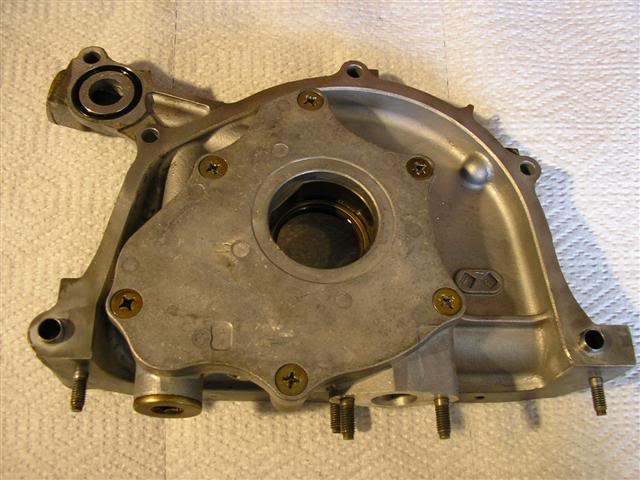
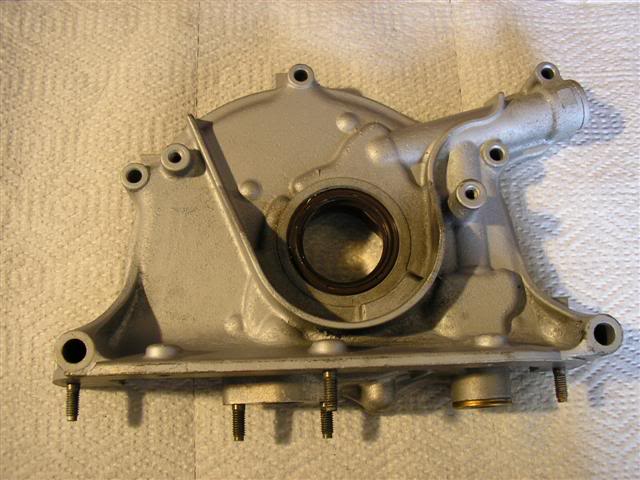
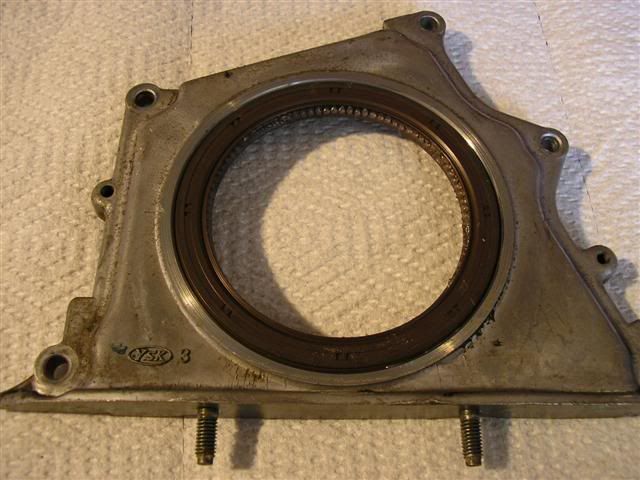
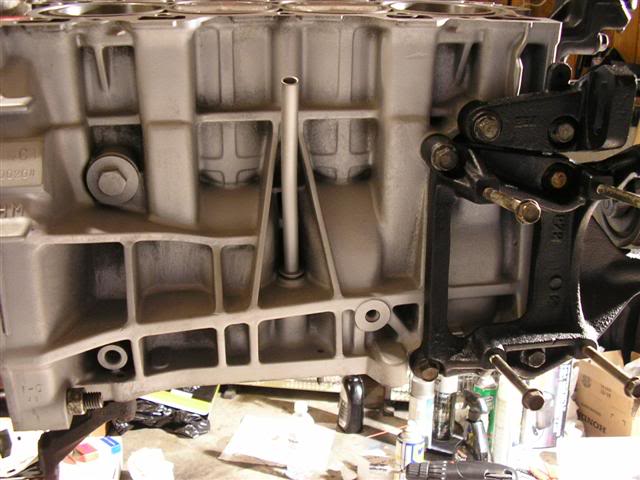
Time to put the block back together. How it looked when I got it from the machine shop along with the serviced oil pump and new rear main seal


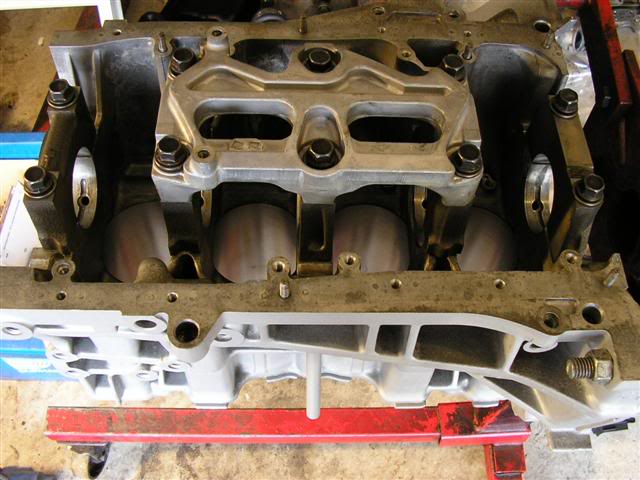
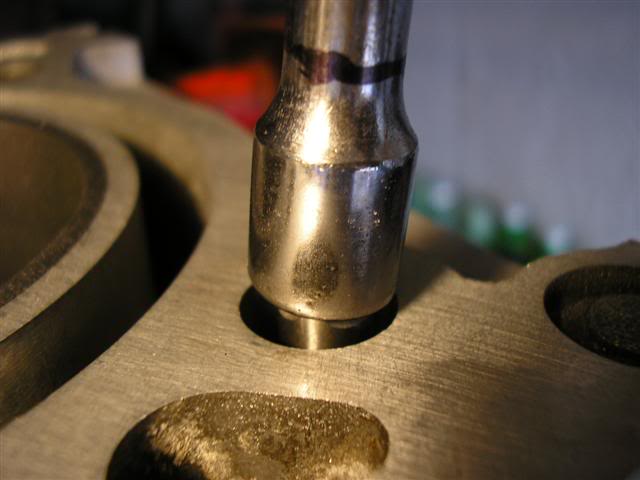
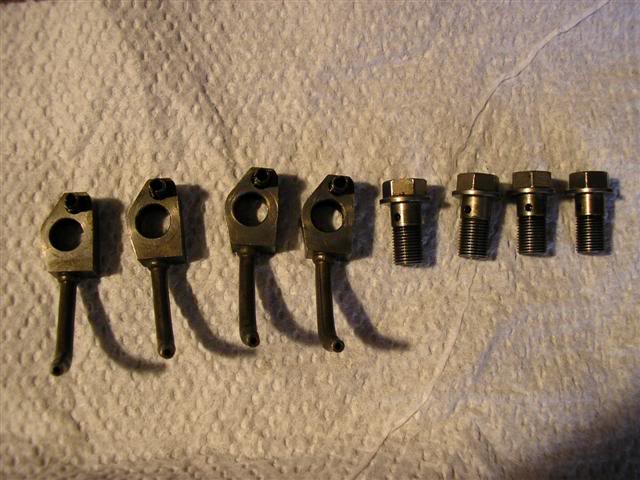
Installing the oil squirters
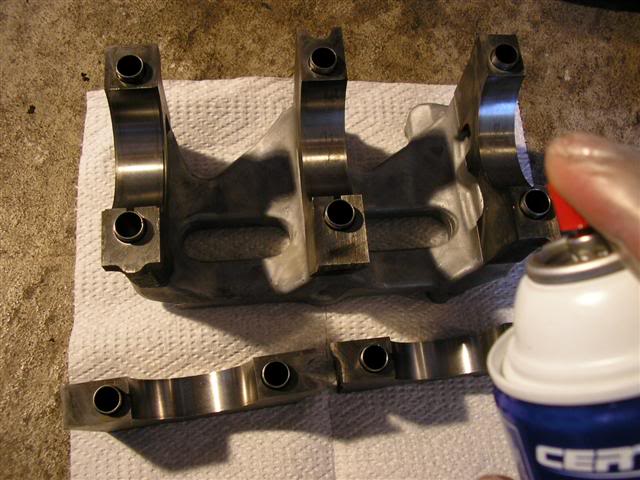
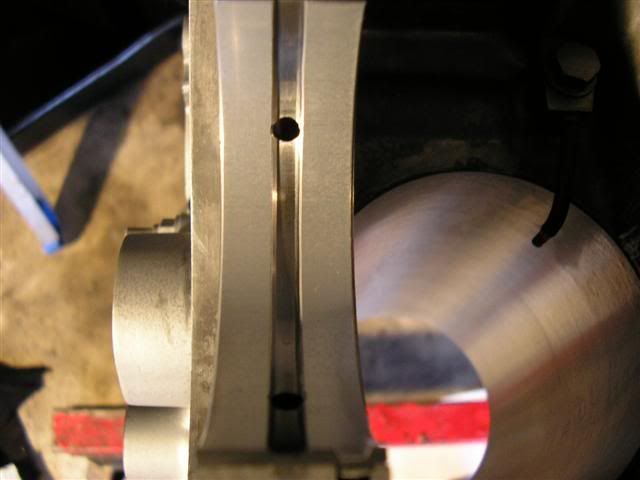
Cleaning up the main bores and bearings for plasitgauging
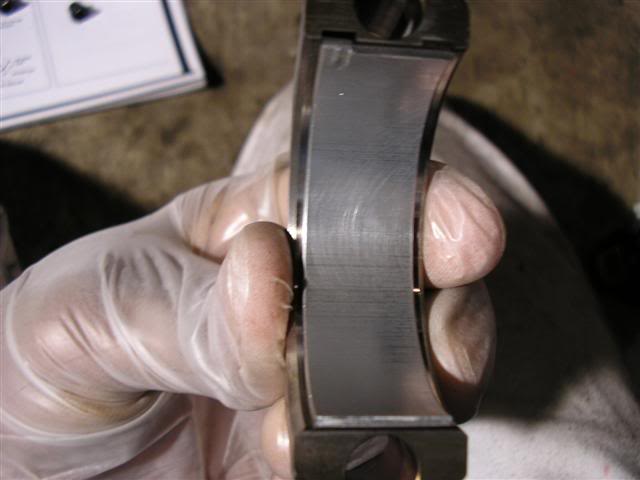
Bearings
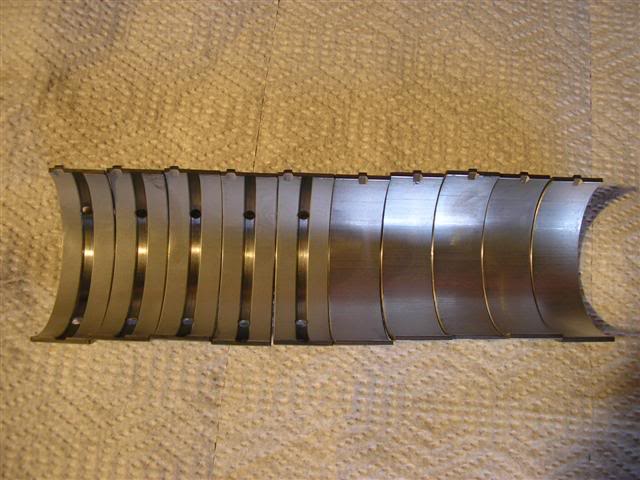
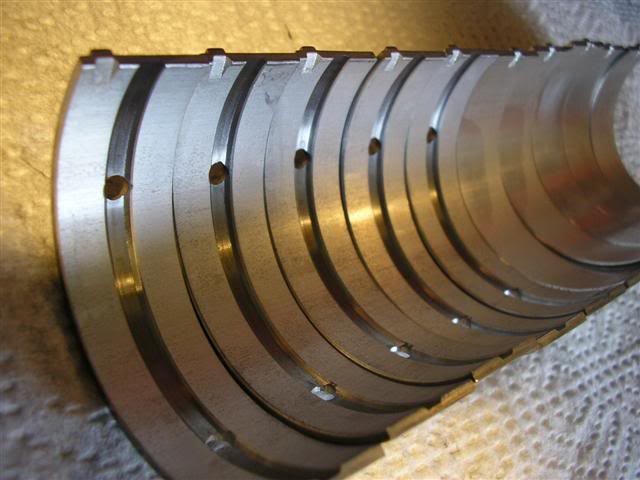
Installed in the mains
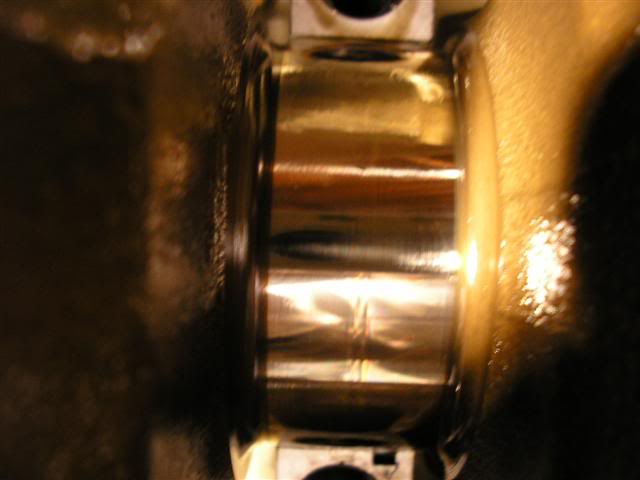
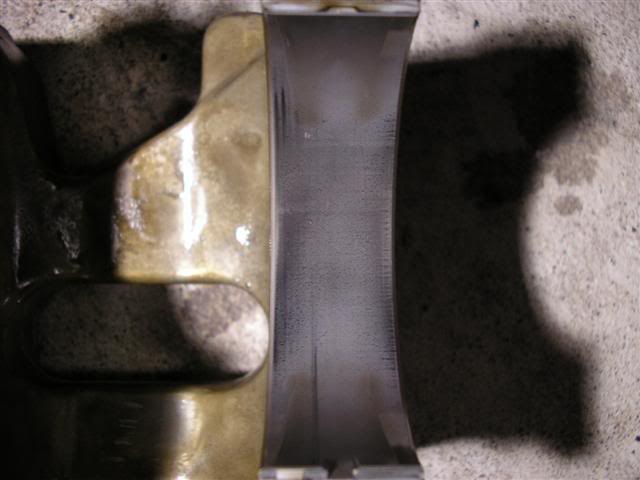
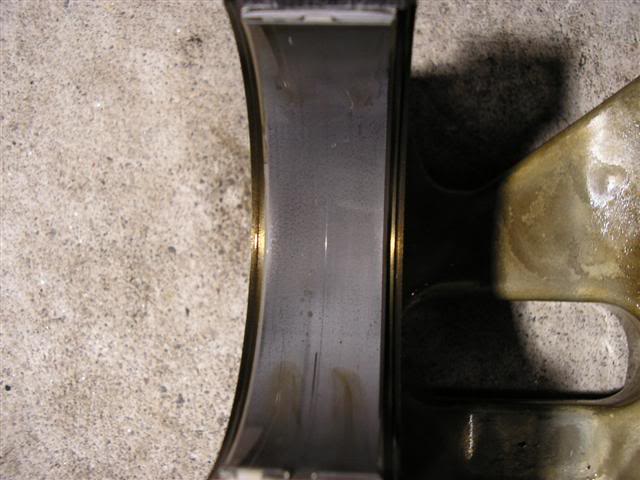
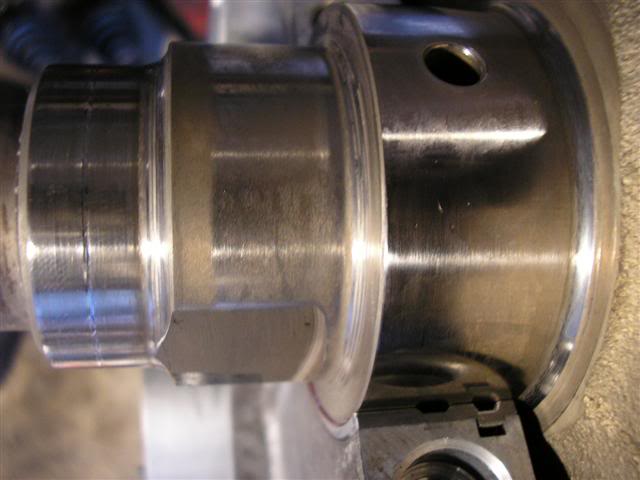
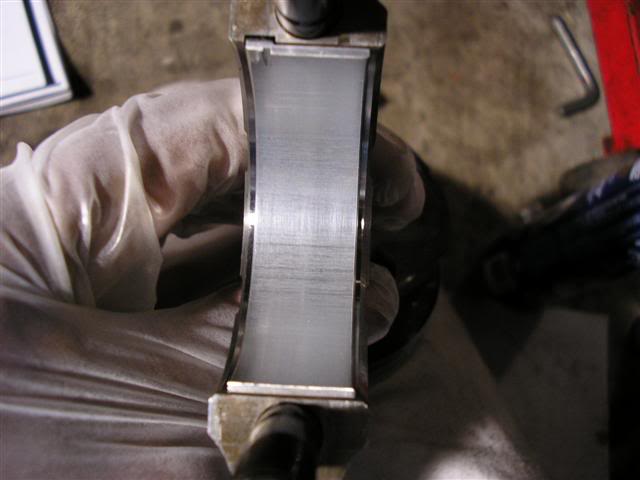
Bearings lubed up in preparation of the cleaned up and micropolished crank
Thrust washers are next
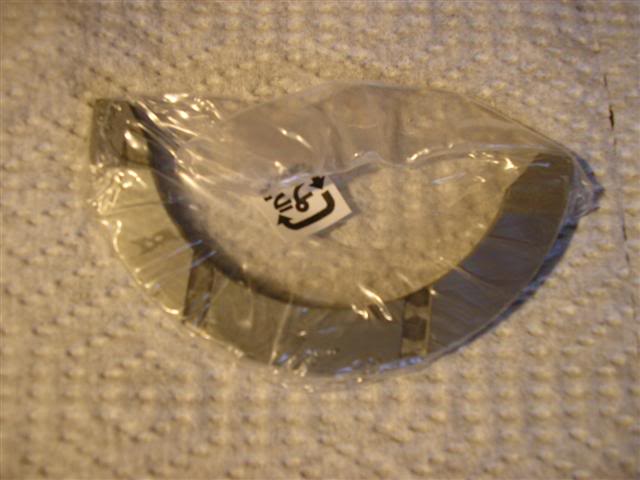
Installed
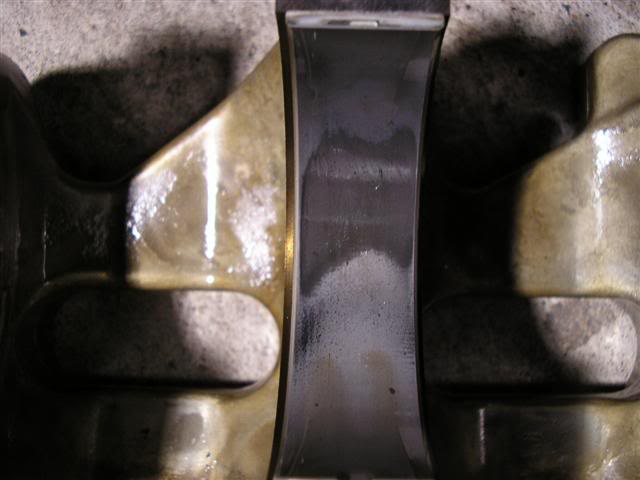
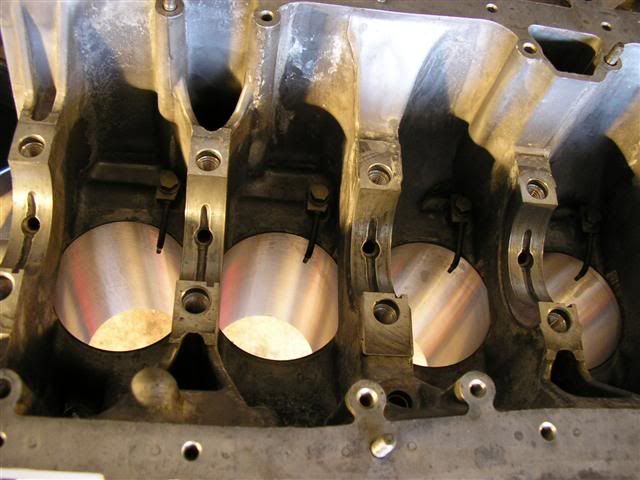
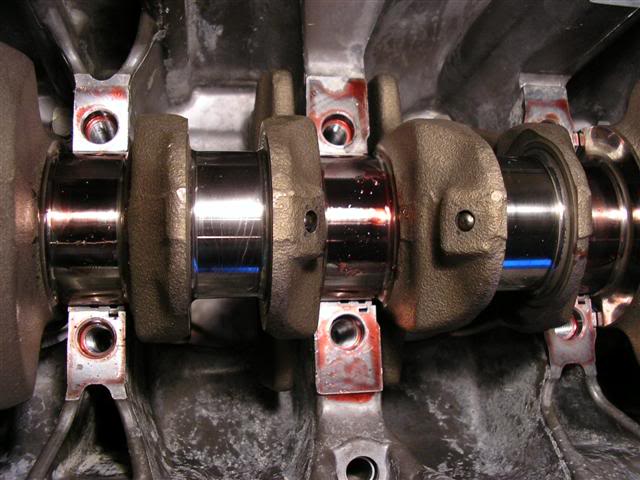
Crankshaft in place
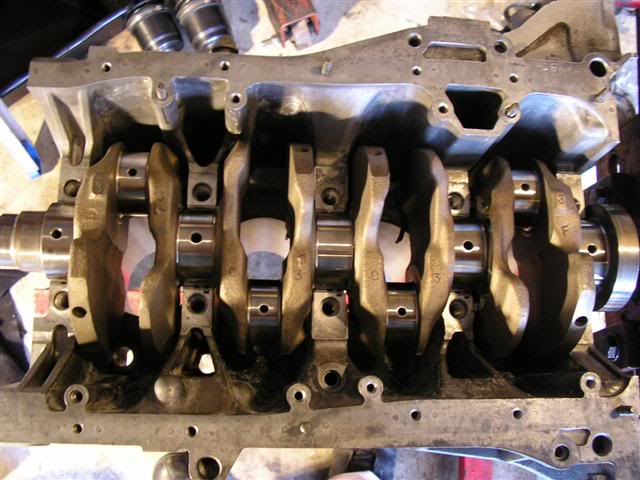
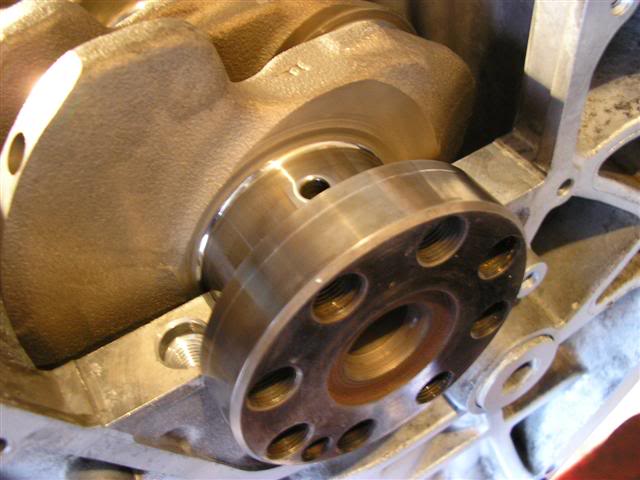
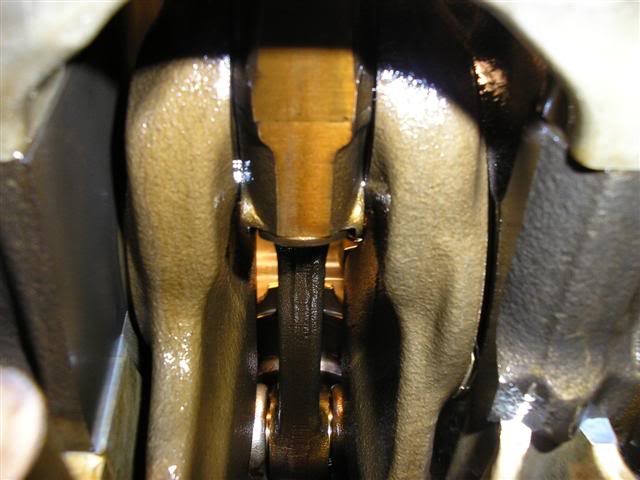
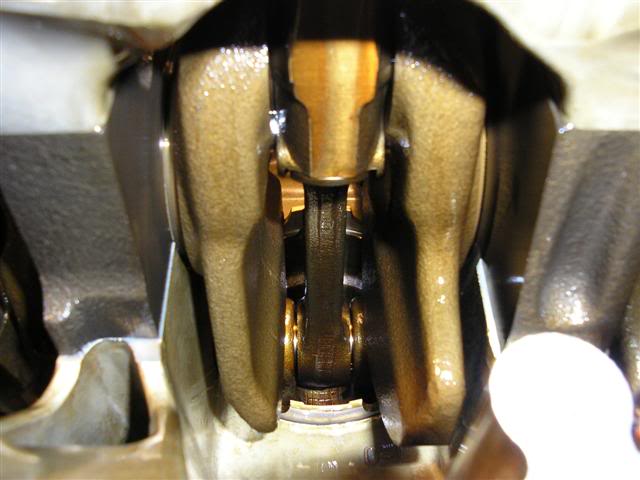
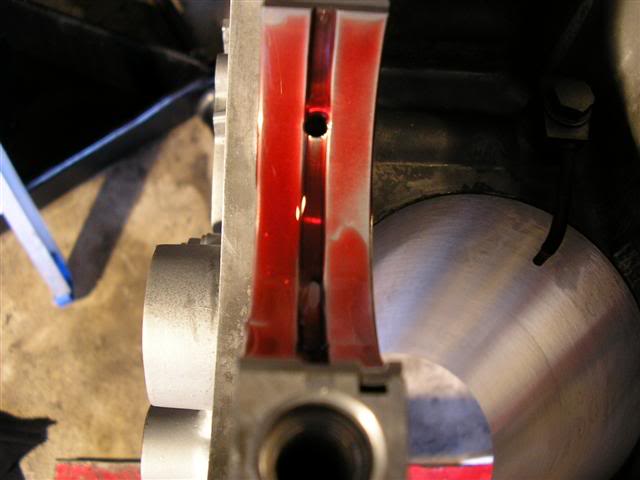
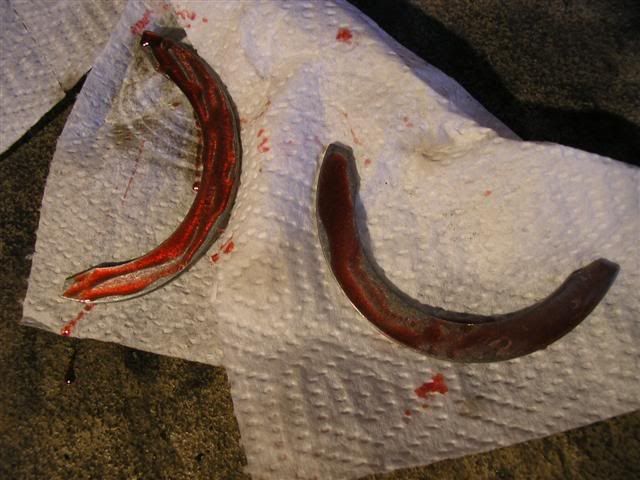
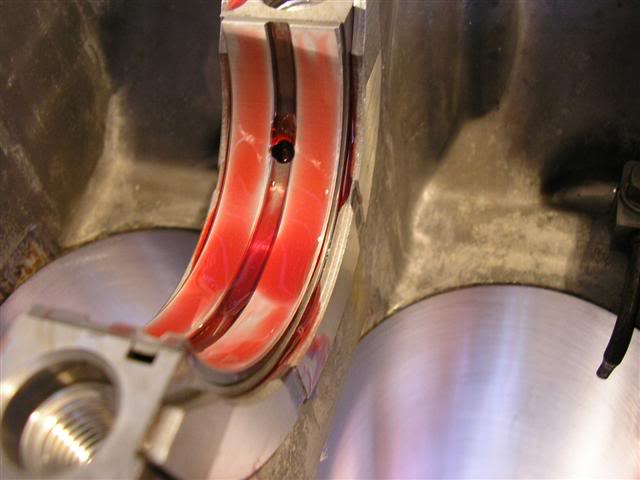
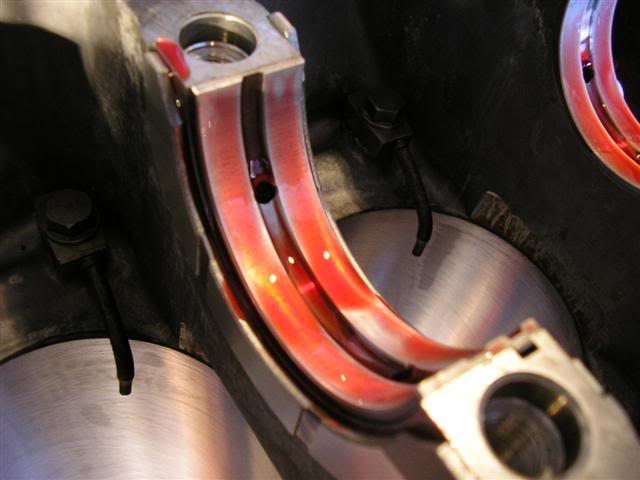
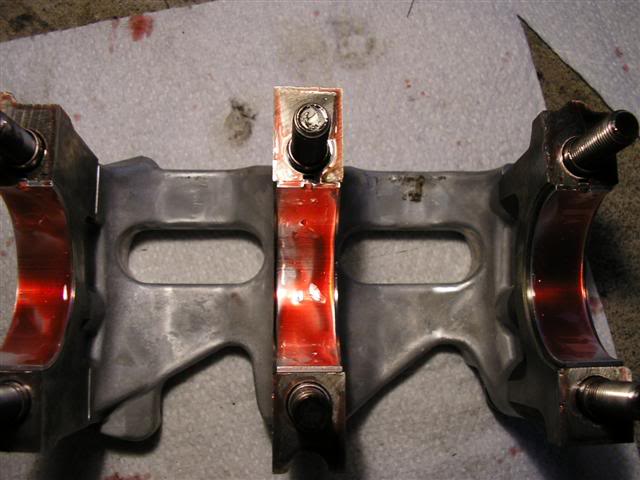
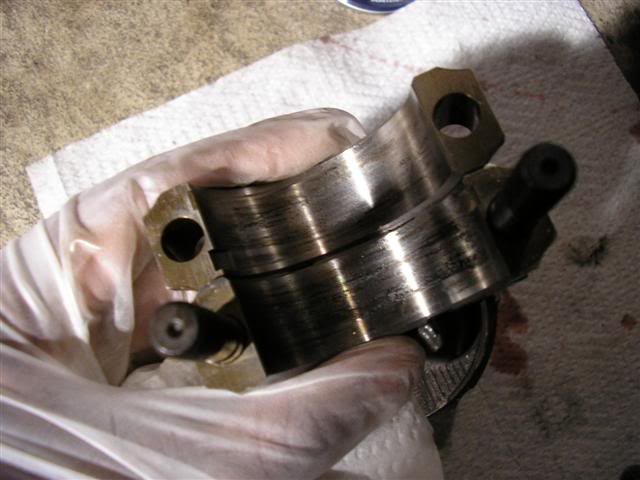
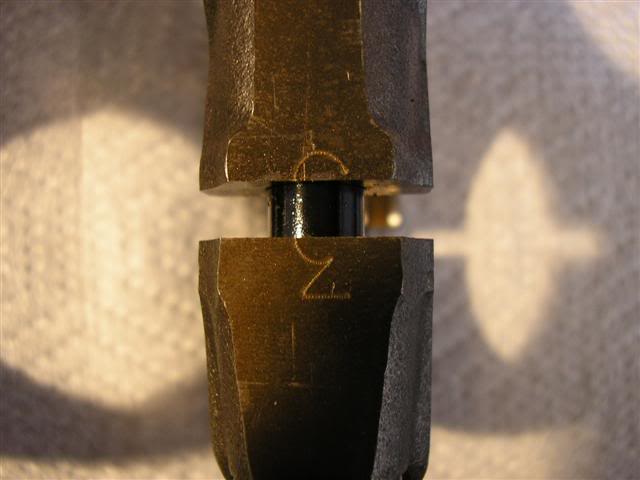
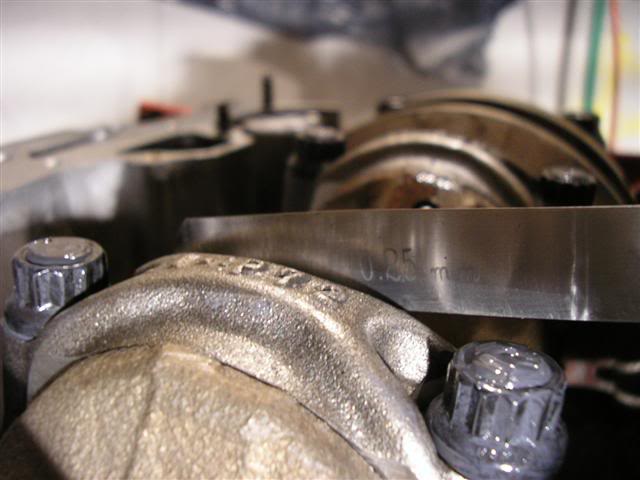
Plastigauging in process
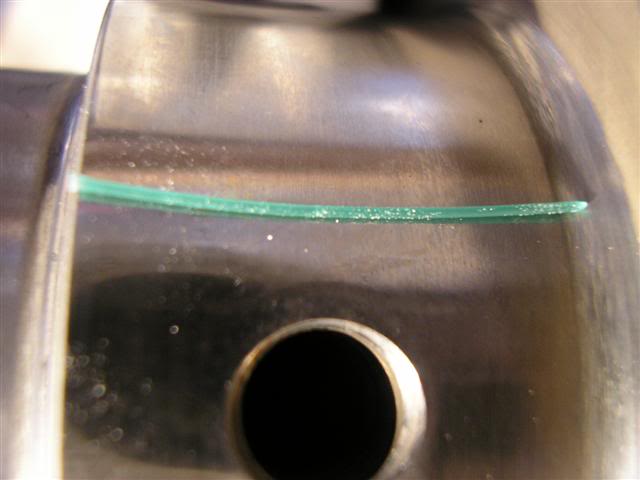
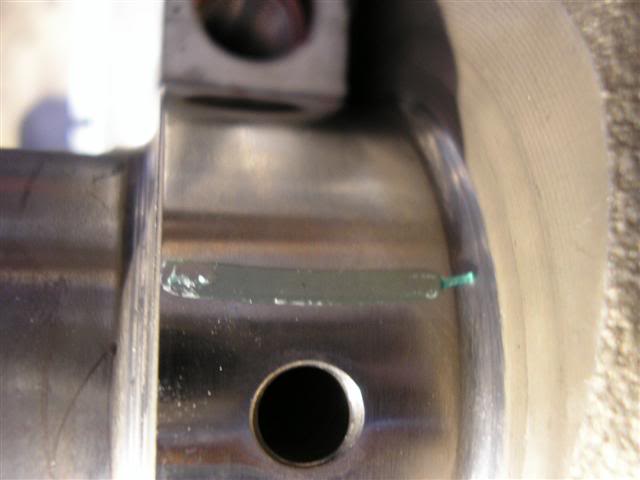
After I finished plastigauging all the mains, they were cleaned up of any excess plastigauge and then lubed thoroughly with engine assembly lube as well as the girdle
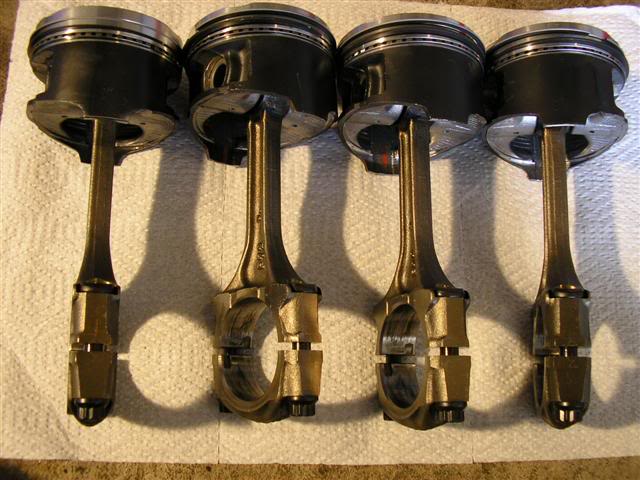
Since I had the machine shop install the new pistons on the connecting rods for me, along with installing the piston rings and checking there gap, its one step closer to final assembly. Here they are
Cleaned up the surfaces in preparation of the bearings
Then I needed to remove the cap to install the bearings
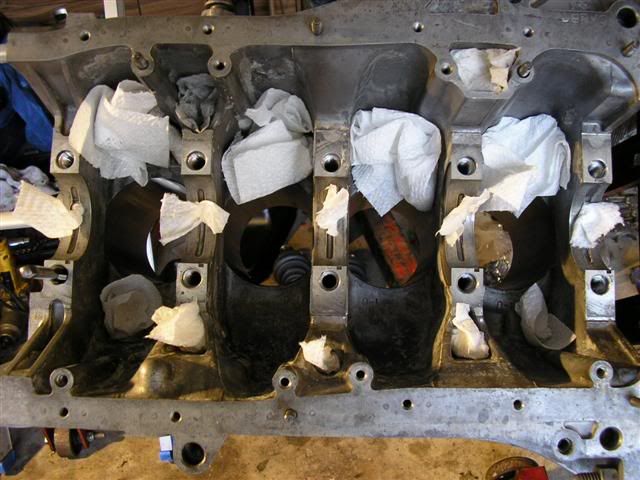
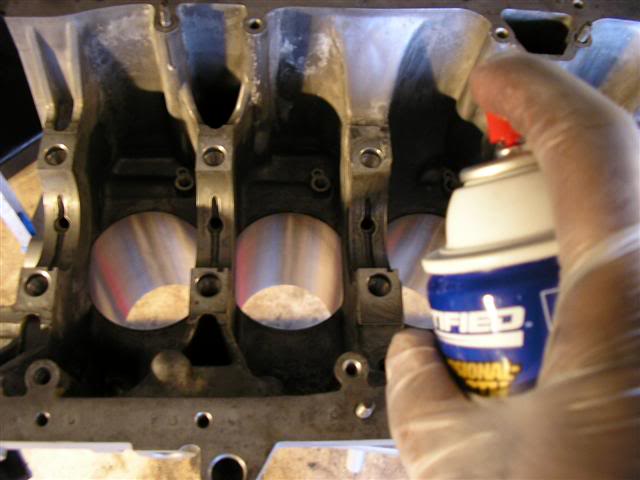
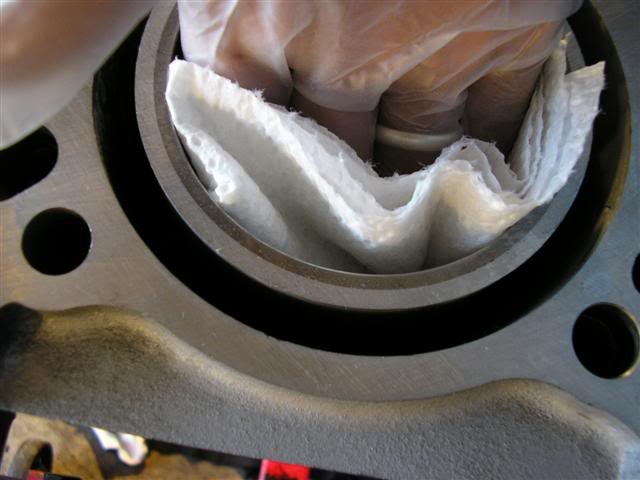
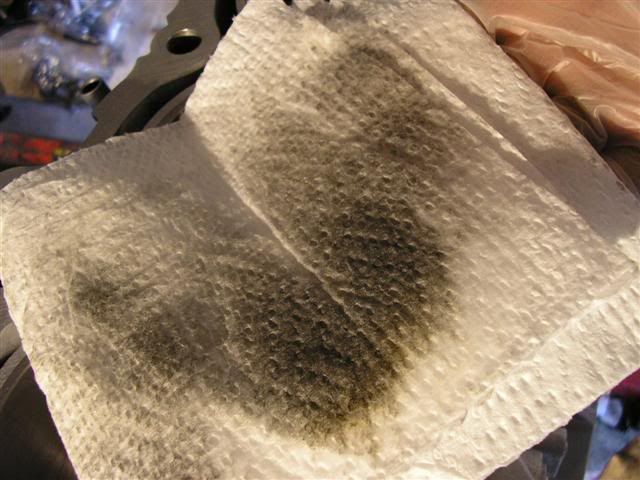
Now time to clean up the cylinders for the piston and rod assembly
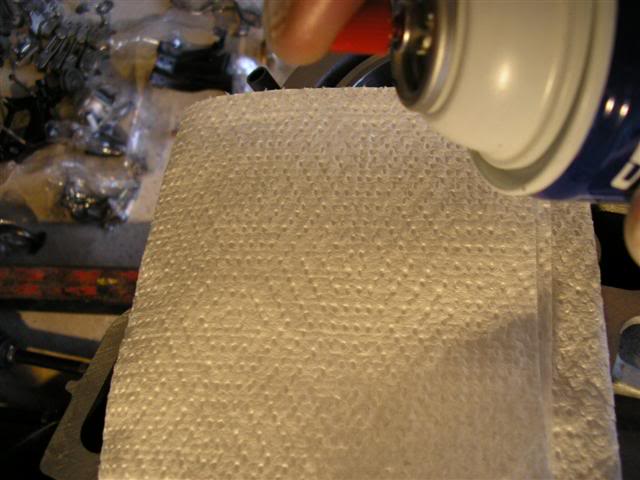
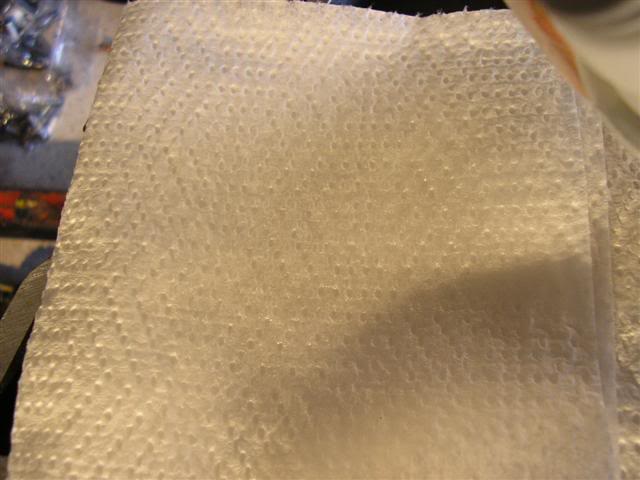
Then lube up the cylinder walls with WD40
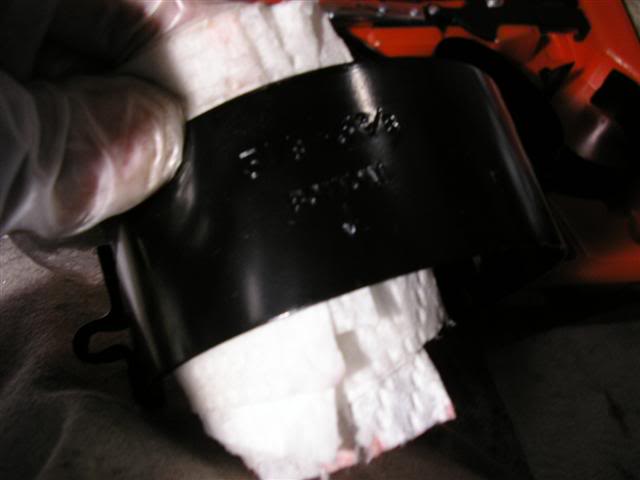
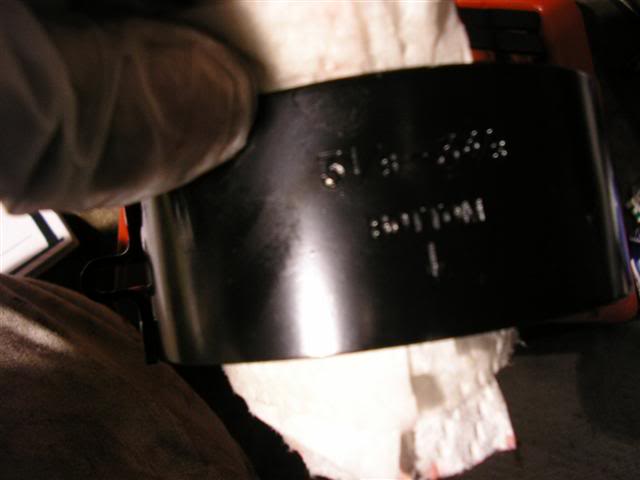
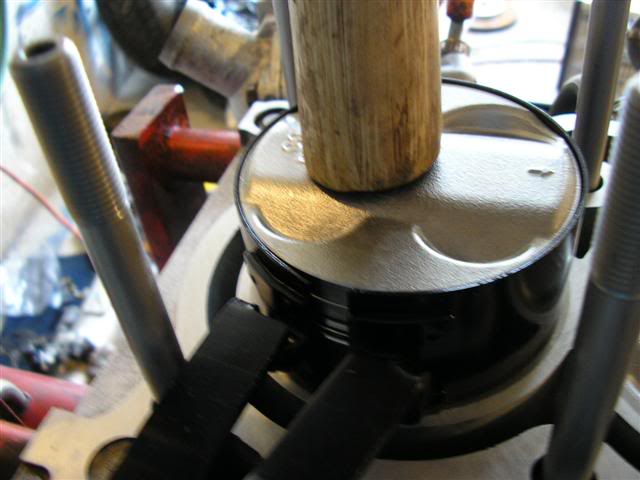
Piston ring compressor

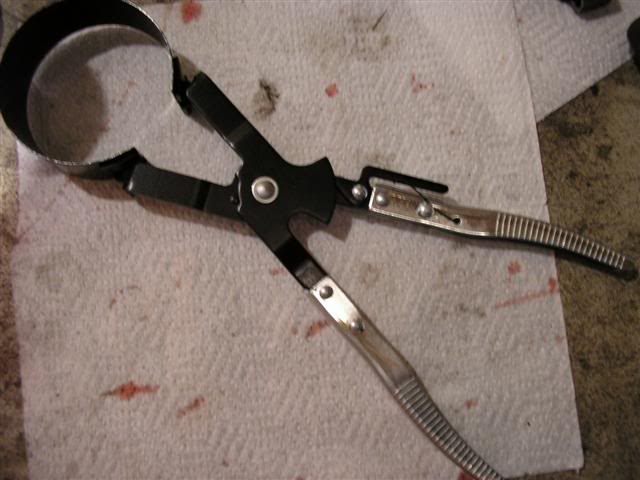
Wiping WD40 on the piston ring compressor
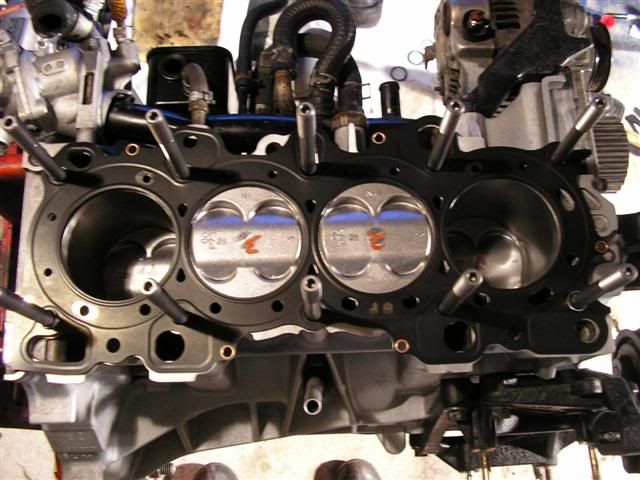
Time to install the pistons, ensuring that all the piston rings are facing up and that the gaps are properly orientated
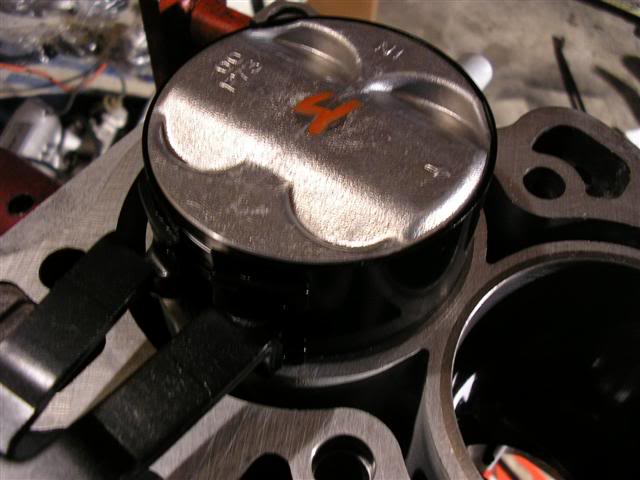
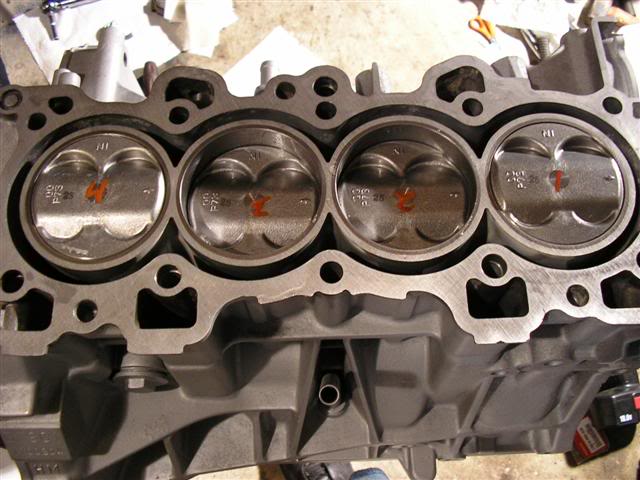
All installed
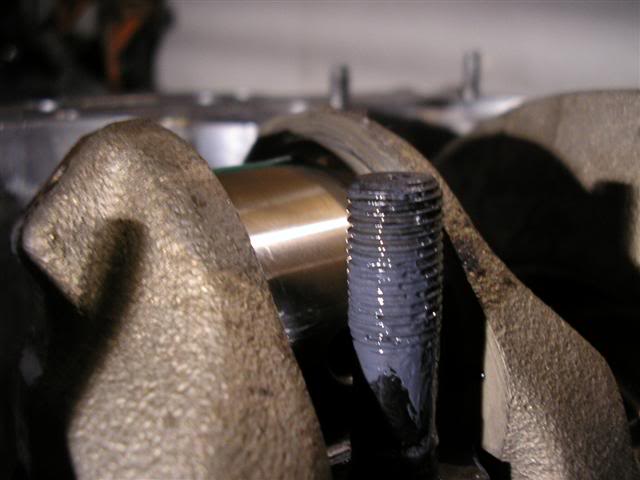
Then made sure to use the ARP assemble lube on the nuts and thread bolt end, to have the correct torque for the plastigauging. If you look carefully, you can see the plastigauge in the background
Rod cap on
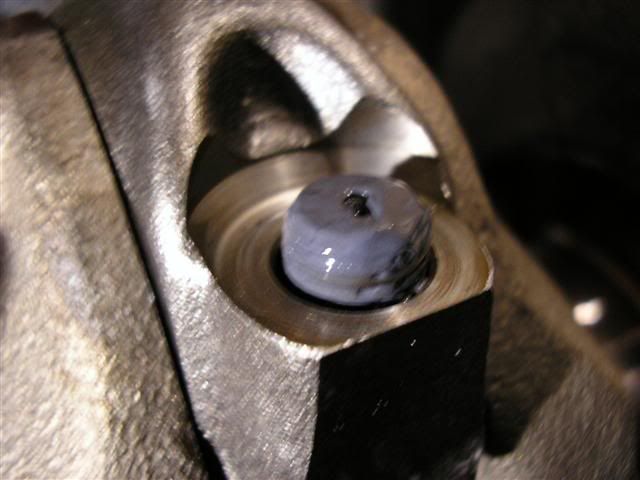
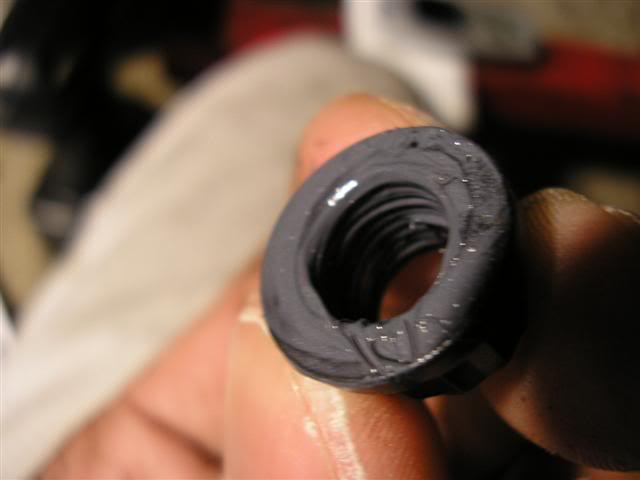
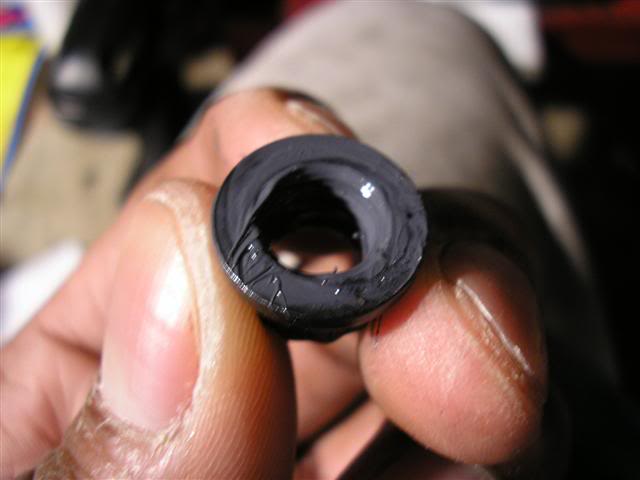
Lubed up nut
Placed on the rod
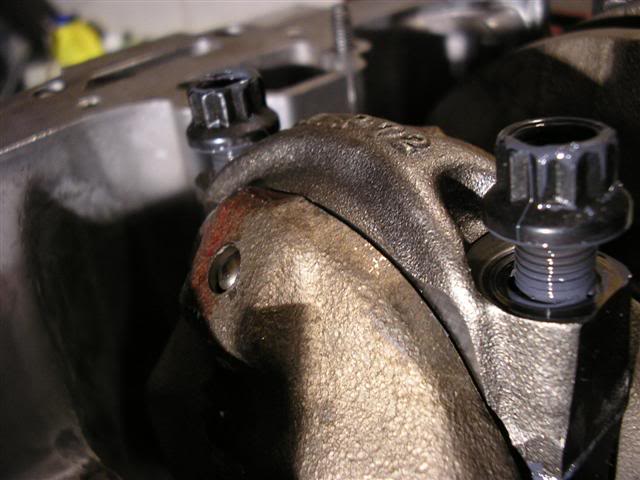
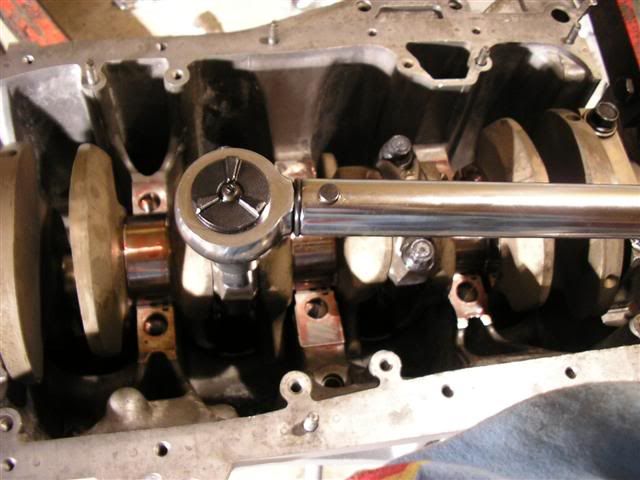
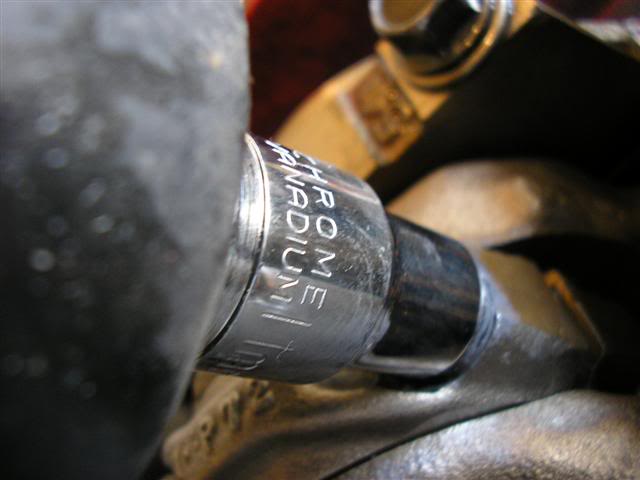
Me torquing down the rod bolts to ARP specs
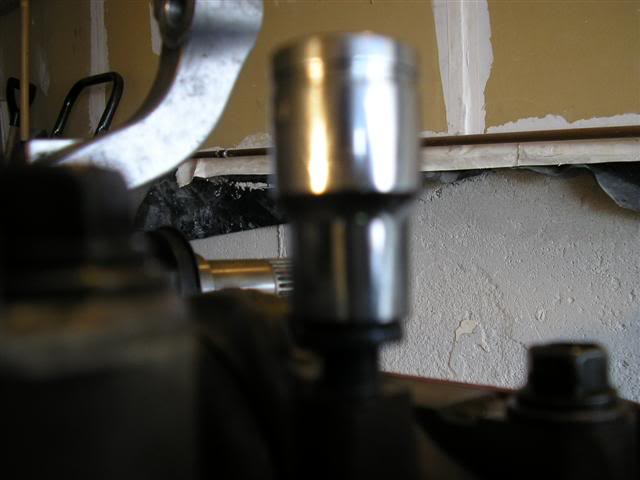
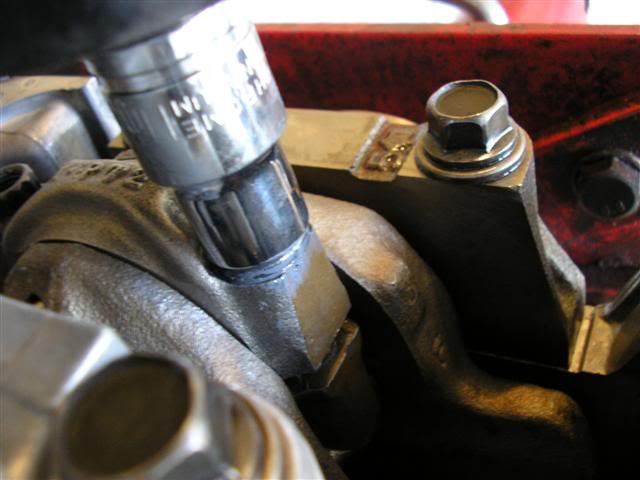
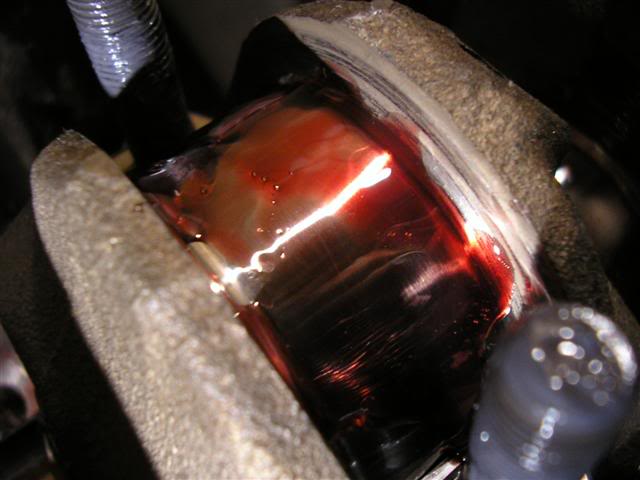
The best way I found to loosen the cap after plastigauging.
Installing the oil squirters
Cleaning up the main bores and bearings for plasitgauging
Bearings
Installed in the mains
Bearings lubed up in preparation of the cleaned up and micropolished crank
Thrust washers are next
Installed
Crankshaft in place
Plastigauging in process
After I finished plastigauging all the mains, they were cleaned up of any excess plastigauge and then lubed thoroughly with engine assembly lube as well as the girdle
Since I had the machine shop install the new pistons on the connecting rods for me, along with installing the piston rings and checking there gap, its one step closer to final assembly. Here they are
Cleaned up the surfaces in preparation of the bearings
Then I needed to remove the cap to install the bearings
Now time to clean up the cylinders for the piston and rod assembly
Then lube up the cylinder walls with WD40
Piston ring compressor
Wiping WD40 on the piston ring compressor
Time to install the pistons, ensuring that all the piston rings are facing up and that the gaps are properly orientated
All installed
Then made sure to use the ARP assemble lube on the nuts and thread bolt end, to have the correct torque for the plastigauging. If you look carefully, you can see the plastigauge in the background
Rod cap on
Lubed up nut
Placed on the rod
Me torquing down the rod bolts to ARP specs
The best way I found to loosen the cap after plastigauging.
04-26-2006, 12:09 PM
#32
Time to become a Premier Member!
Thread Starter
Join Date: Aug 2003
Location: Whitby
Posts: 4,816
This is after I had got the cap loose

After finishing all the plastigauging for all the rods, I made sure to apply enough engine assembly lube to the journals
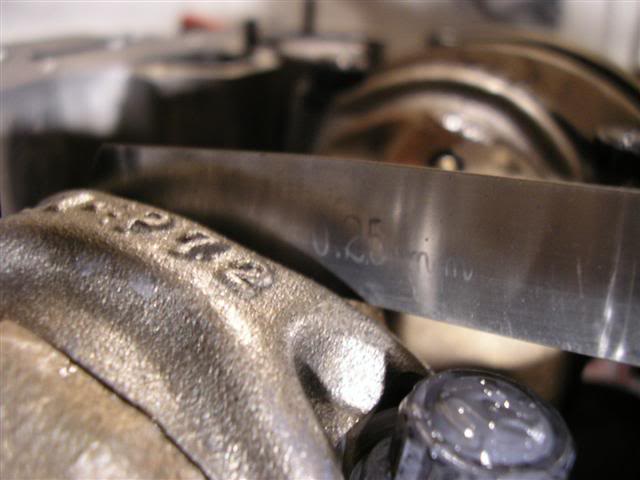
Connecting rod end play within stock specs
Finally I can move on to the rest of the engine block assembly. It took me about 3 hours to plastigauge all the bearings. Done twice, some three times for accuracy.
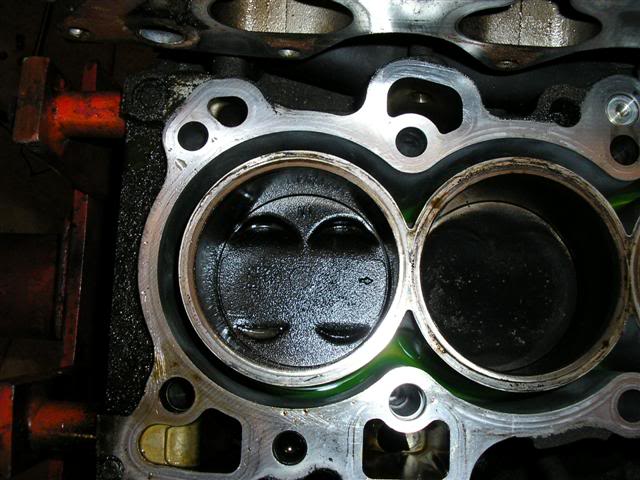
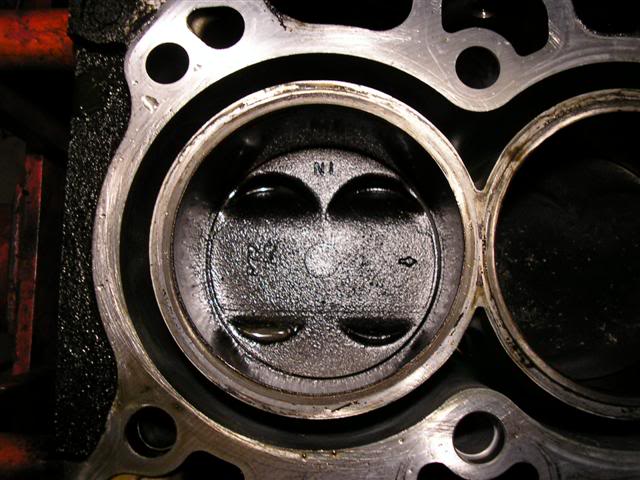
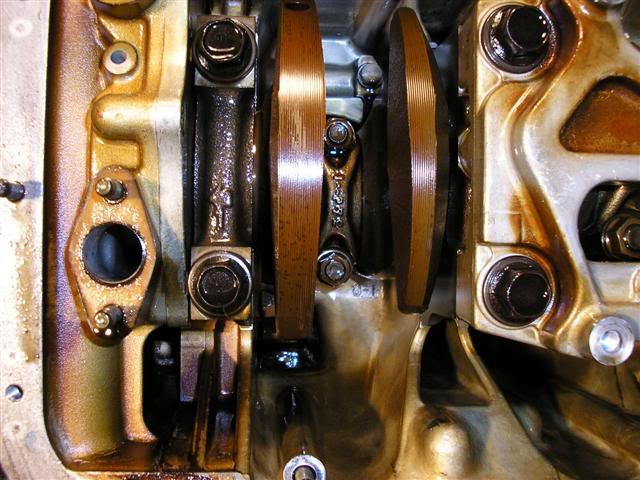
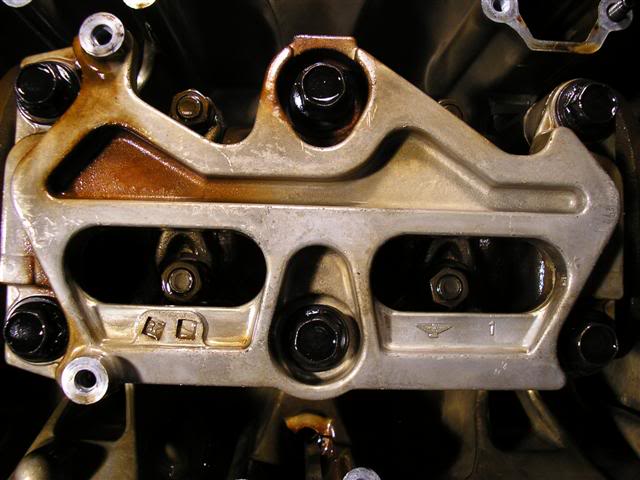
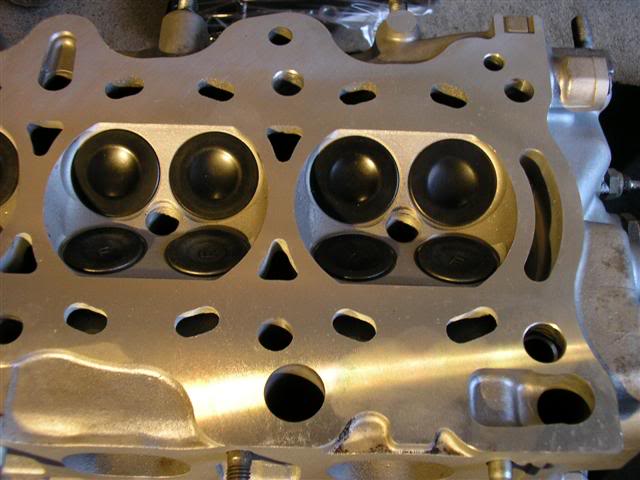
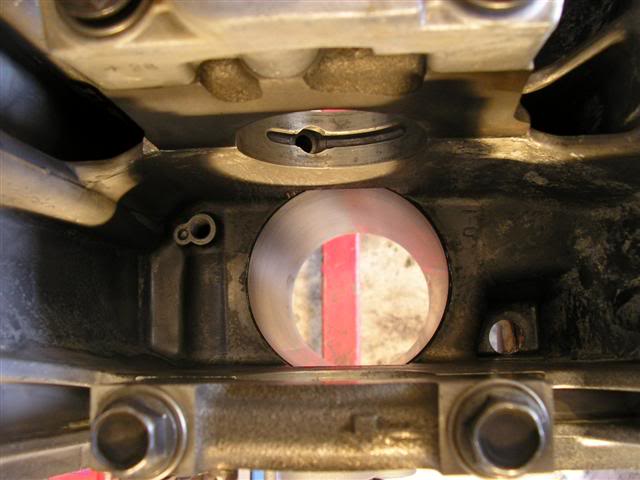
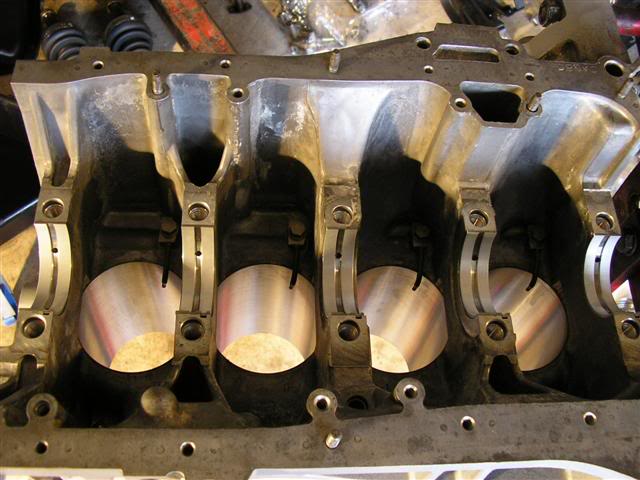
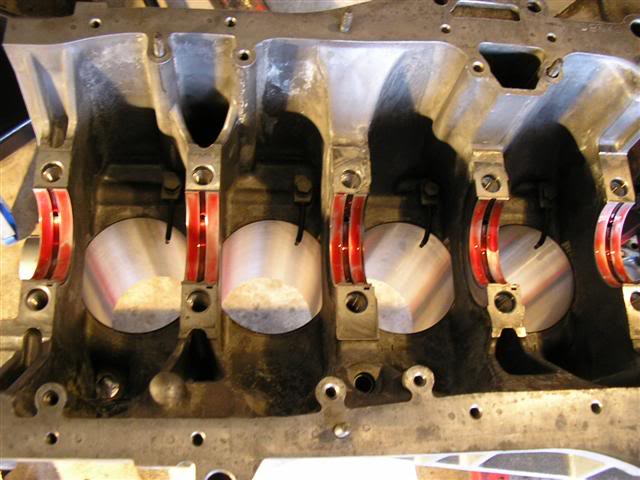
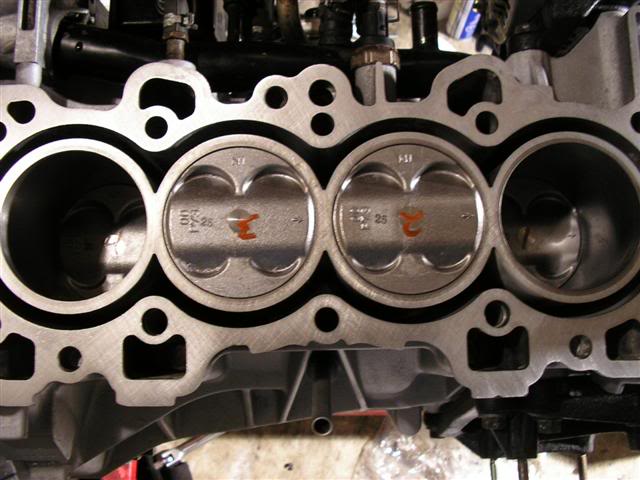
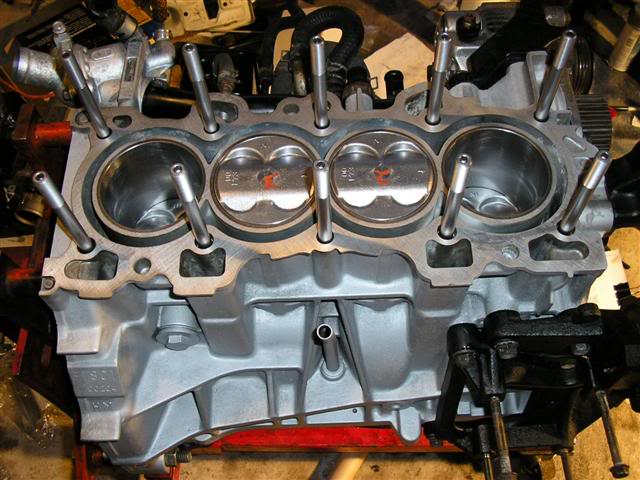
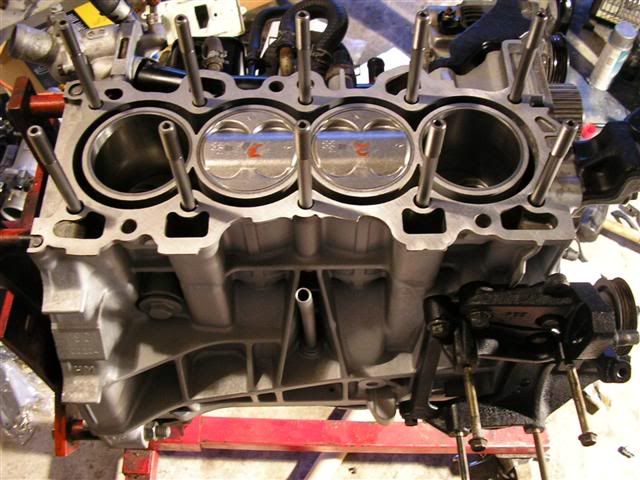
How the pistons should look within there respective cylinders now that they are torqued down properly
Now for the pictures of the other little/random things that go onto the block
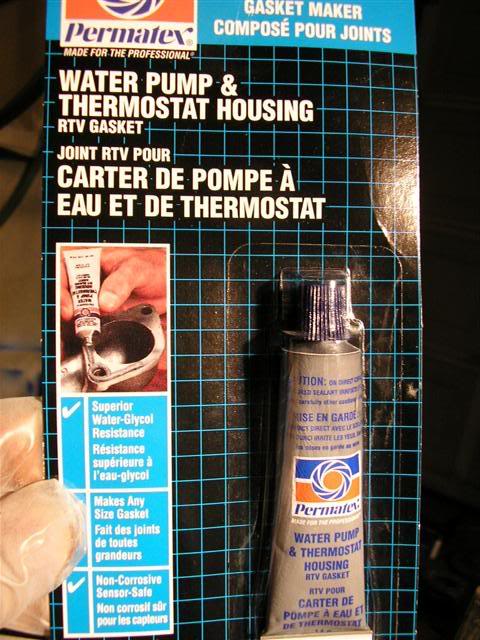
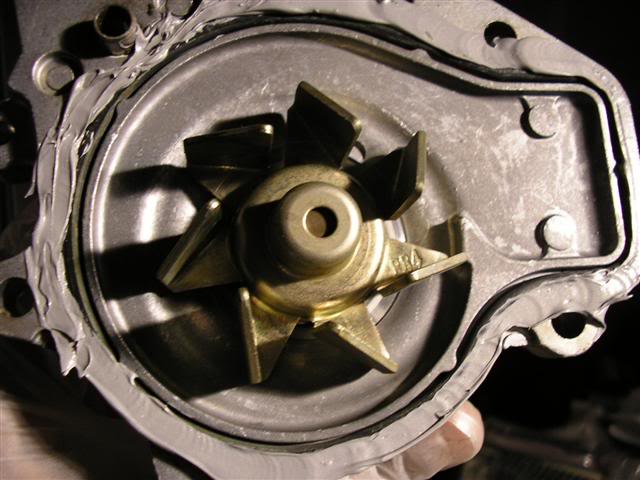


Now I move onto the oil pump, I prep the surface by cleaning it up then placing the high temp sealant around the matting surface.
***forgot to take a picture of that, my bad***
Oil Pump Installed along with a new oil pickup gasket
Oil pickup cleaned along with the bolts & nuts

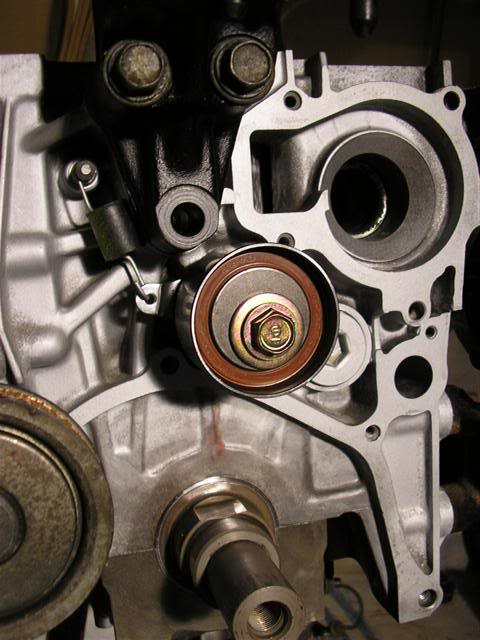
The same treatment is applied to the rear main seal
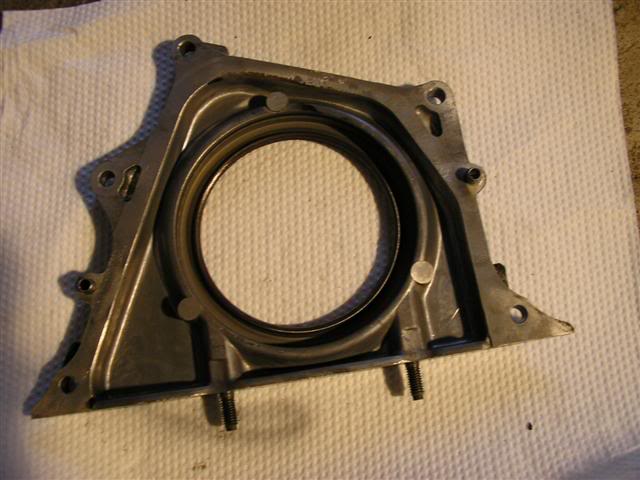
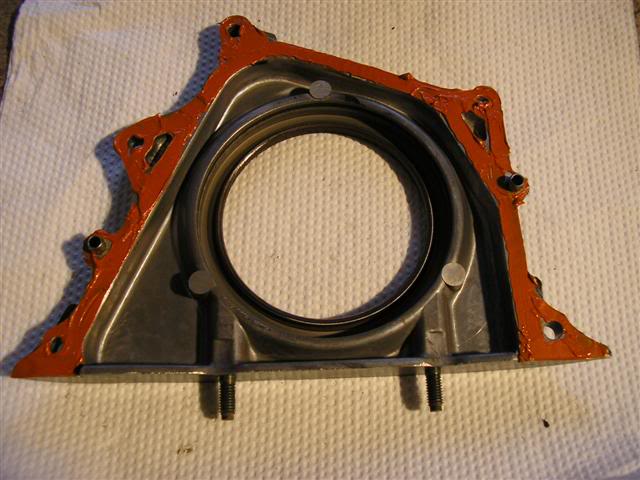
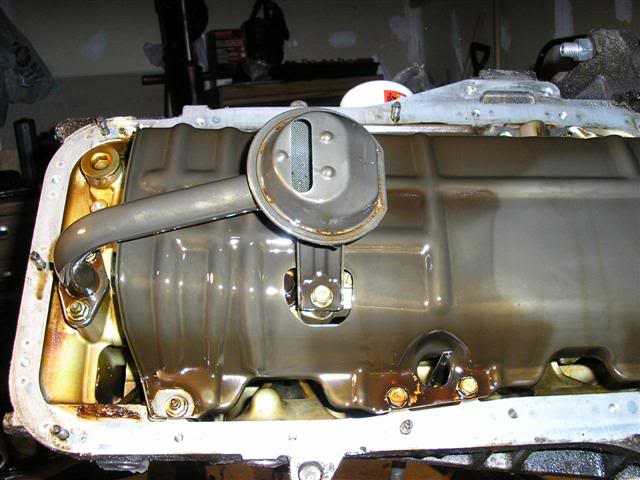
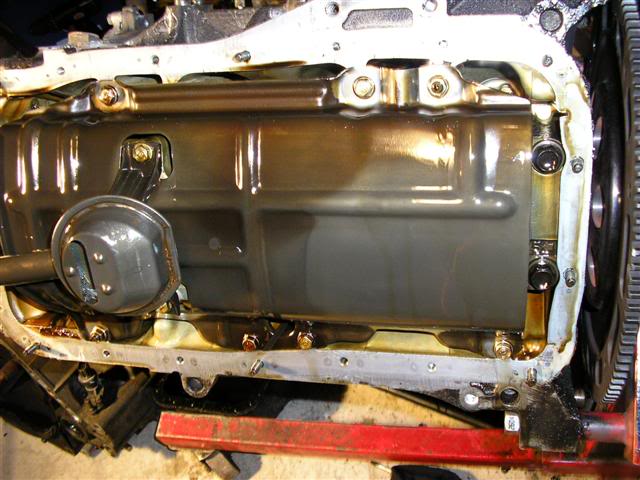
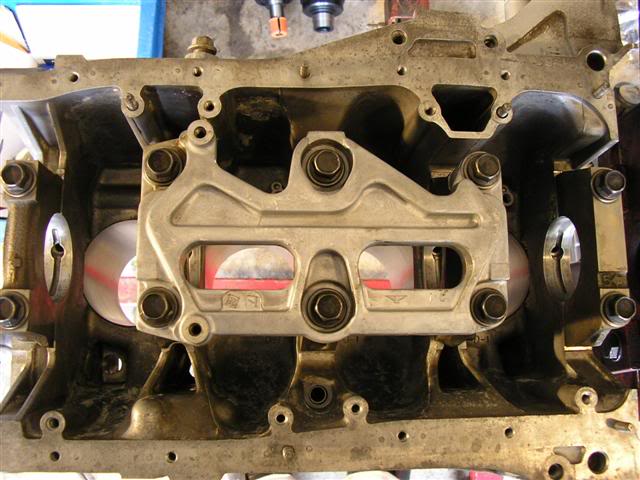
Rear main seal installed along with the new oil pan gasket and windage tray
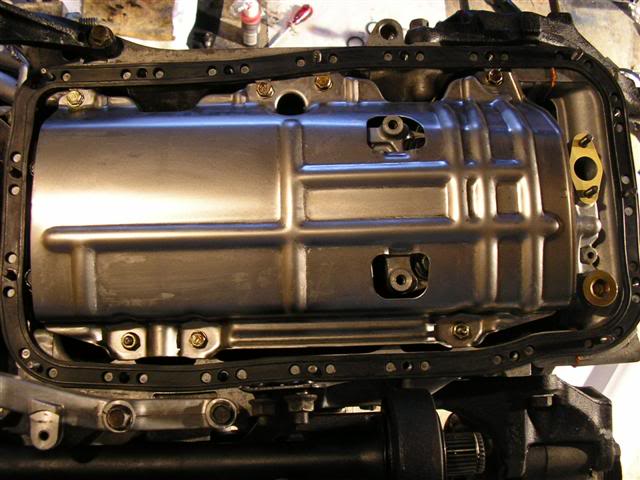
Oil Pickup Installed

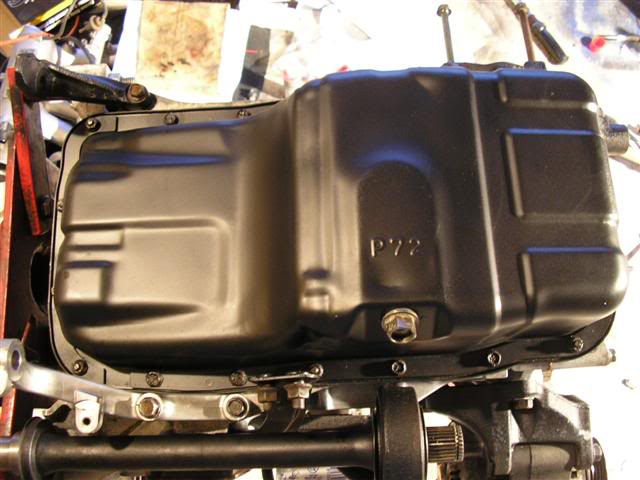
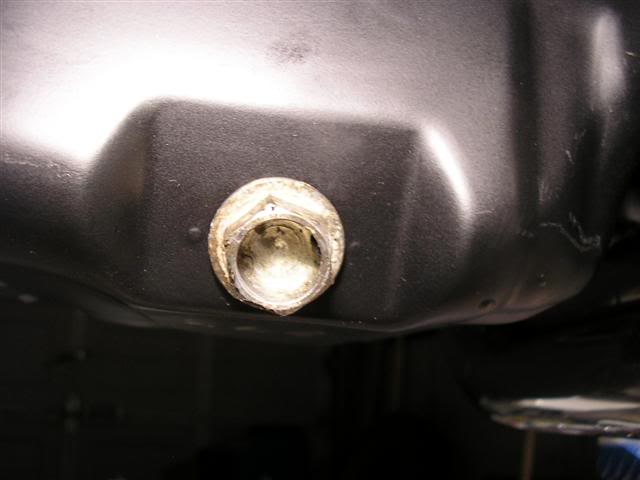
Oil Pan installed along with my magnetic Spoon drain bolt
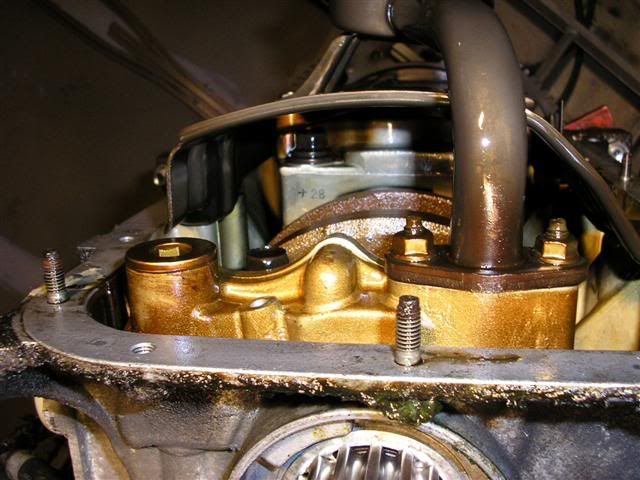
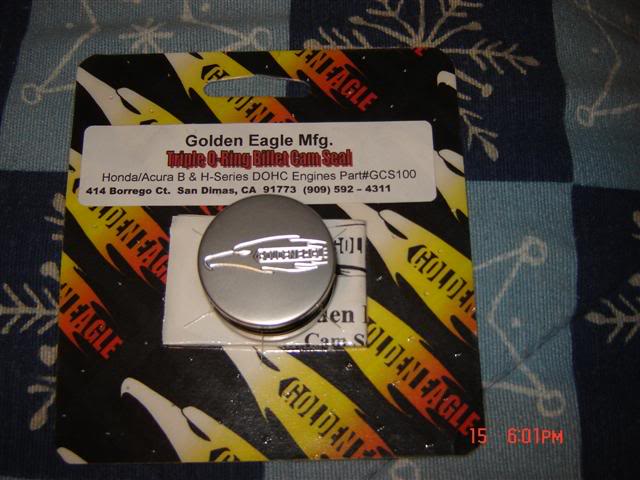
Onto the golden eagle head studs
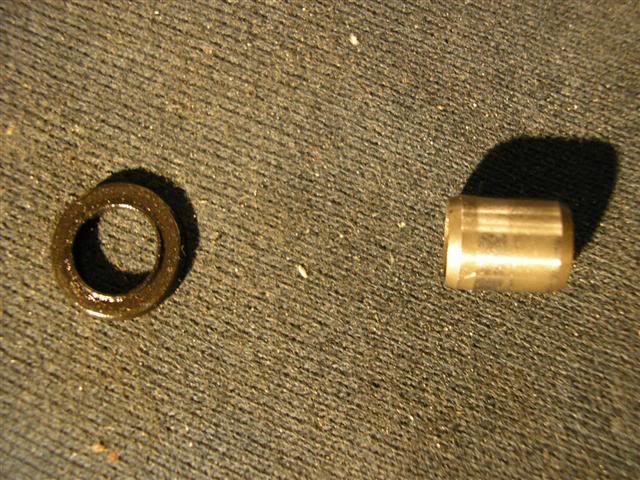
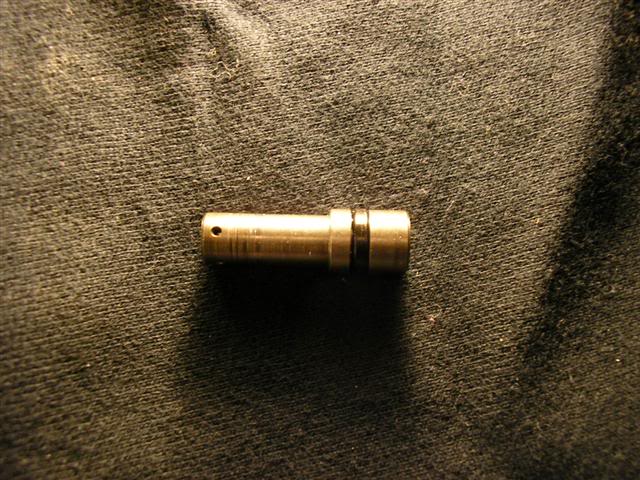
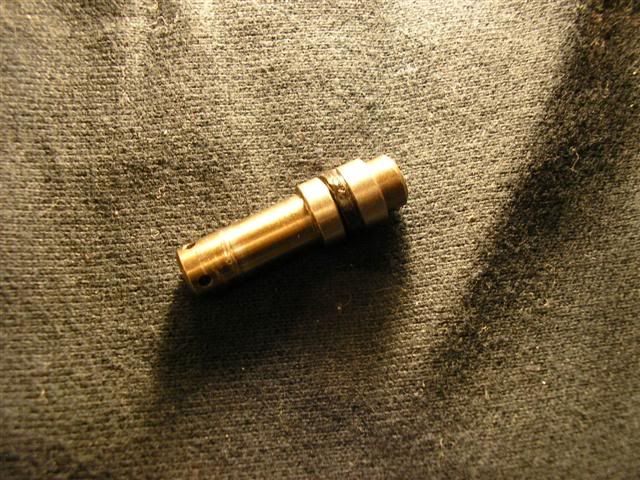
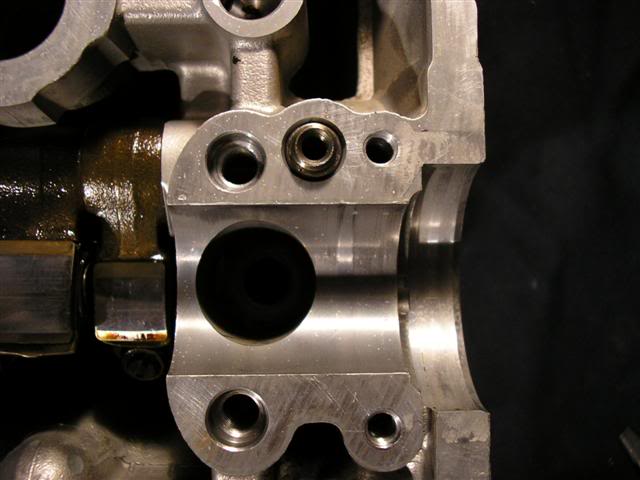
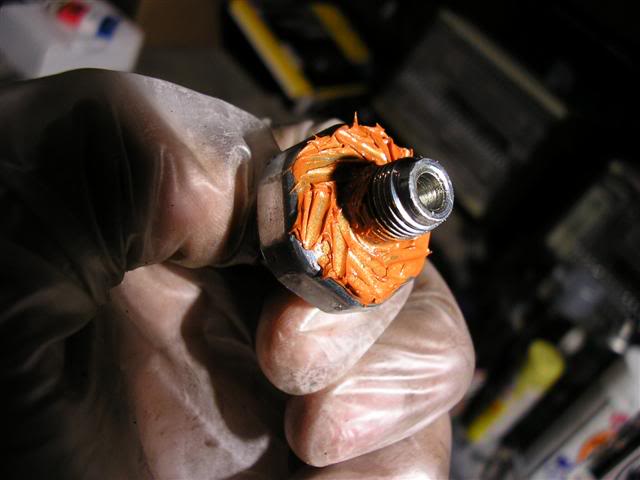
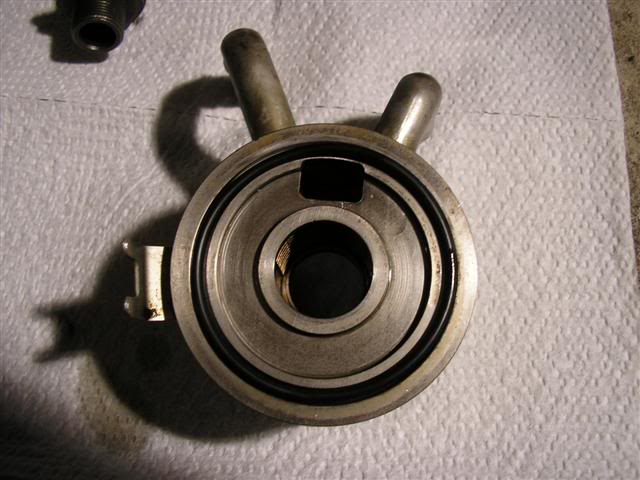
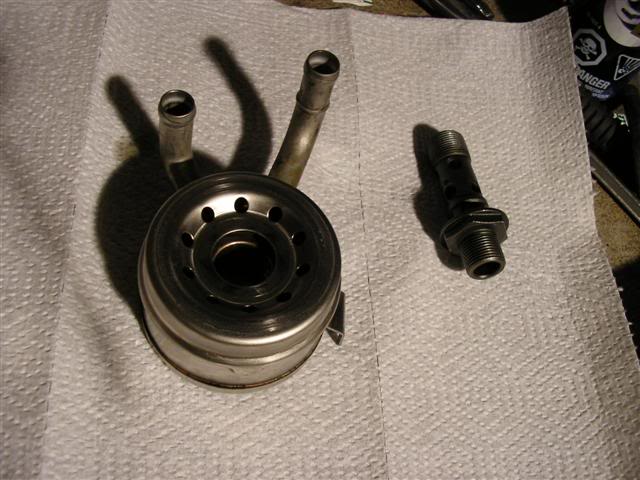
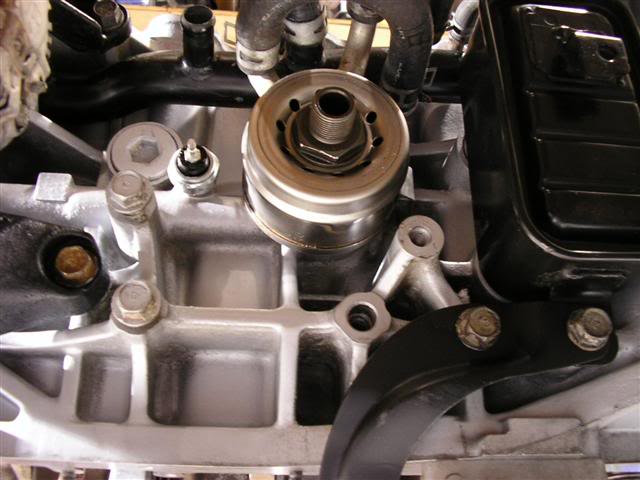
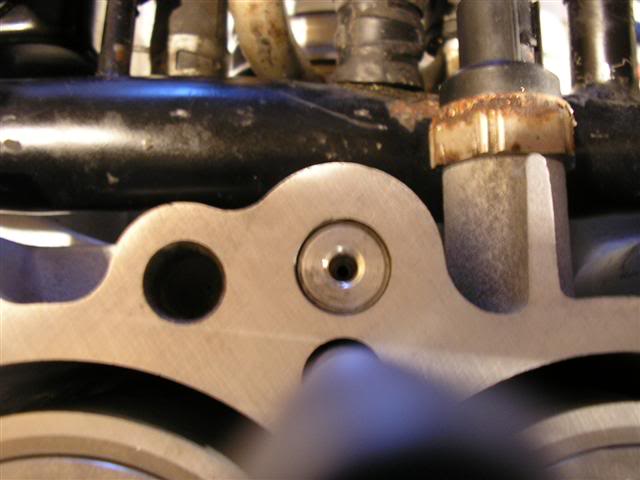
Gotta replace that o-ring on the oil orifice

Oil Orifice installed
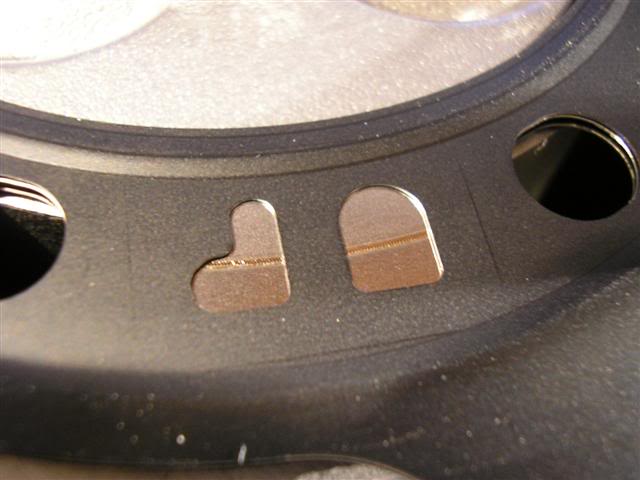
Next it’s time for the headgasket, only OEM for me
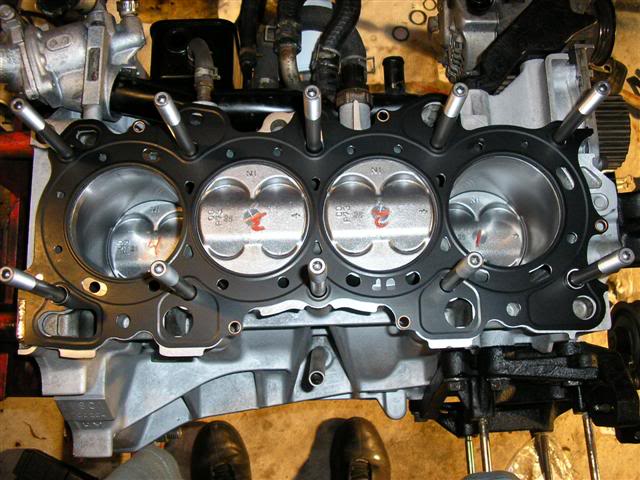
Yup it’s facing the right way
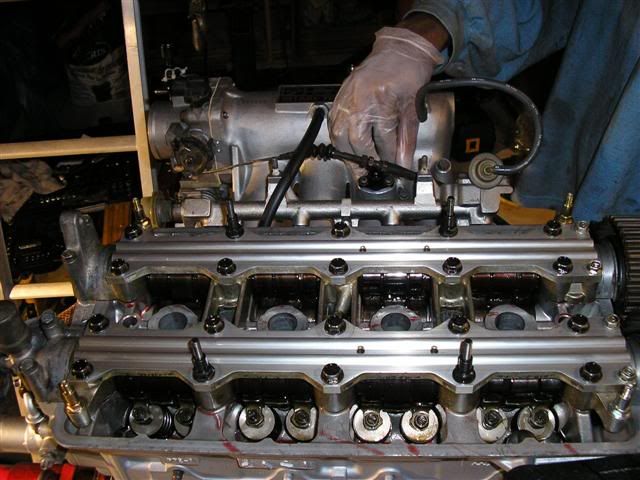
Time to put on the head
Don’t forget those dowel pins
Me lubing the ---- out of the washers and nuts
Head installed
Time for the cams, lube up the cam journals
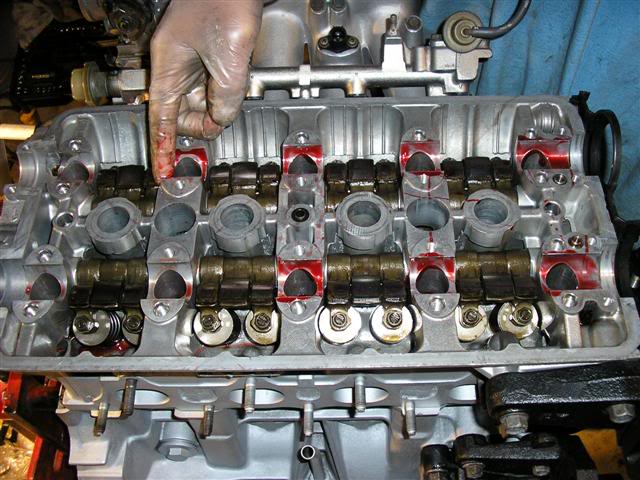
Same goes for the cams
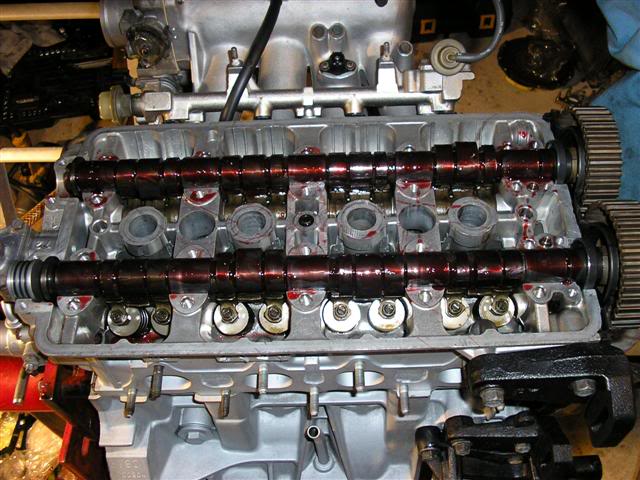
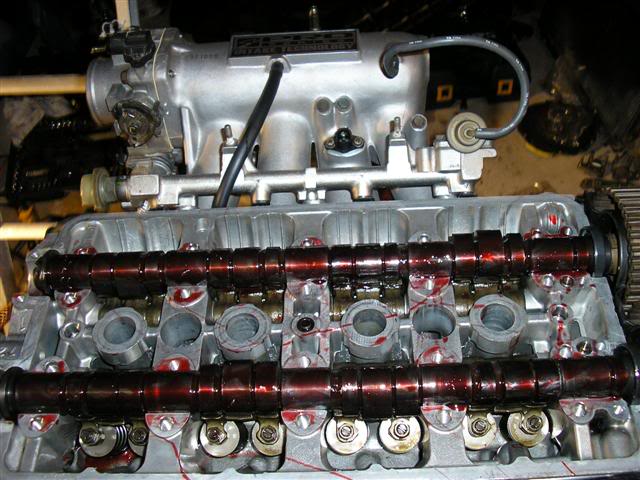
Installed the cam holders along with the cam holder plates (note the bolts to hold on the valve cover are on wrong, should be on the inner holes)
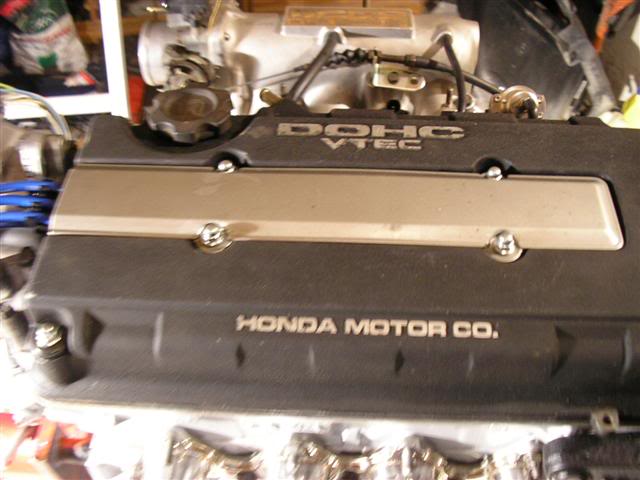
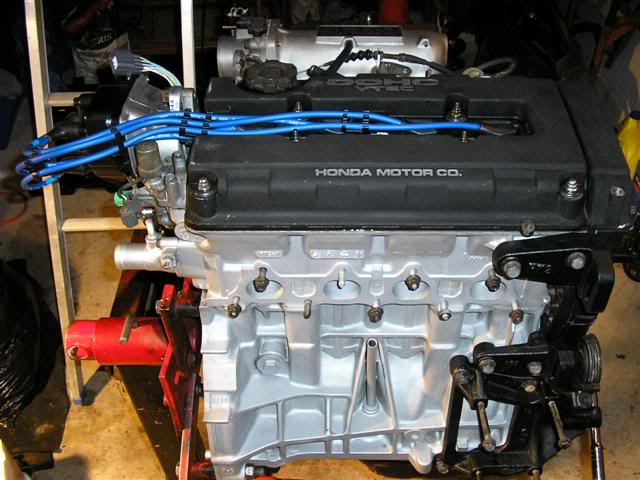
Valve cover put on
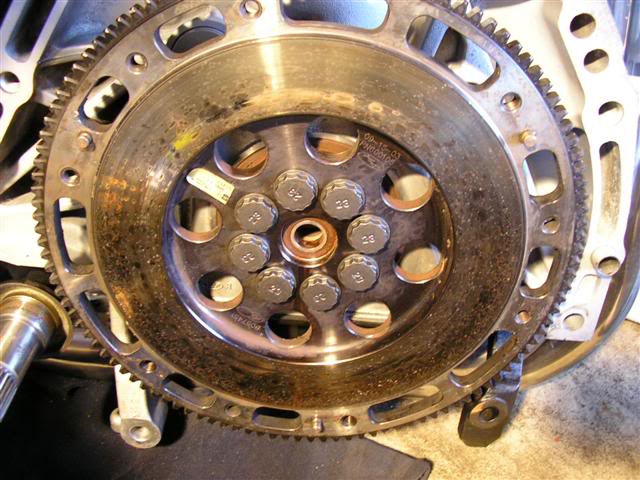
Flywheel Installed
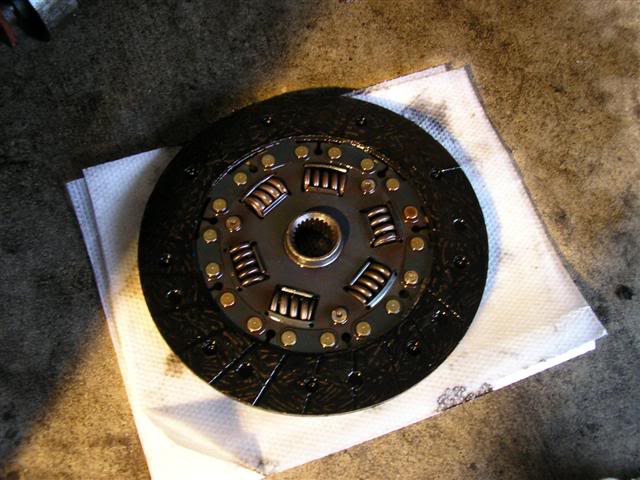
Pressure Plate and Clutch Disk Installed
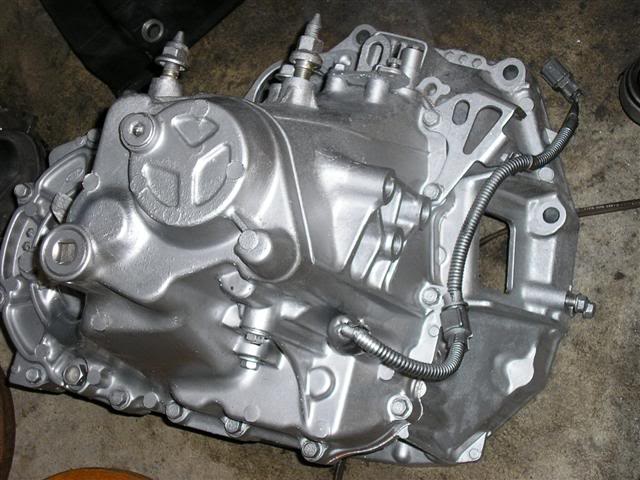
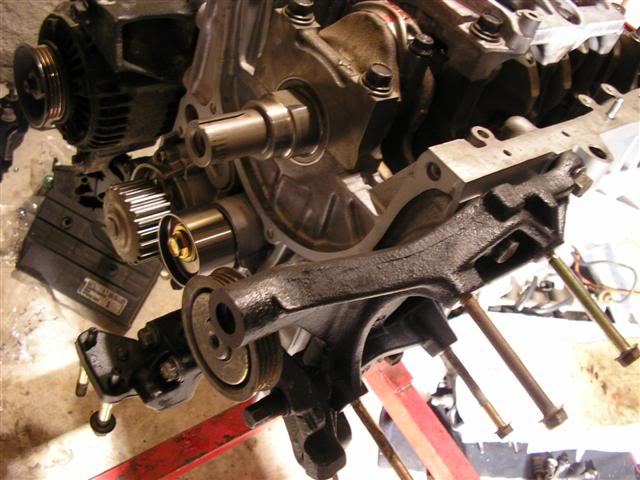
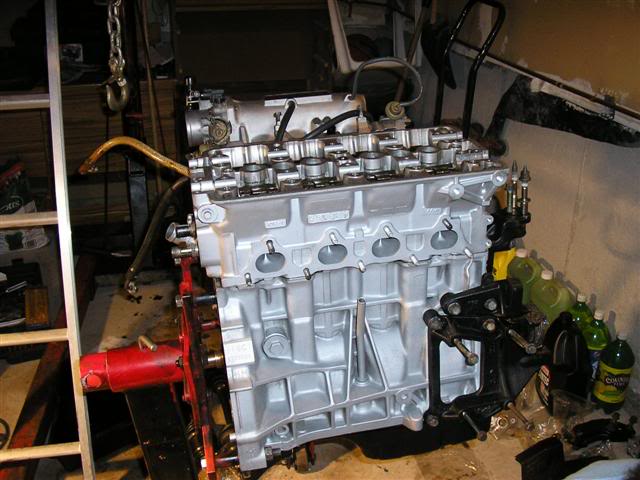
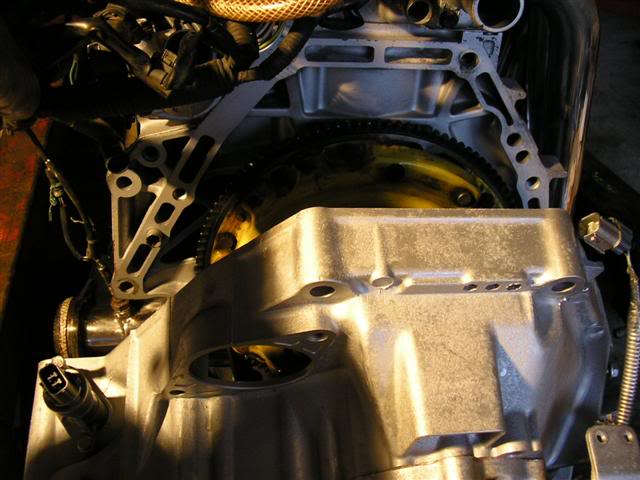
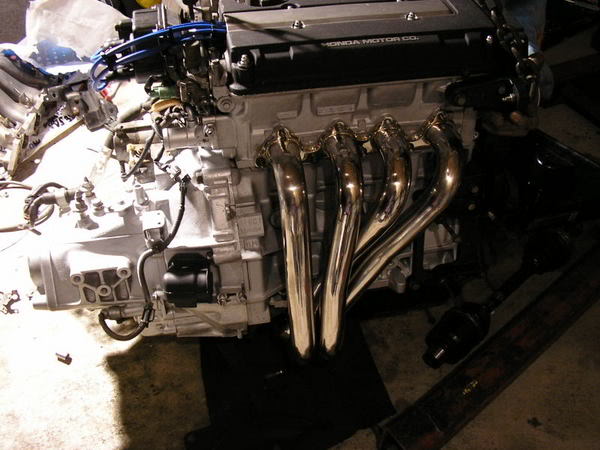
Putting the transmission back on the block by myself and trying to take the picture at the same time
Practically done pictures
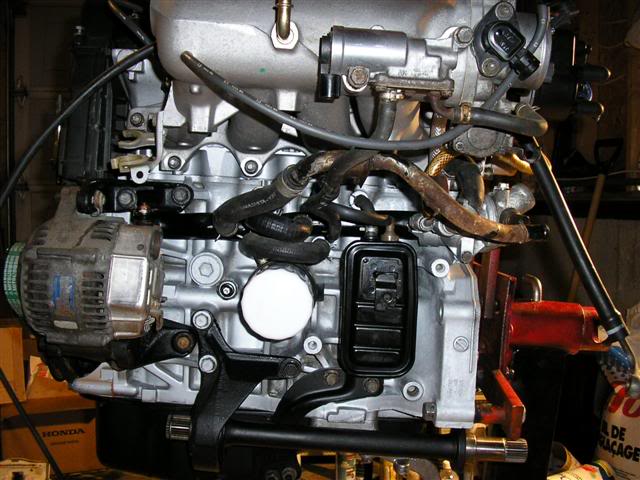
Other things I did while the engine was out

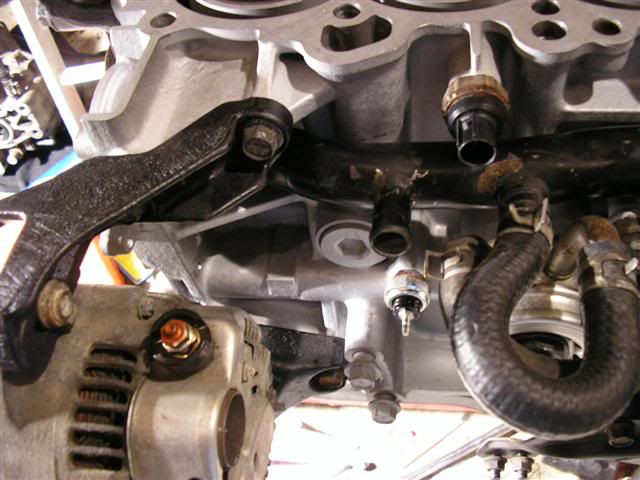
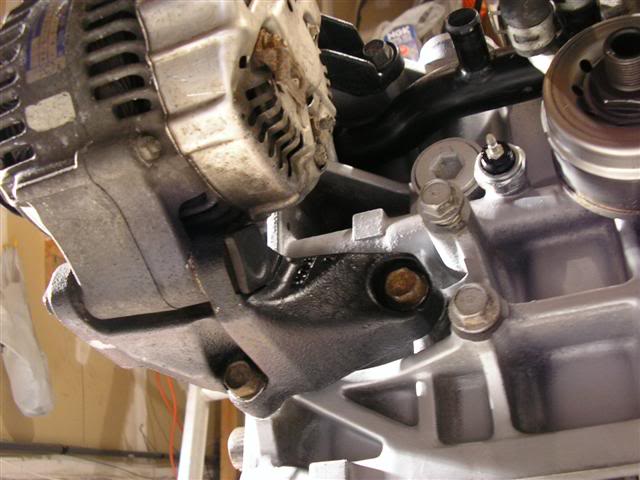
You didn’t think that I would leave the engine bay that dirty did you?

Picture in engine bay
***will put up when I get home from work***
After finishing all the plastigauging for all the rods, I made sure to apply enough engine assembly lube to the journals
Connecting rod end play within stock specs
Finally I can move on to the rest of the engine block assembly. It took me about 3 hours to plastigauge all the bearings. Done twice, some three times for accuracy.
How the pistons should look within there respective cylinders now that they are torqued down properly
Now for the pictures of the other little/random things that go onto the block
Now I move onto the oil pump, I prep the surface by cleaning it up then placing the high temp sealant around the matting surface.
***forgot to take a picture of that, my bad***
Oil Pump Installed along with a new oil pickup gasket
Oil pickup cleaned along with the bolts & nuts
The same treatment is applied to the rear main seal
Rear main seal installed along with the new oil pan gasket and windage tray
Oil Pickup Installed
Oil Pan installed along with my magnetic Spoon drain bolt
Onto the golden eagle head studs
Gotta replace that o-ring on the oil orifice
Oil Orifice installed
Next it’s time for the headgasket, only OEM for me
Yup it’s facing the right way
Time to put on the head
Don’t forget those dowel pins
Me lubing the ---- out of the washers and nuts
Head installed
Time for the cams, lube up the cam journals
Same goes for the cams
Installed the cam holders along with the cam holder plates (note the bolts to hold on the valve cover are on wrong, should be on the inner holes)
Valve cover put on
Flywheel Installed
Pressure Plate and Clutch Disk Installed
Putting the transmission back on the block by myself and trying to take the picture at the same time
Practically done pictures
Other things I did while the engine was out
You didn’t think that I would leave the engine bay that dirty did you?
Picture in engine bay
***will put up when I get home from work***
Last edited by WildoutWhiteGSR; 04-26-2006 at 12:19 PM.
04-26-2006, 12:34 PM
#33
Senior Member
Join Date: Apr 2003
Location: Mississauga, Ontario
Posts: 1,650
crazy work trenell!!! me and my boy just put on a new fender, and replaced his door and internals, and we felt like the biggest mechanics, and i come home to read this thread...ahaha...
question? did you learn how to do all this work by yourself? helms? internet?
and when you said : "
You didn’t think that I would leave the engine bay that dirty did you?"
i thought we were gonna see some wire tucking pics!!!
but great work nonetheless, and motivates the hell out of me to become more engine savvy!!!
04-26-2006, 01:23 PM
#34
Time to become a Premier Member!
Thread Starter
Join Date: Aug 2003
Location: Whitby
Posts: 4,816
Originally Posted by esguerra
question? did you learn how to do all this work by yourself? helms? internet?
Originally Posted by esguerra
and when you said : "
You didn’t think that I would leave the engine bay that dirty did you?"
i thought we were gonna see some wire tucking pics!!!
You didn’t think that I would leave the engine bay that dirty did you?"
i thought we were gonna see some wire tucking pics!!!
-so far fuel rail is done
-vtec solenoid
-distributor
-driver side near the shock tower
and some of the main harness near the battery. Those were the only ones I could move without cutting and extending wires, since I didn't want to do it and have electrical problems later on causing Nick not to be able to tune my car. Now that it's up and running, I'll finish it up once I stop being so lazy
04-26-2006, 06:32 PM
#37
Time to become a Premier Member!
Thread Starter
Join Date: Aug 2003
Location: Whitby
Posts: 4,816
Originally Posted by esguerra
oh, woops...well great job...you and fuzz, all motor twins of 2006!
Last edited by WildoutWhiteGSR; 04-26-2006 at 06:44 PM.