Rakky's Build Thread: Blue EG Hatch
 06-03-2011, 10:56 PM
#1
Junior Member
Thread Starter
Join Date: Feb 2011
Location: Ajax,Scarborough, Hamilton
Posts: 147
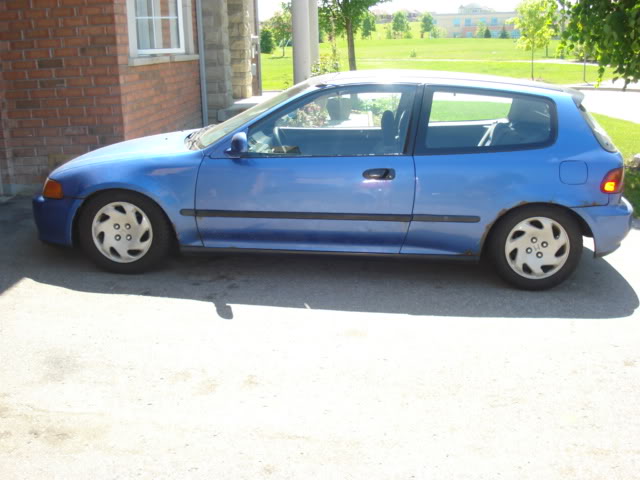
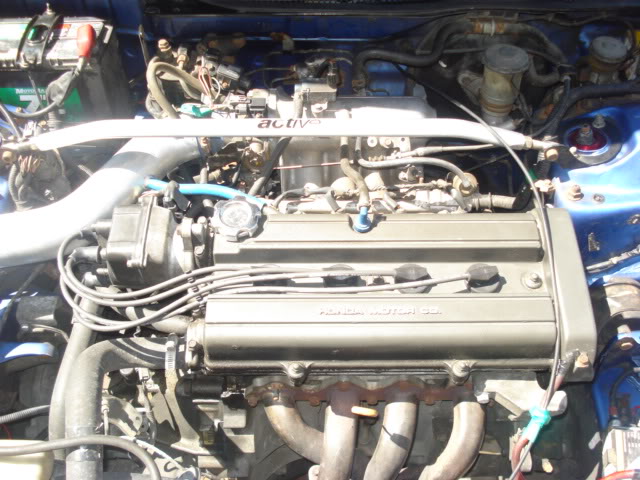
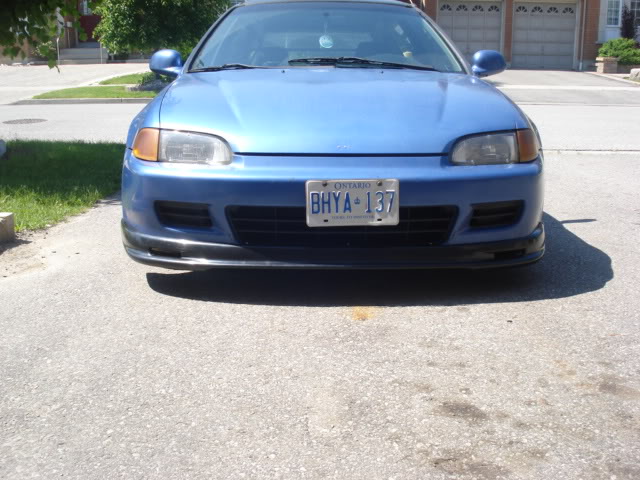
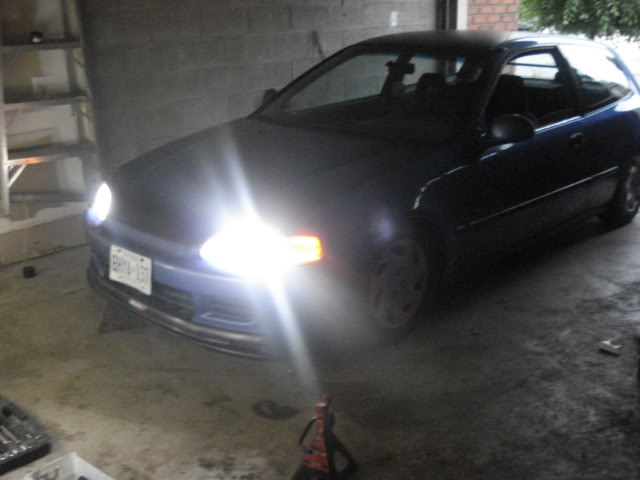
So after buying martin's hatch didn't know where to start since this car pretty much was track/street ready. After taking it for several quick runs around my street (I mean quick, no insurance... ) was really happy, feeling more happier after every run.
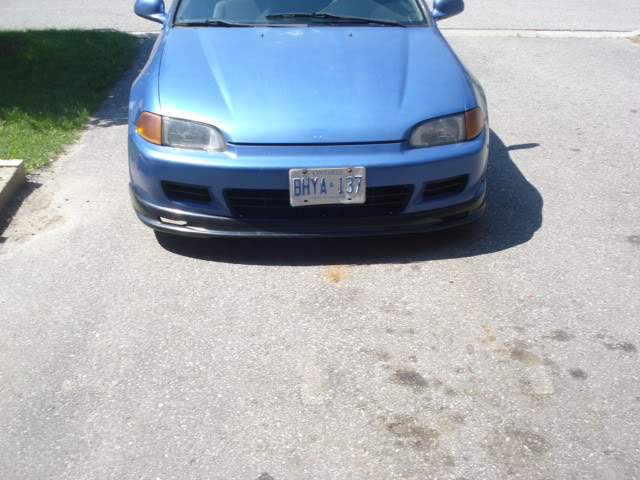
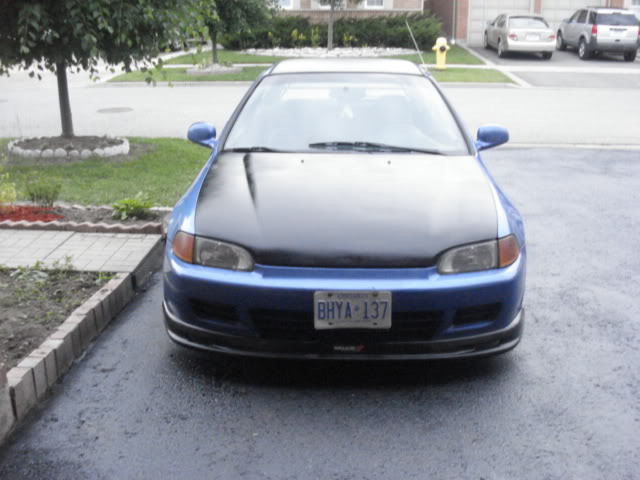
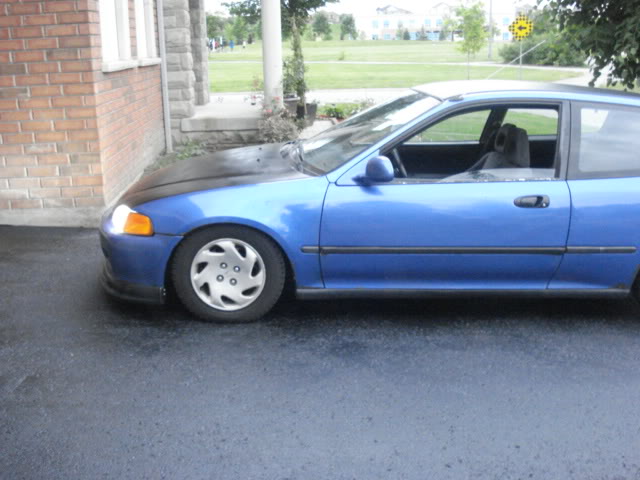
So this is how the car looks, pretty much the same how I got it.
-Godspeed coilovers, silver LCA's,lower rear strut bar, c pillar bar, front top strut bar, HIDs, ........... yeye.. you get it right
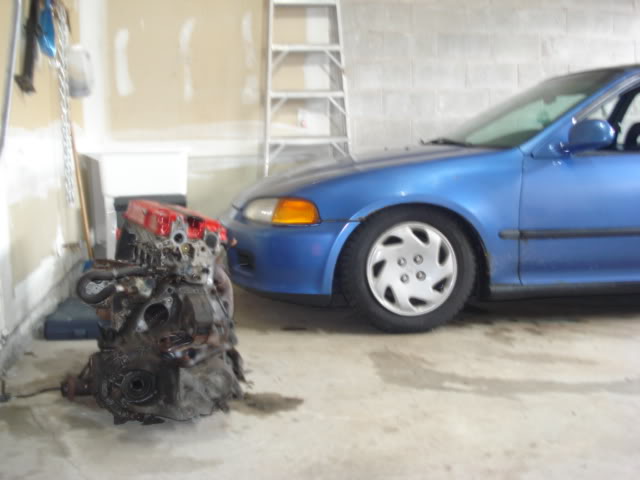
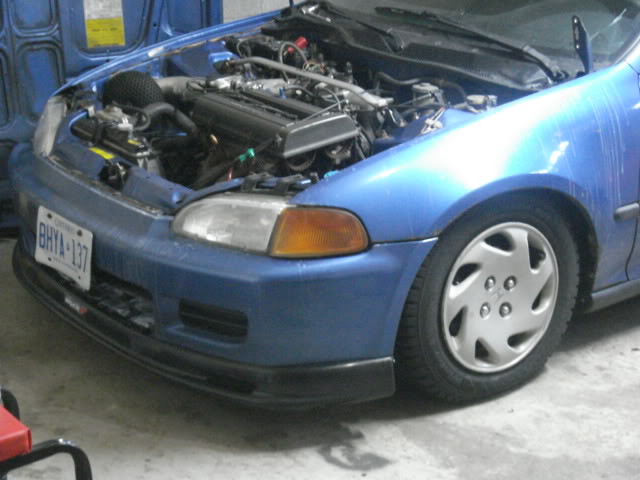
My b16 sitting there, really under estimated the b20, seems to have a faster take off then my b16 which was in my integra. Or is it just me? Then again it is a lighter car
Needed a map sensor, and was able to get one from the scrap yard (was idling rough almost to the point where it wanted to stall). $10 fix.
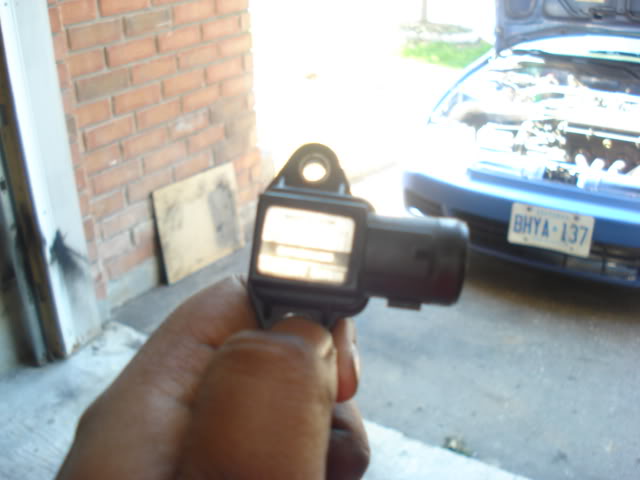
Old one
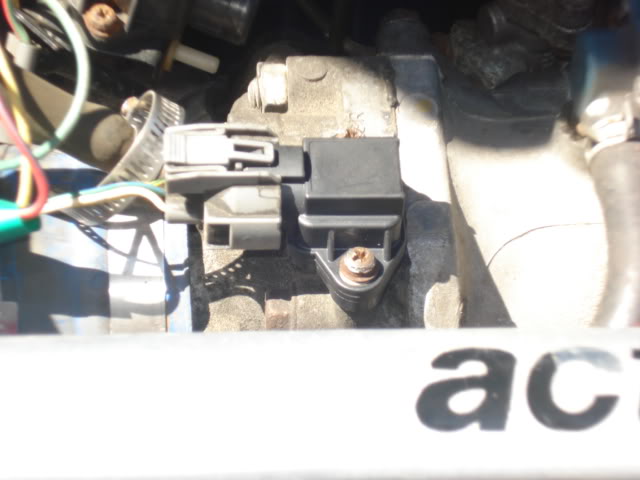
New "old" one, idling fine now.
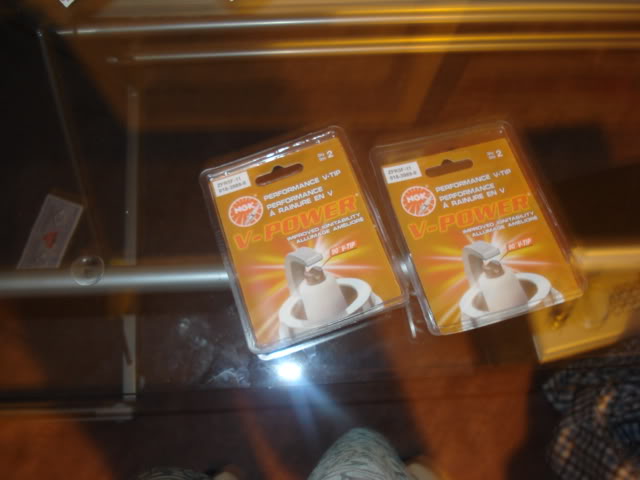
Changed the spark plugs with NGK v power
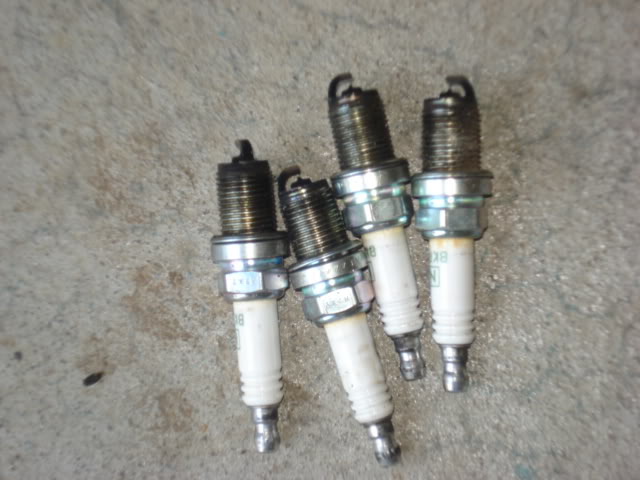
old ones
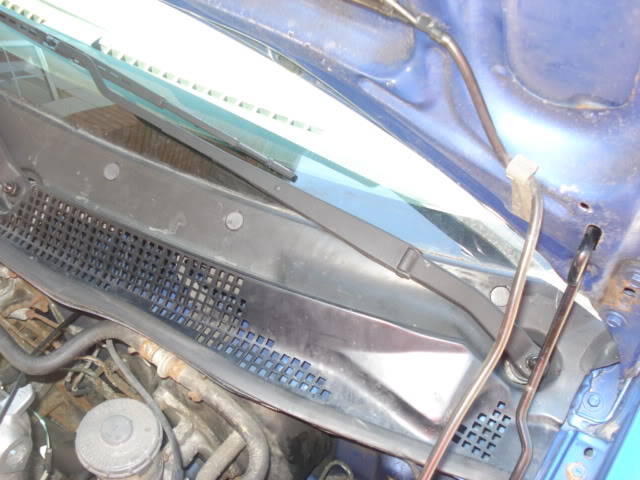
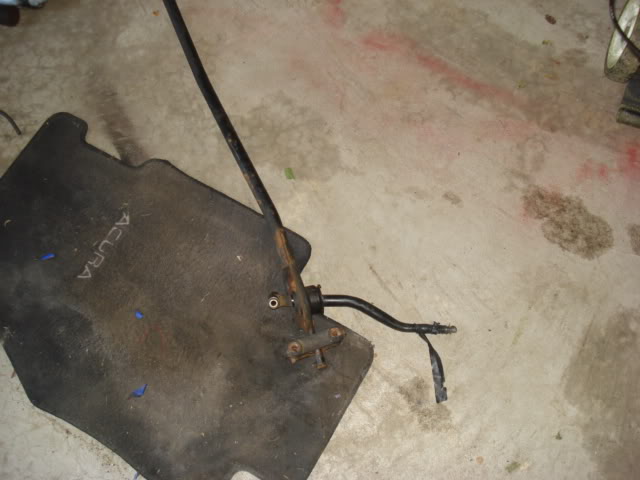
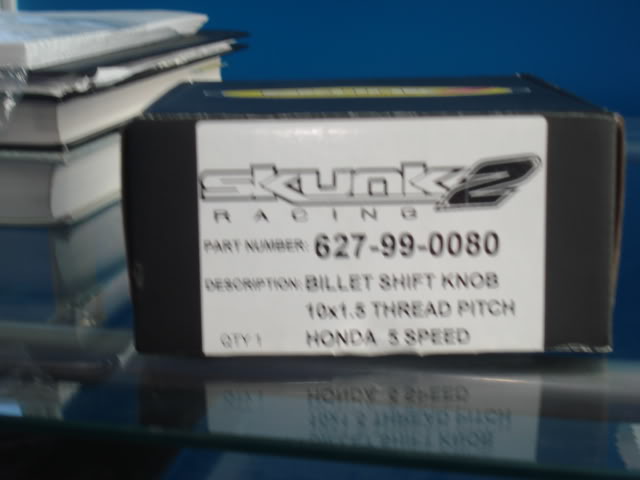
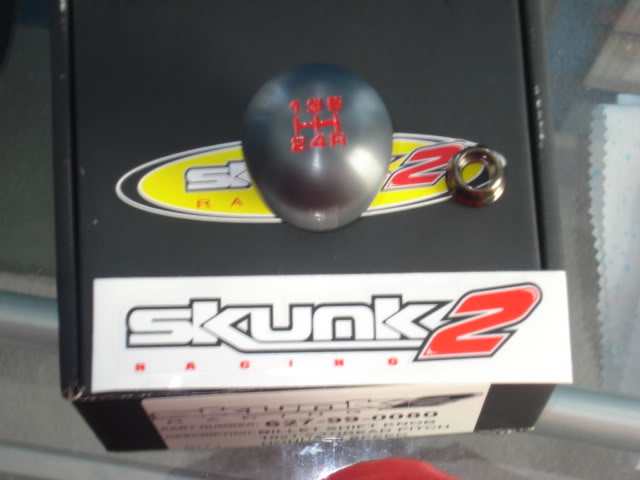
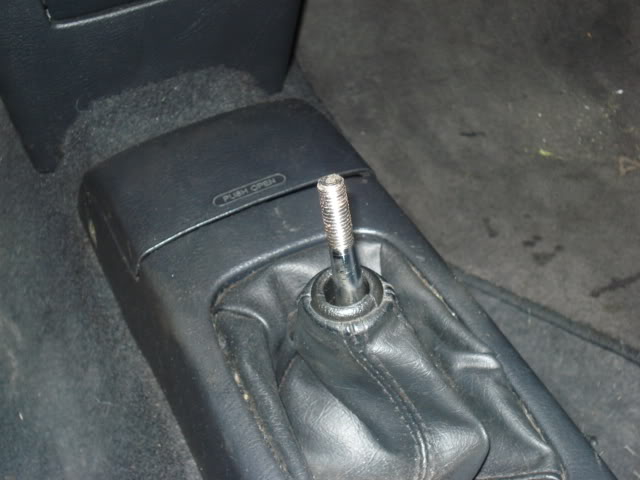
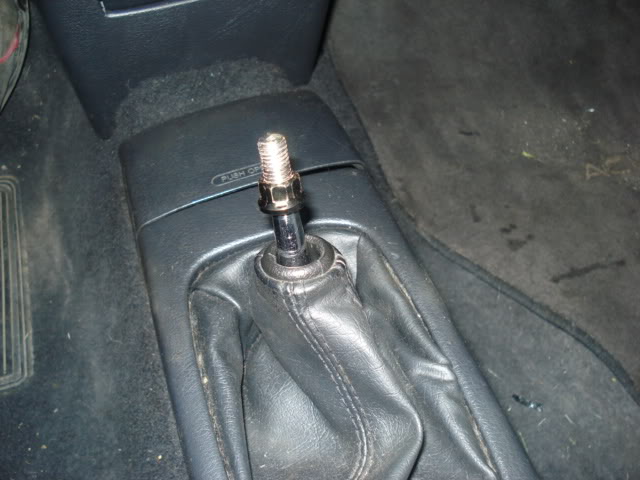
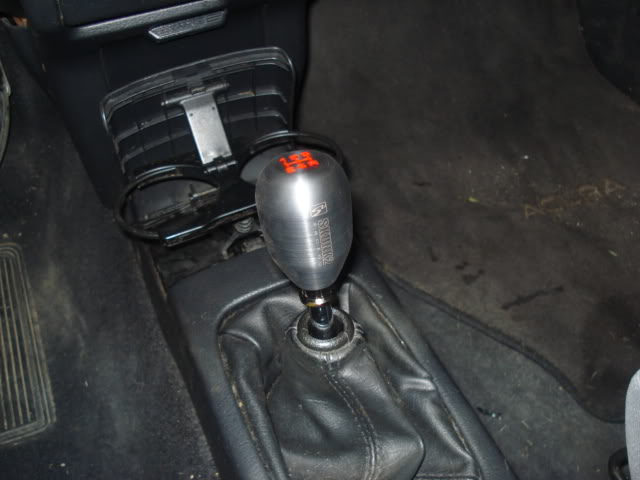
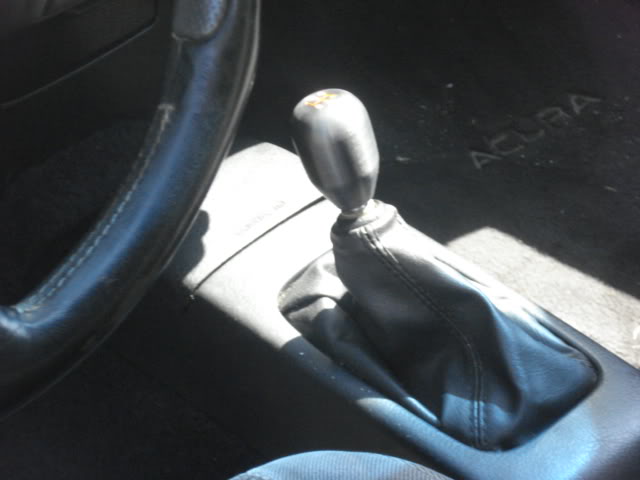
After that I relocated the hood release cable through the engine bay...improved security lol, prepped and painted wiper arms, installed b&m short shifter, and cleaned up the engine bay.
can see the hood release cable , lol, doesn't look pretty I know
integra shifter linkage , wasn't able to take pictures of me installing it.
very short shifts now.

After cleaning it with some WD-40 and a rag. forgot to take a before photo
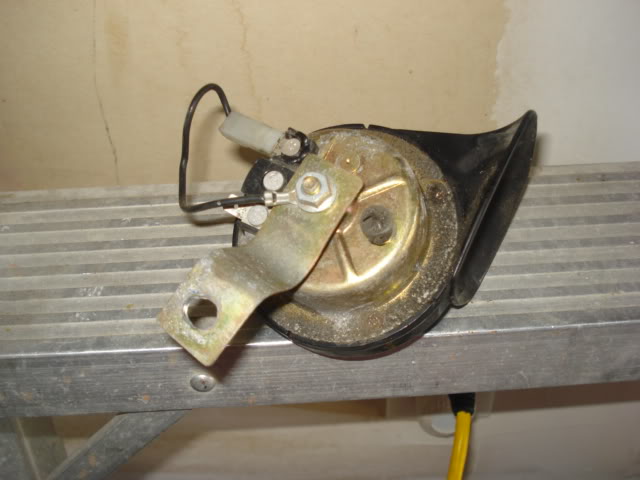
Now I need a horn and a horn button for the momo steering wheel for safety.
That's it for now, will keep updating as I go. Looking into some fogs and a lip.
) was really happy, feeling more happier after every run. So this is how the car looks, pretty much the same how I got it.
-Godspeed coilovers, silver LCA's,lower rear strut bar, c pillar bar, front top strut bar, HIDs, ........... yeye.. you get it right
My b16 sitting there, really under estimated the b20, seems to have a faster take off then my b16 which was in my integra. Or is it just me? Then again it is a lighter car
Needed a map sensor, and was able to get one from the scrap yard (was idling rough almost to the point where it wanted to stall). $10 fix.
Old one
New "old" one, idling fine now.
Changed the spark plugs with NGK v power
old ones
After that I relocated the hood release cable through the engine bay...improved security lol, prepped and painted wiper arms, installed b&m short shifter, and cleaned up the engine bay.
can see the hood release cable , lol, doesn't look pretty I know
integra shifter linkage , wasn't able to take pictures of me installing it.
very short shifts now.
After cleaning it with some WD-40 and a rag. forgot to take a before photo
Now I need a horn and a horn button for the momo steering wheel for safety.
That's it for now, will keep updating as I go. Looking into some fogs and a lip.
Last edited by rakky; 06-04-2011 at 09:57 PM.


 06-04-2011, 07:19 PM
#4
Junior Member
Join Date: May 2010
Location: toronto
Posts: 383
nice build man
should get rims and wiring the horn sometime to get it to the center of the wheel is brutal just put it by shifter like me lo
but you cant coin dtp. you cant just buy into the group. its a right of passage. lol
should get rims and wiring the horn sometime to get it to the center of the wheel is brutal just put it by shifter like me lo
but you cant coin dtp. you cant just buy into the group. its a right of passage. lol
06-04-2011, 08:21 PM
#5
Junior Member
Thread Starter
Join Date: Feb 2011
Location: Ajax,Scarborough, Hamilton
Posts: 147
I'll take the stickers off right away.
06-04-2011, 09:49 PM
#7
Junior Member
Thread Starter
Join Date: Feb 2011
Location: Ajax,Scarborough, Hamilton
Posts: 147
bro, where do you get the idea that I was trying to buy into the group, I didn't even know it was a group until a member came to buy rotors off me and told me he recognized the car (He took a pic of it too). That's when I found out. I left the stickers on cause I thought it looked unique.
06-04-2011, 11:17 PM
#10
Junior Member
Thread Starter
Join Date: Feb 2011
Location: Ajax,Scarborough, Hamilton
Posts: 147
06-05-2011, 01:48 PM
#13
Junior Member
Join Date: May 2010
Location: toronto
Posts: 383
bro, where do you get the idea that I was trying to buy into the group, I didn't even know it was a group until a member came to buy rotors off me and told me he recognized the car (He took a pic of it too). That's when I found out. I left the stickers on cause I thought it looked unique.
 06-06-2011, 03:17 PM
#19
Junior Member
Thread Starter
Join Date: Feb 2011
Location: Ajax,Scarborough, Hamilton
Posts: 147
so I reinstalled the **** the right way, feels nice.
Went to the scrap yard to help a friend out for parts for his accord. He ended up finding a mugen lip (fake off course) off another eg, pretty good condition. It was $10 so I said why not? The quality of it doesn't seem that good, don't think it will last cause the plastic seems VERY fragile but hey $10 I'm happy.
Installation was a breeze.
06-10-2011, 10:19 PM
#22
Junior Member
Thread Starter
Join Date: Feb 2011
Location: Ajax,Scarborough, Hamilton
Posts: 147
Had time to work on my car today, lately been doing alot of house chores especially gardening lol.
Anyway, the civic's hood needed a spray, But I couldn't find the colour match at any of the stores except for Napa Auto Parts. Only problem was still got no job so Im broke ($40 a can). I had previously bought rust check flat black paint (almost full plus a clear coat can) left over from my teg. So what the hell, decided to paint it black.
400 Grit Wet Sanding, a tack cloth, and couple of clean microfiber cloths was used for prep.

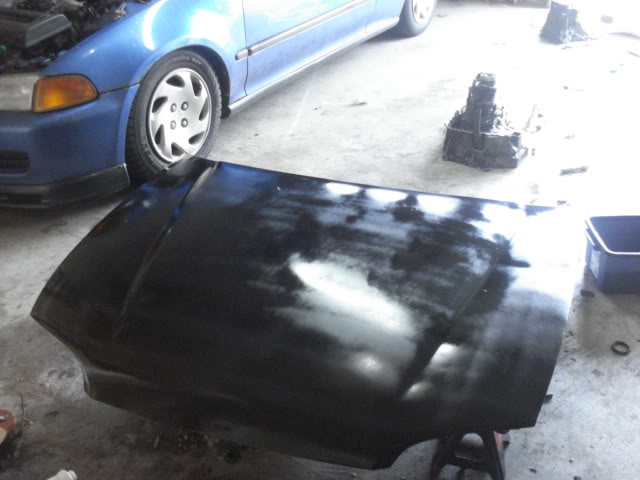
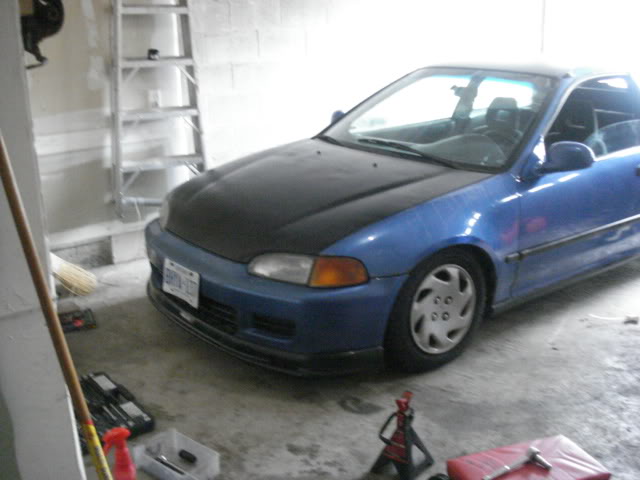
I think it turned out better then I expected, I'm happy because you can no longer see the sun faded spots or small rust spot.
BTW you guys notice the drive way is clean. I cleaned up my previously made oil stains and resealed it by myself. Hard work!
Anyway, the civic's hood needed a spray, But I couldn't find the colour match at any of the stores except for Napa Auto Parts. Only problem was still got no job so Im broke ($40 a can). I had previously bought rust check flat black paint (almost full plus a clear coat can) left over from my teg. So what the hell, decided to paint it black.
400 Grit Wet Sanding, a tack cloth, and couple of clean microfiber cloths was used for prep.
I think it turned out better then I expected, I'm happy because you can no longer see the sun faded spots or small rust spot.
BTW you guys notice the drive way is clean. I cleaned up my previously made oil stains and resealed it by myself. Hard work!
06-16-2011, 10:01 PM
#24
Junior Member
Thread Starter
Join Date: Feb 2011
Location: Ajax,Scarborough, Hamilton
Posts: 147
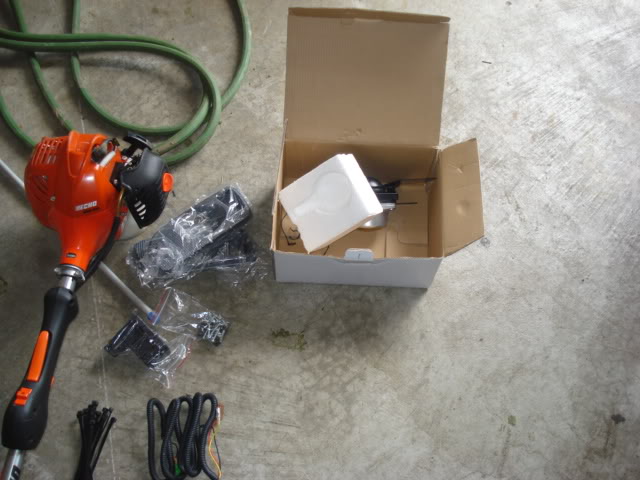
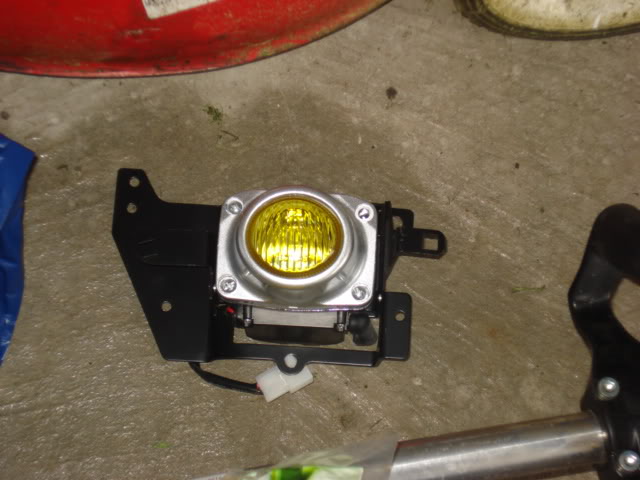
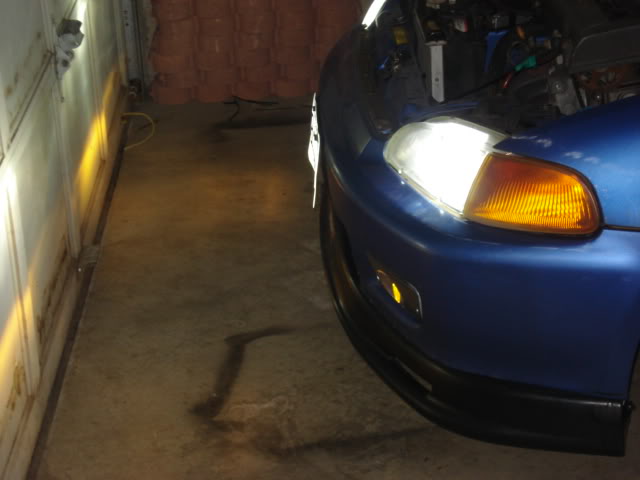
So I got a set of fog light for my eg.
Opening box.
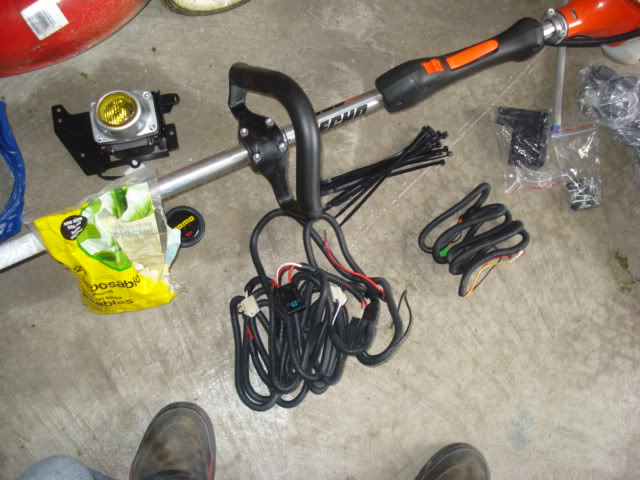
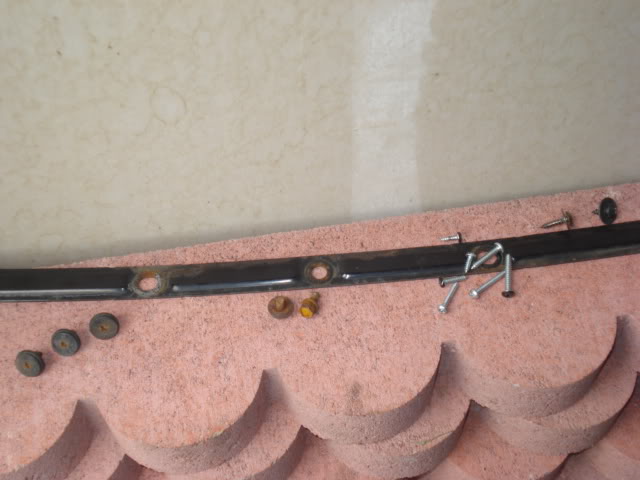
After a fair amount of experience I learned to keep my screws organized to make life easier...lol
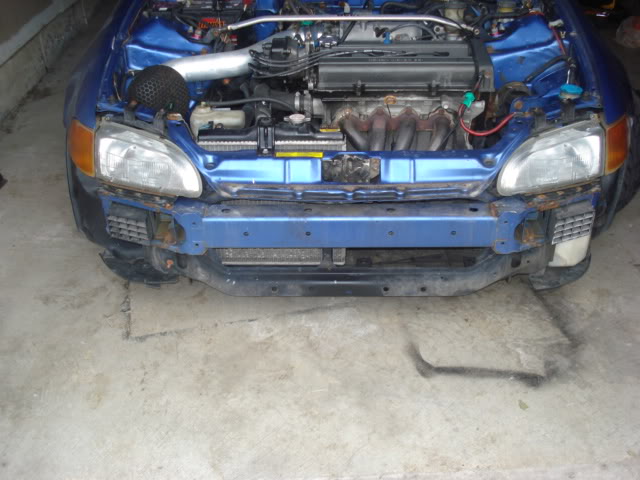
Surprised myself by taking off the bumper in less then 3 minutes.
After cutting and screwing fogs in
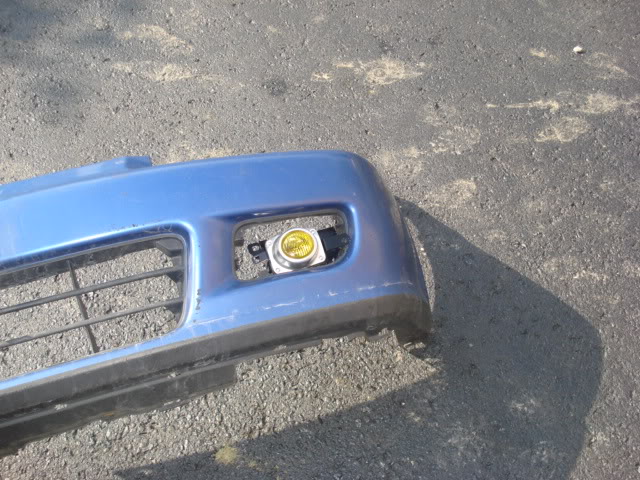
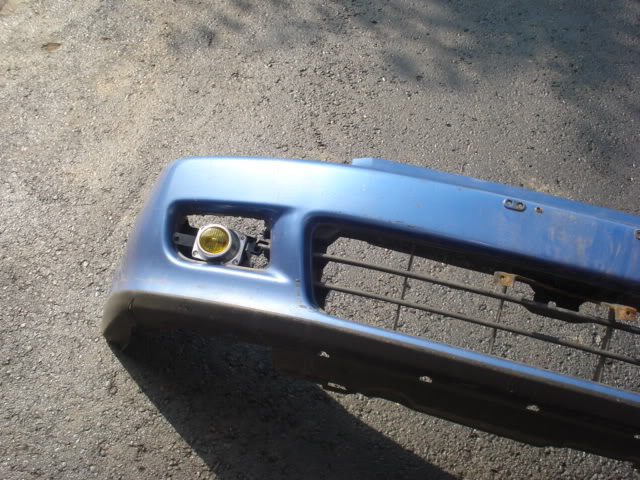
Final Results
Really like the look... Would like them more if they worked ...lol
I double checked all my grounds and proper power connections. I guessing it has to be the relay. Could also be the switch ...I'll see if I can fix them tomorrow.
Opening box.
After a fair amount of experience I learned to keep my screws organized to make life easier...lol
Surprised myself by taking off the bumper in less then 3 minutes.
After cutting and screwing fogs in
Final Results
Really like the look... Would like them more if they worked ...lol
I double checked all my grounds and proper power connections. I guessing it has to be the relay. Could also be the switch ...I'll see if I can fix them tomorrow.
06-17-2011, 09:05 AM
#26
Junior Member
Thread Starter
Join Date: Feb 2011
Location: Ajax,Scarborough, Hamilton
Posts: 147
thanks Paul, I like them too. It was a debate whether to get the air ducts or fogs. I figured the fogs could help me visually see better especially during foggy weather
 . I wish they would turn on, Bought the fogs from J-spec in Scarborough, Anybody ever have a problem with his kits?
 Im probably going to call him.
06-17-2011, 08:07 PM
#27
Junior Member
Thread Starter
Join Date: Feb 2011
Location: Ajax,Scarborough, Hamilton
Posts: 147
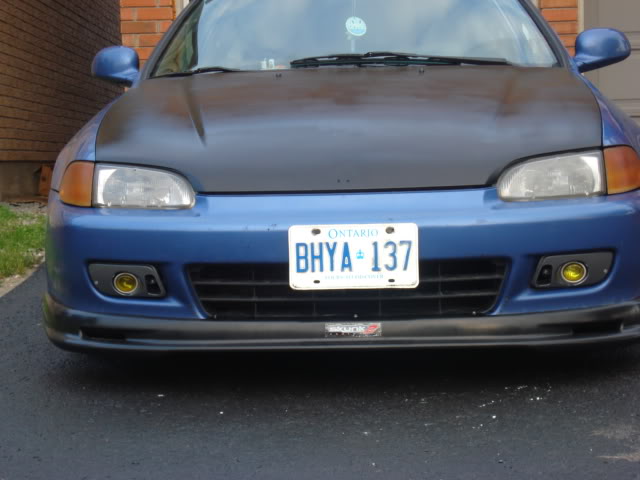
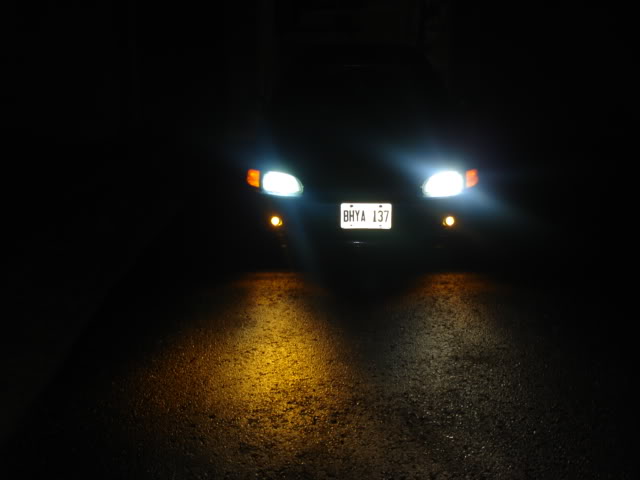
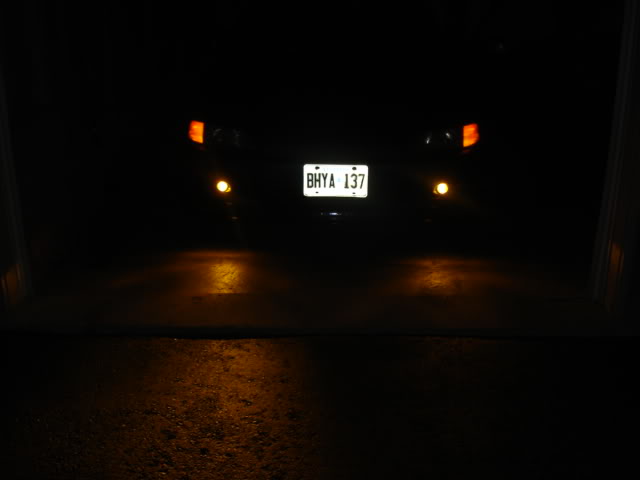
So after trying to get these fogs to work I found out that the relay or the switch were not the problem. So it had to be either my grounds, which I knew were good grounds or loose connection.
Turns out it was the brown connector, even though I plugged it in tight it wasn't making a solid connection (cheap plastic oem look-a-like).
That's what the brown connector looked like

I broke off the brown connector and just plugged in the metal female spade connector to make a SOLID CONNECTION. So I reconnected everything , cleaned up the wires and turned them on, worked.
I'll take some better pics at night. Hopefully Im happy with the brightness or 3000k HIDS may be on my list.
Turns out it was the brown connector, even though I plugged it in tight it wasn't making a solid connection (cheap plastic oem look-a-like).
That's what the brown connector looked like
I broke off the brown connector and just plugged in the metal female spade connector to make a SOLID CONNECTION. So I reconnected everything , cleaned up the wires and turned them on,
worked.I'll take some better pics at night. Hopefully Im happy with the brightness or 3000k HIDS may be on my list.

 06-18-2011, 01:28 AM
#31
I would upgrade them with 3000k fogs would look amazing. In the picture it seems as if the left one (as in facing the car) so passenger side lol, seems to be pointing lower then the other can you adjust them?
06-18-2011, 07:48 AM
#32
Junior Member
Thread Starter
Join Date: Feb 2011
Location: Ajax,Scarborough, Hamilton
Posts: 147
I can't adjust the actual fogs, I think I can adjust the covers. I'll see what I can do, thanks for pointing it out cause I didn't notice.

Thread
Thread Starter
Forum
Replies
Last Post