
AcuratePaul's Build Thread.

So all of you know I have put lots of work to my car never had a build thread and its about time i get it going. I'll try to get all the pics I can of what I did to it. okay so lets start by what I got.
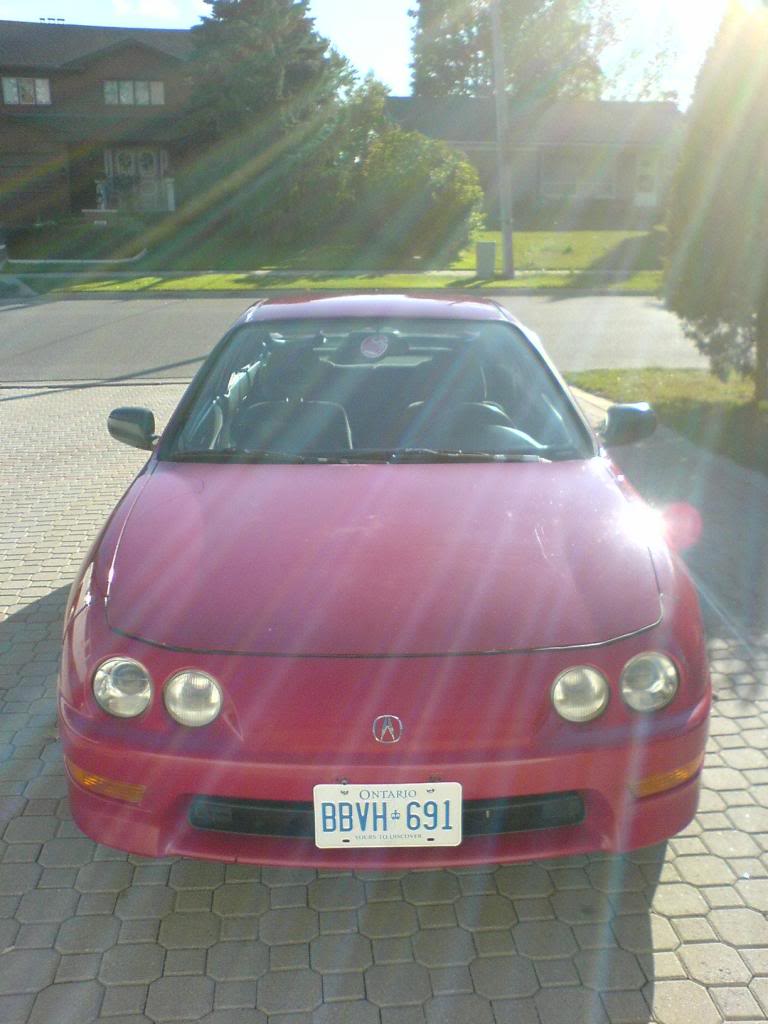
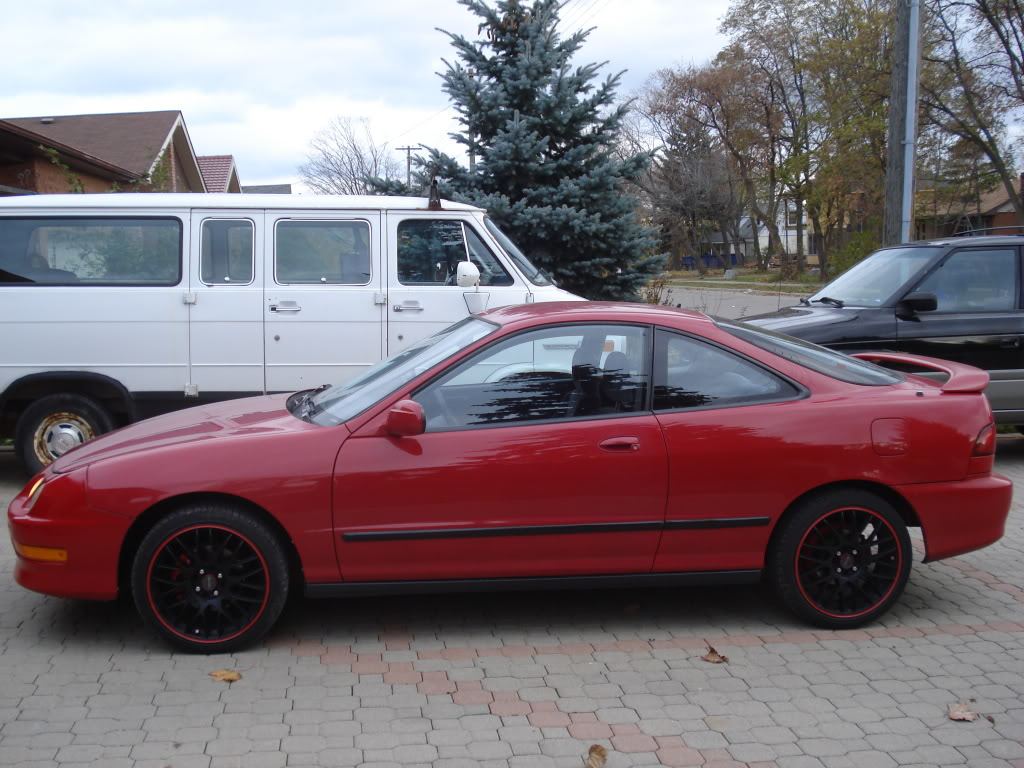
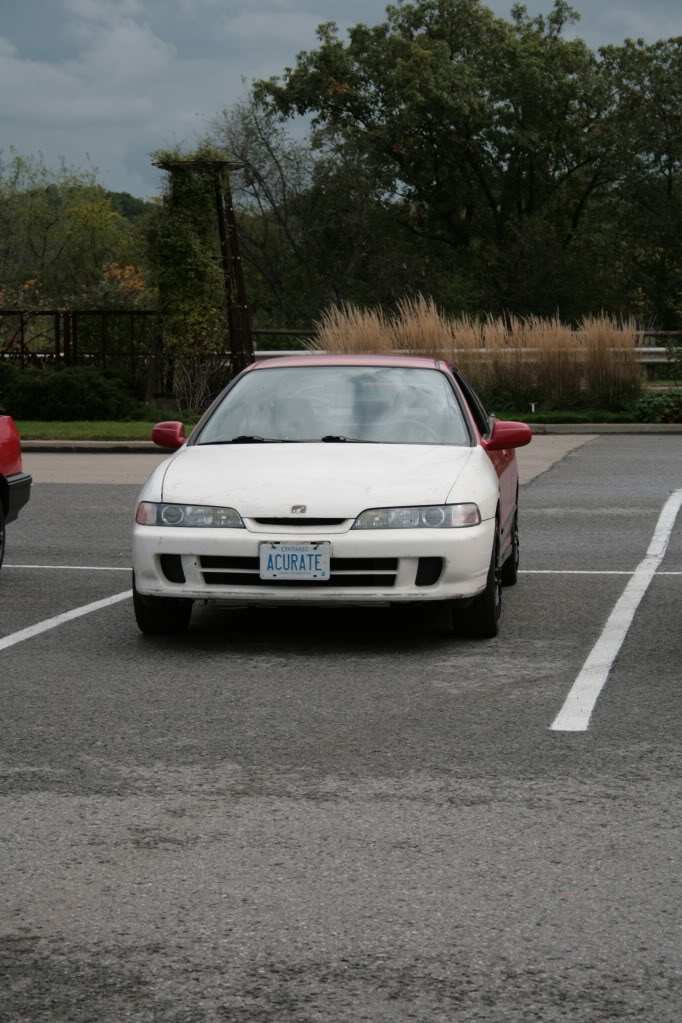
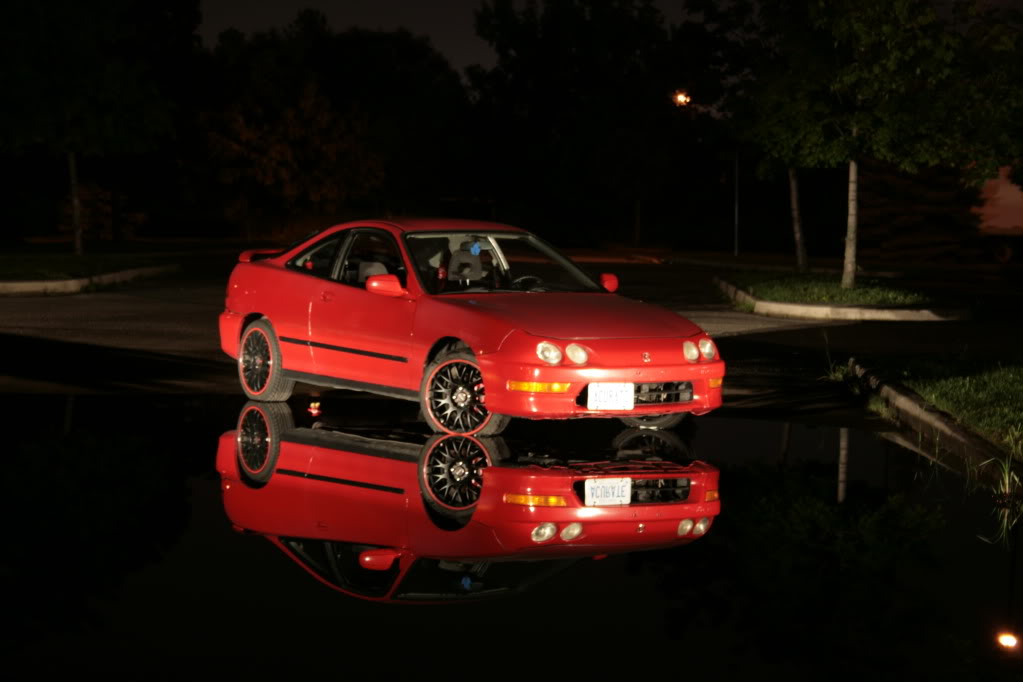
Here is the car when i had it in 2007 when i first bought it.

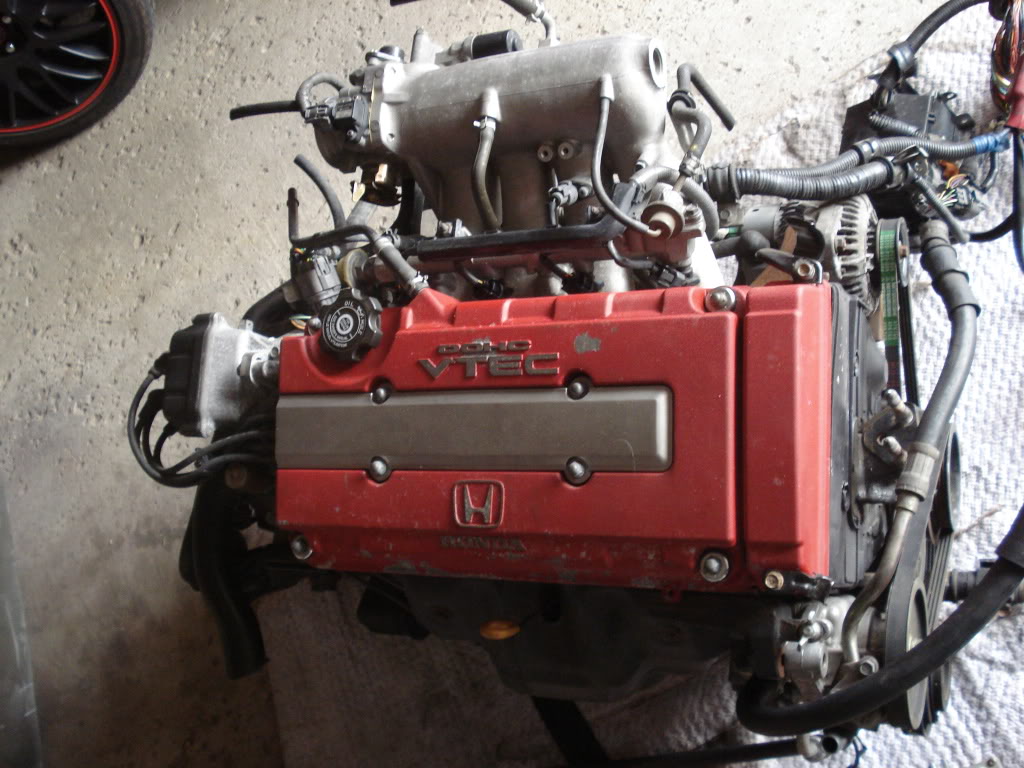
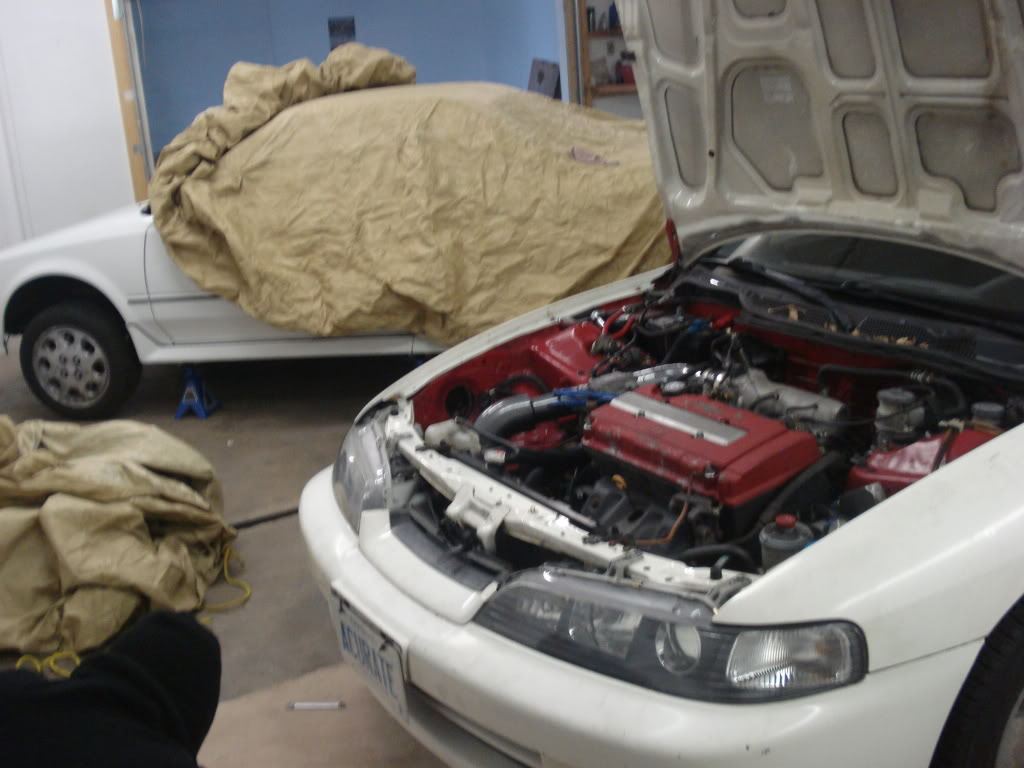
Engine
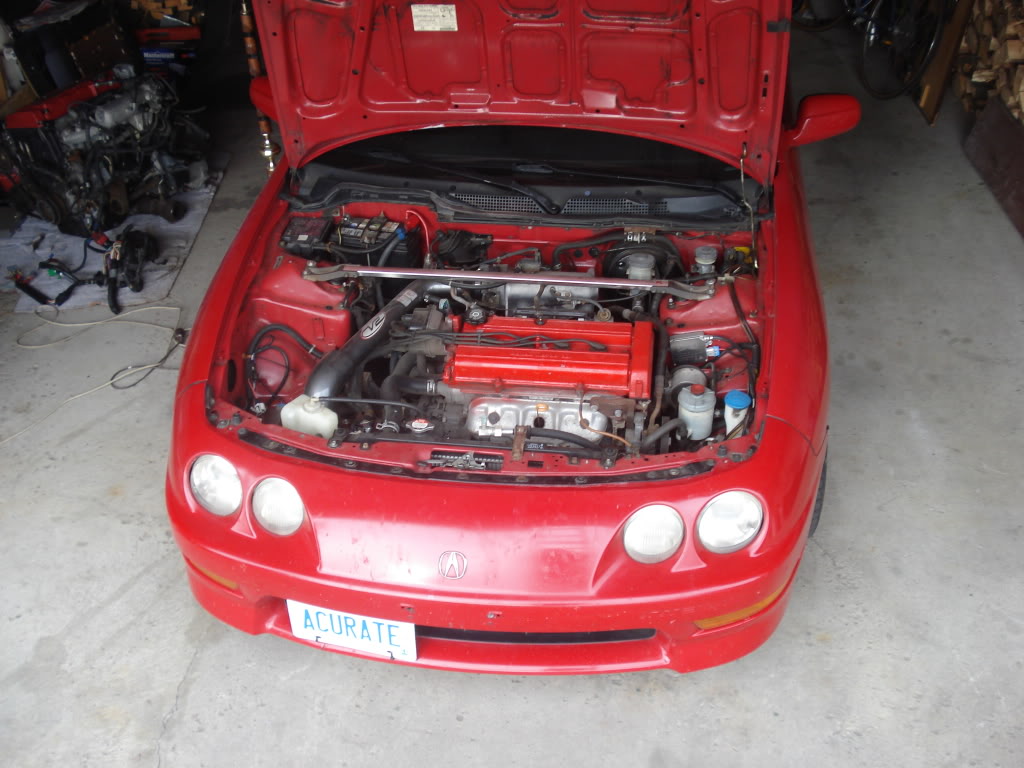
1.8L B18C Type R - Currently no work done to it internally.
AEM V2 Cold Air Intake.
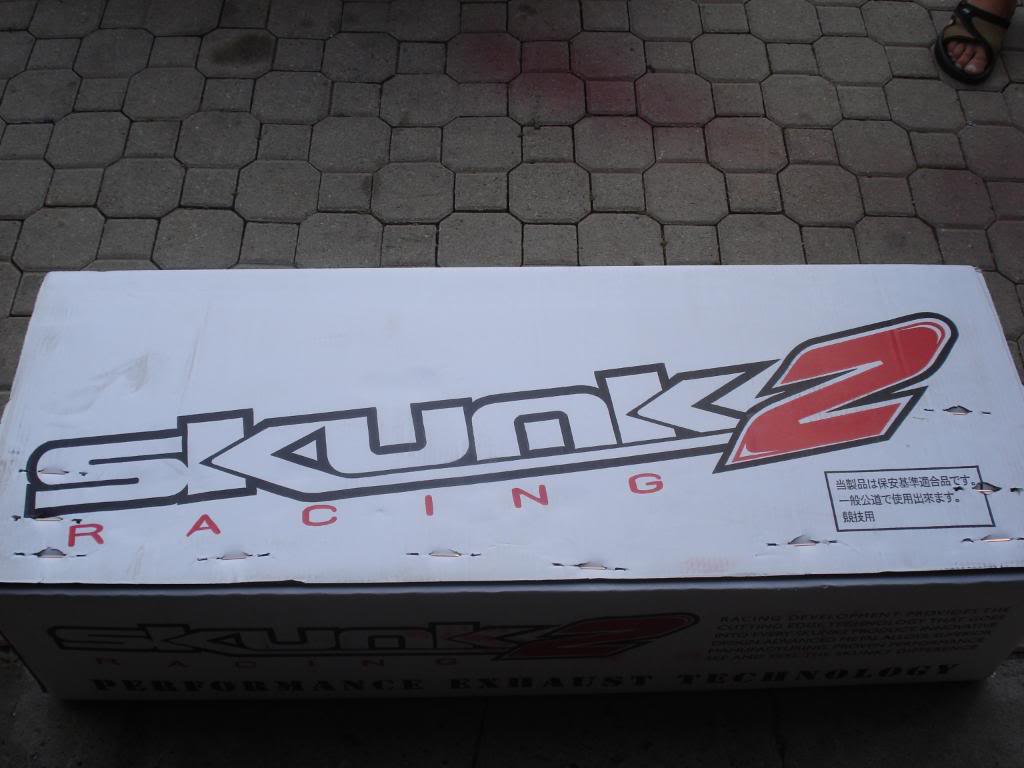
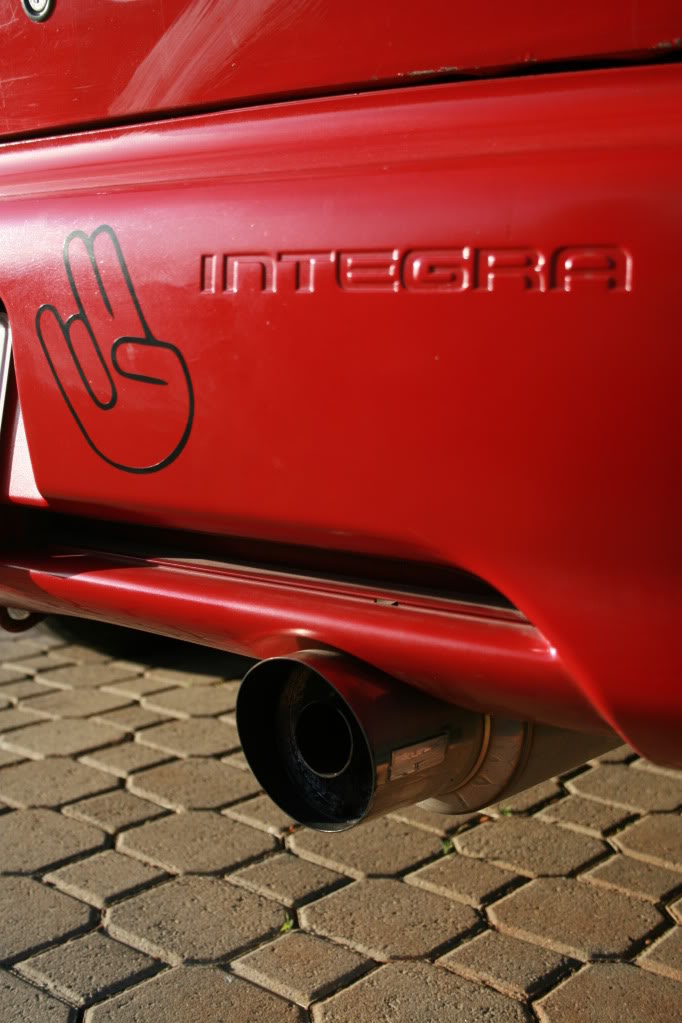
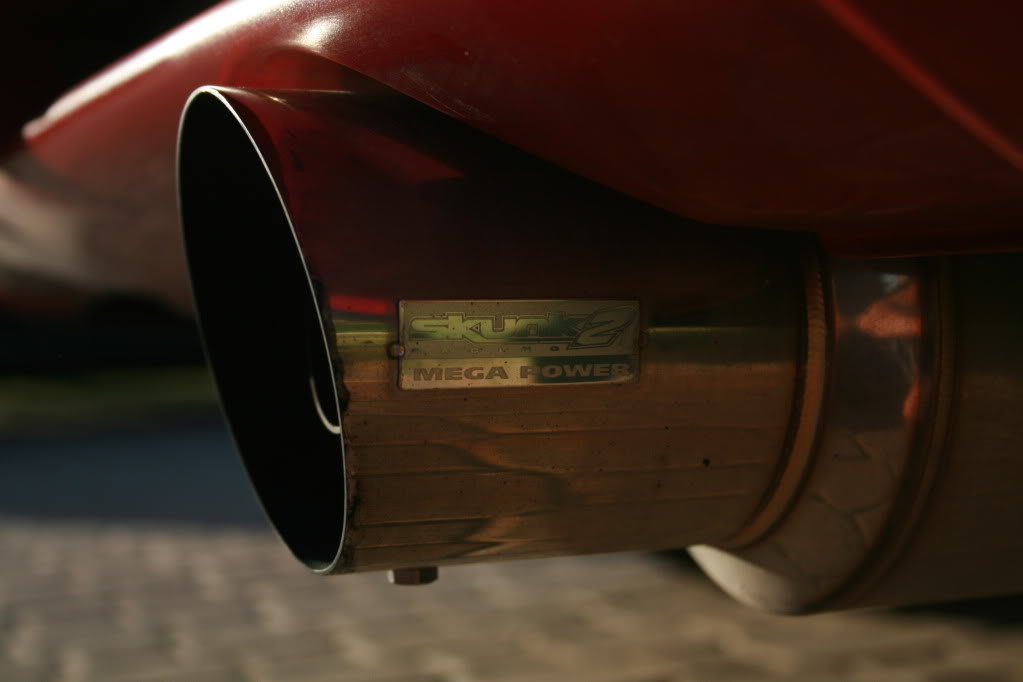
Skunk2 Mega Power Exhaust.
B18C Headers.
Custom Cat.
A/C Removed.
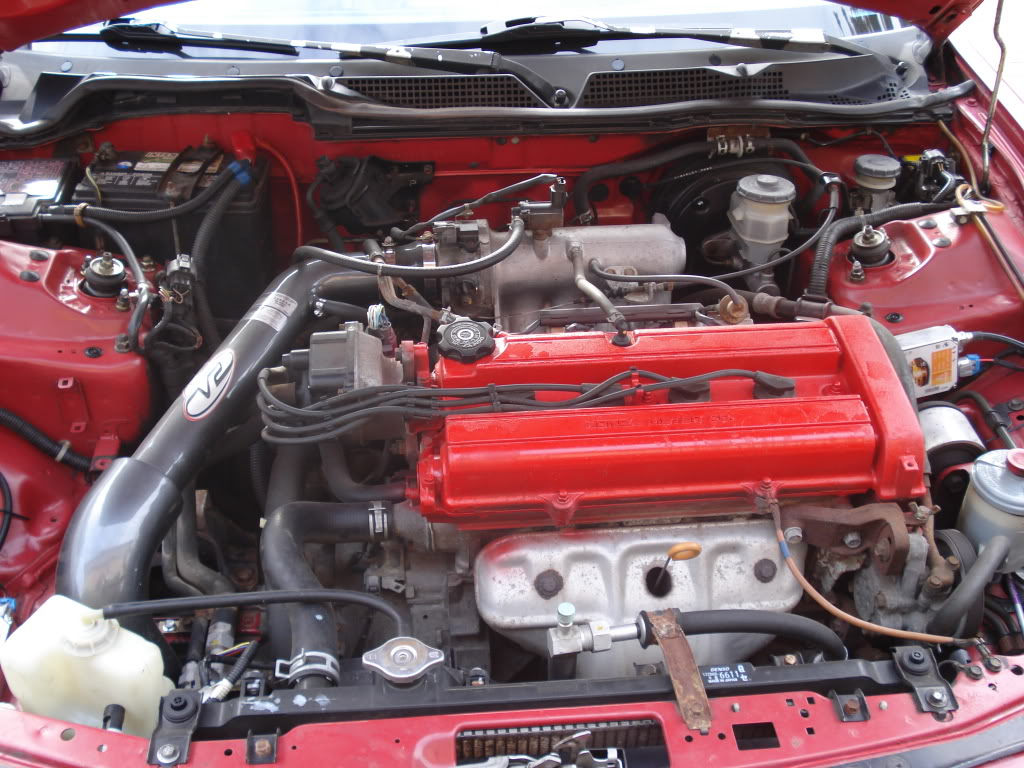
(Old B18B1) - Has my V2 in the pic.
Tranny B18C Type R - Possible LSD and final drive of 4.700 since the high RPM is leaning that way.
B&M Short Shifter.
Suspension
Type R Rear Sway Bar.
Type R Front Strut Bar.
Unknown Rear Strut Bar.
Rest stock will be changed shortly.
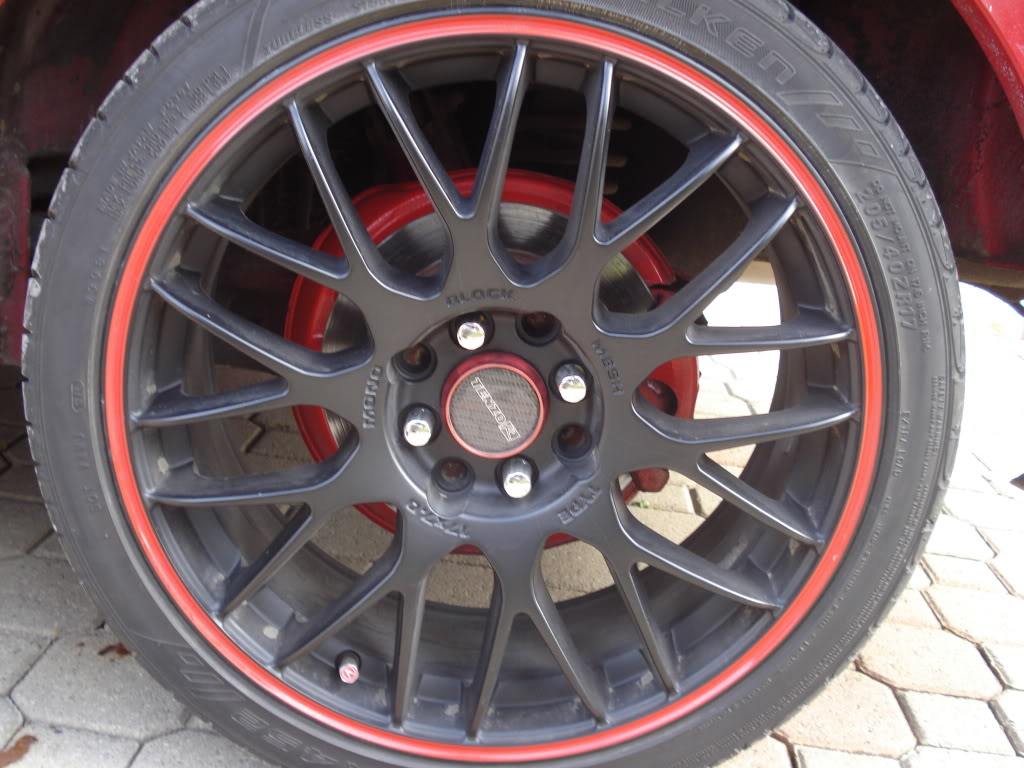
Wheels
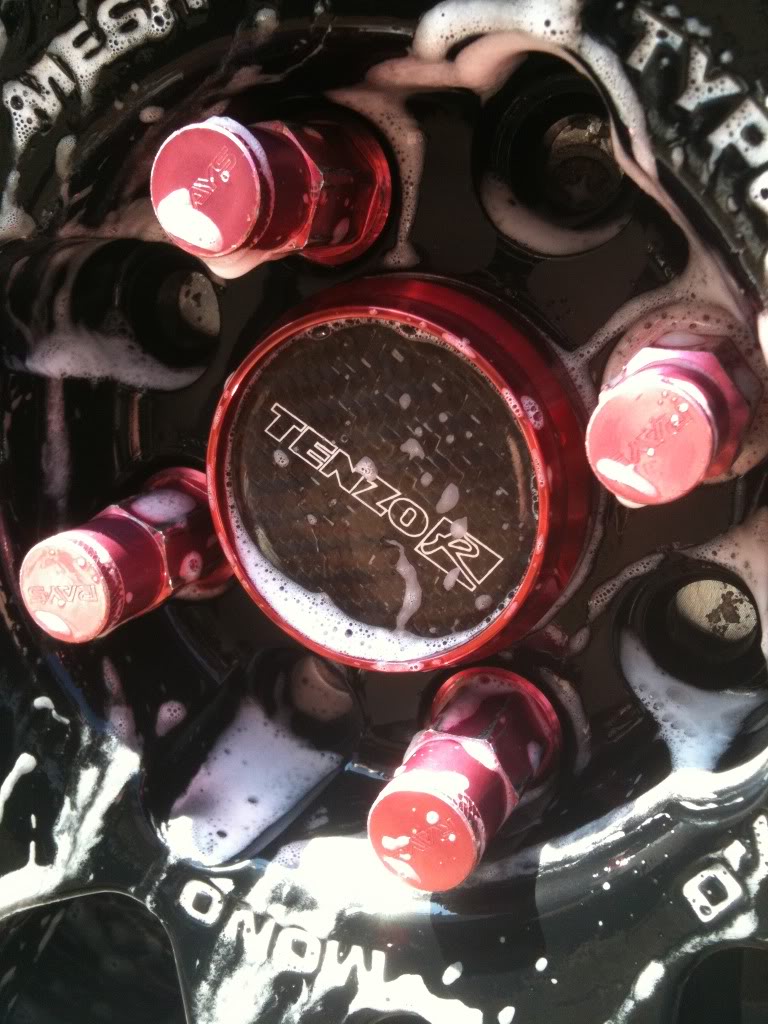
Tenzo R's Type M's 17's.
Rubbers Falken FK452 205 40 17.
Ray's Extended Lug Nuts (Red)
Interior
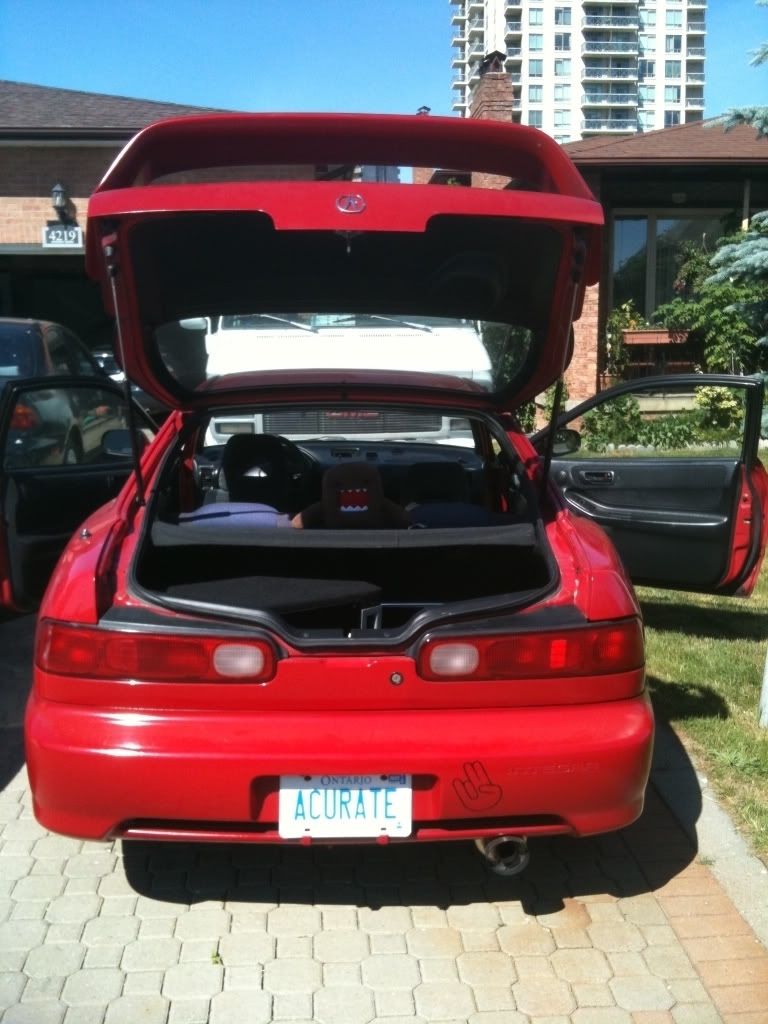
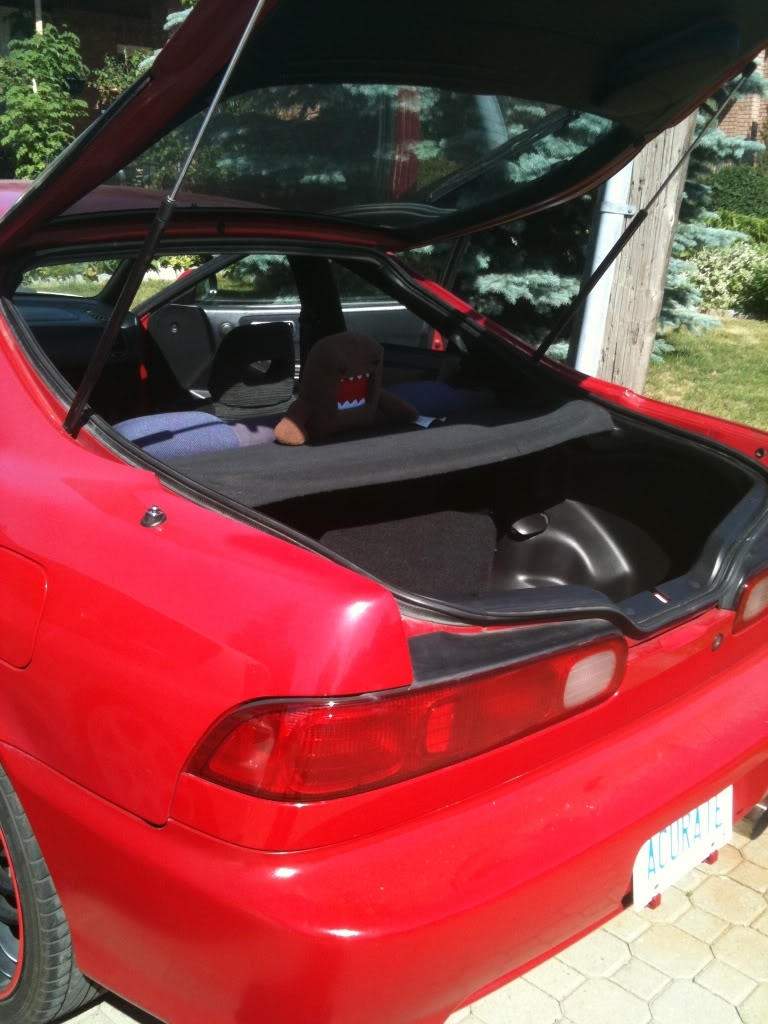
Type R Rear Seats.
JDM Type R Black Carpet.
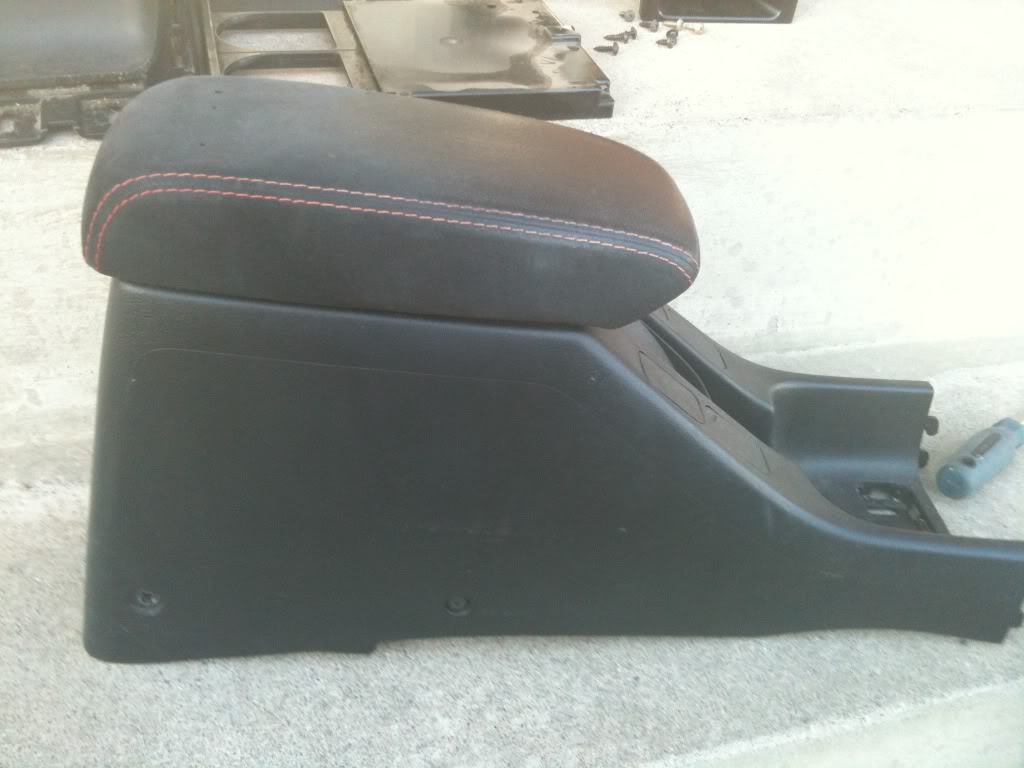
JDM Black Red Stitch Arm Rest.
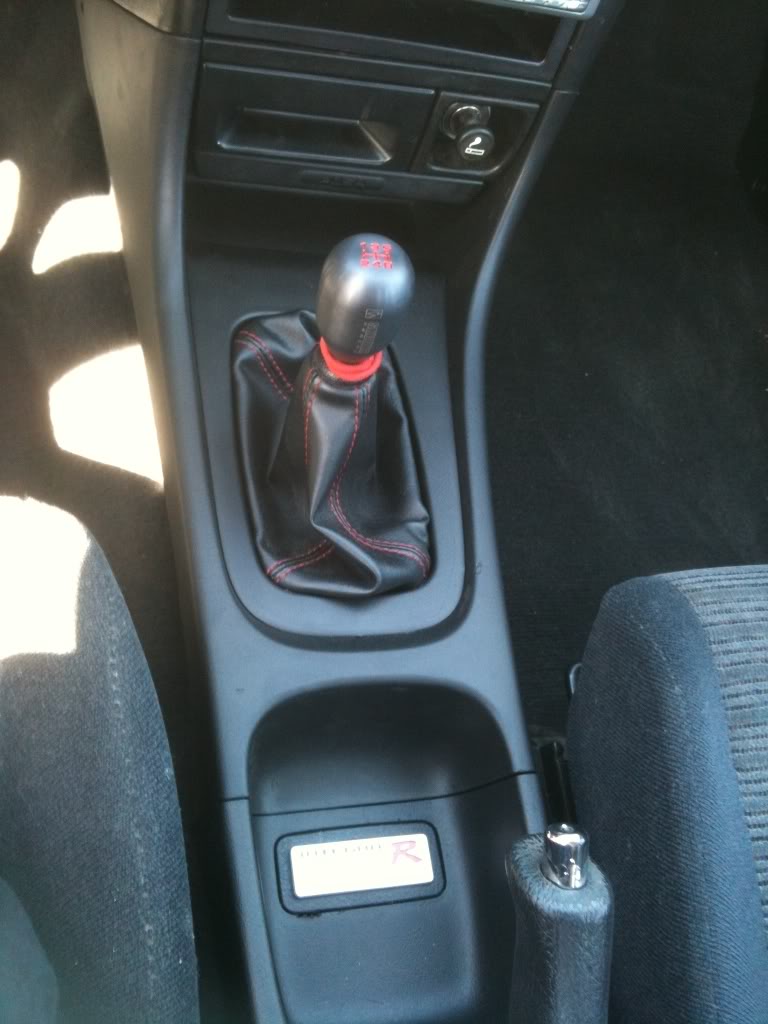
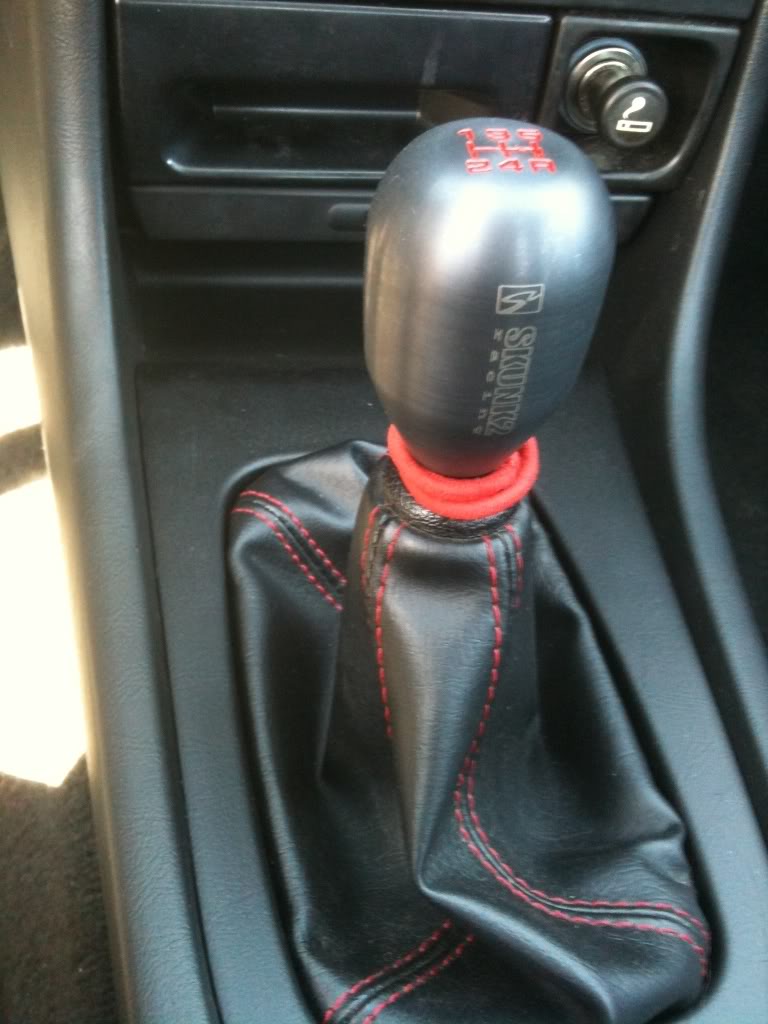
JDM Black Red Stitch Shift Boot.
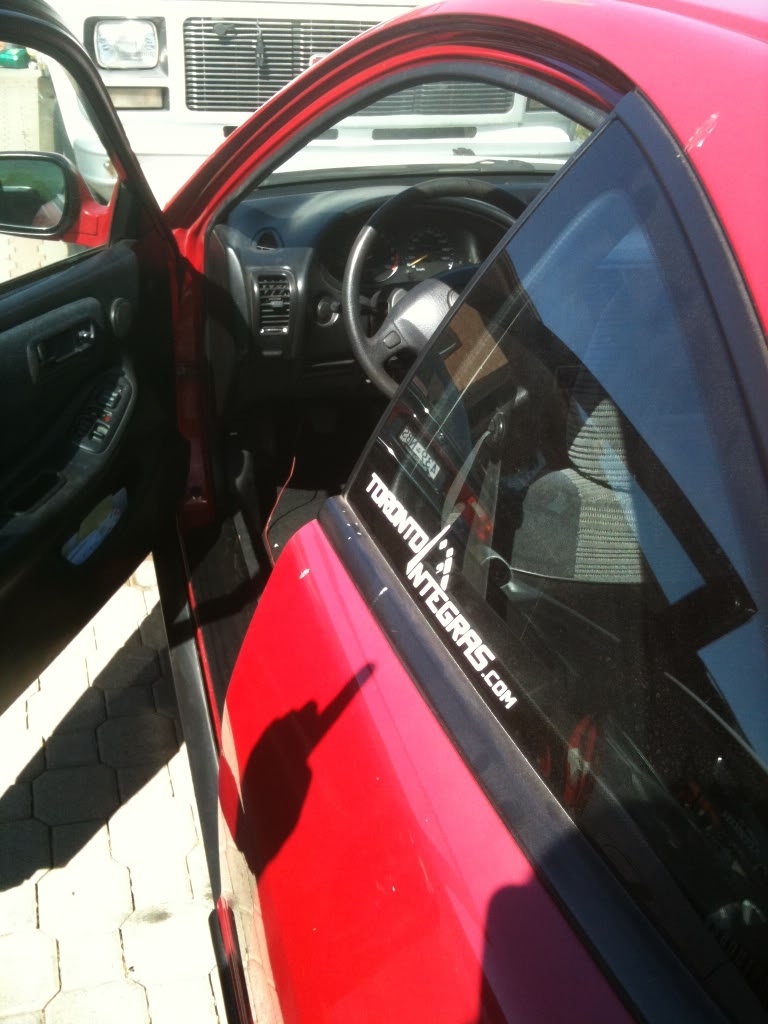
JDM Type R CF Cluster.
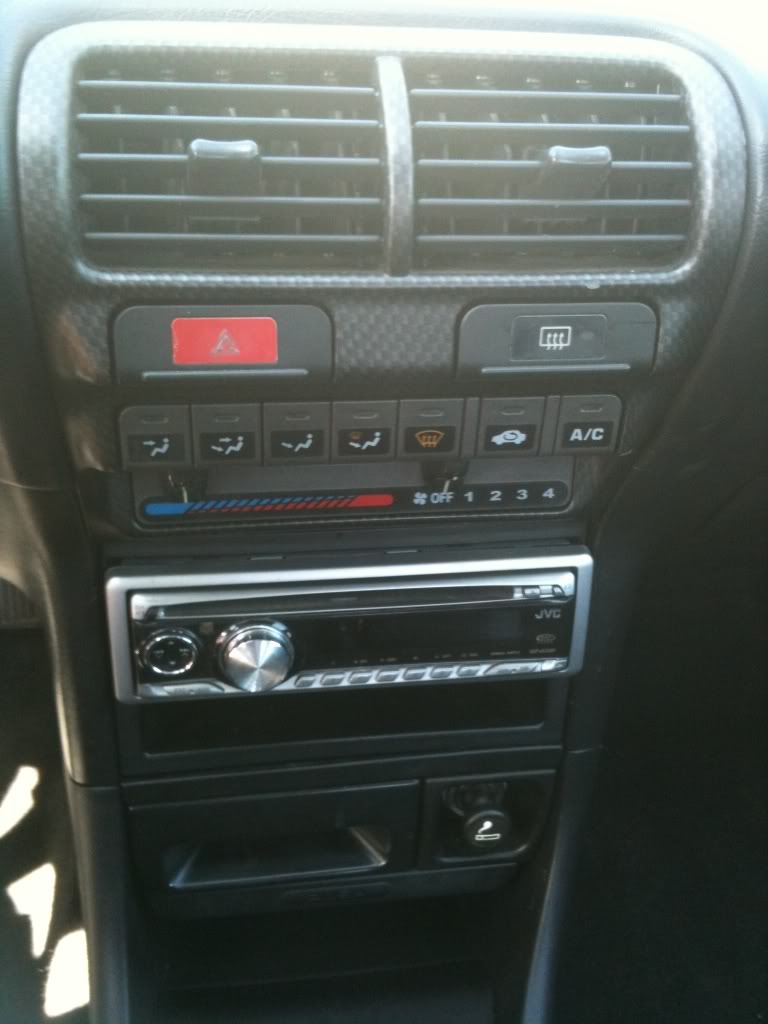
JDM Type R CF Climate Control.
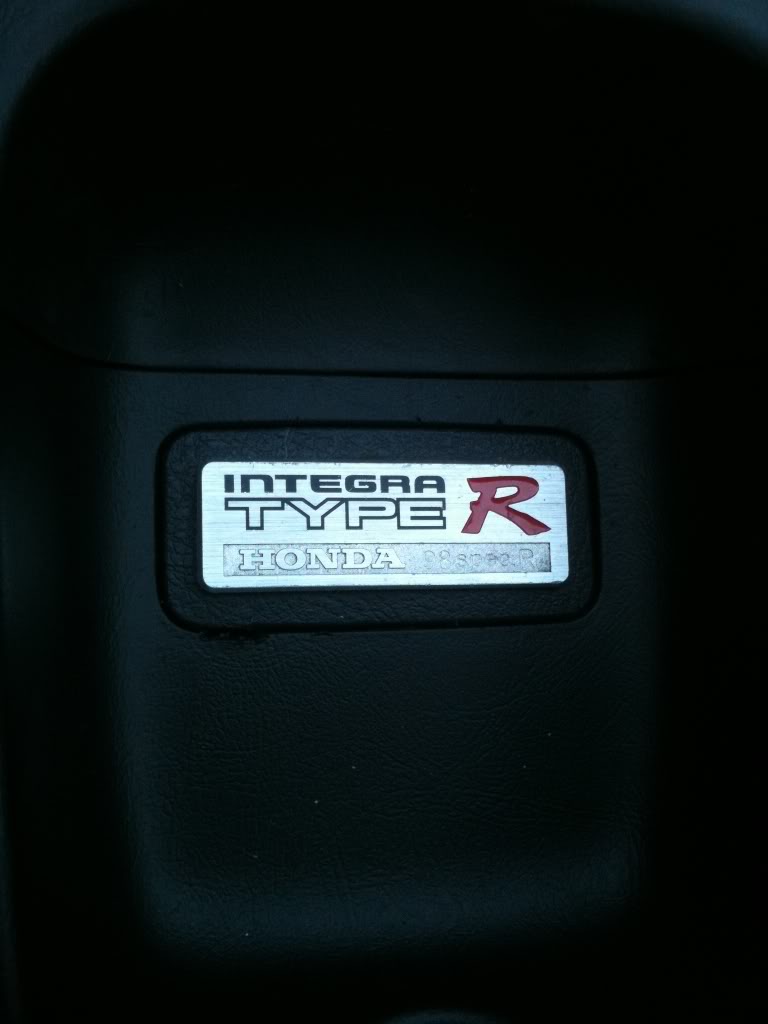
JDM Type R Badge.
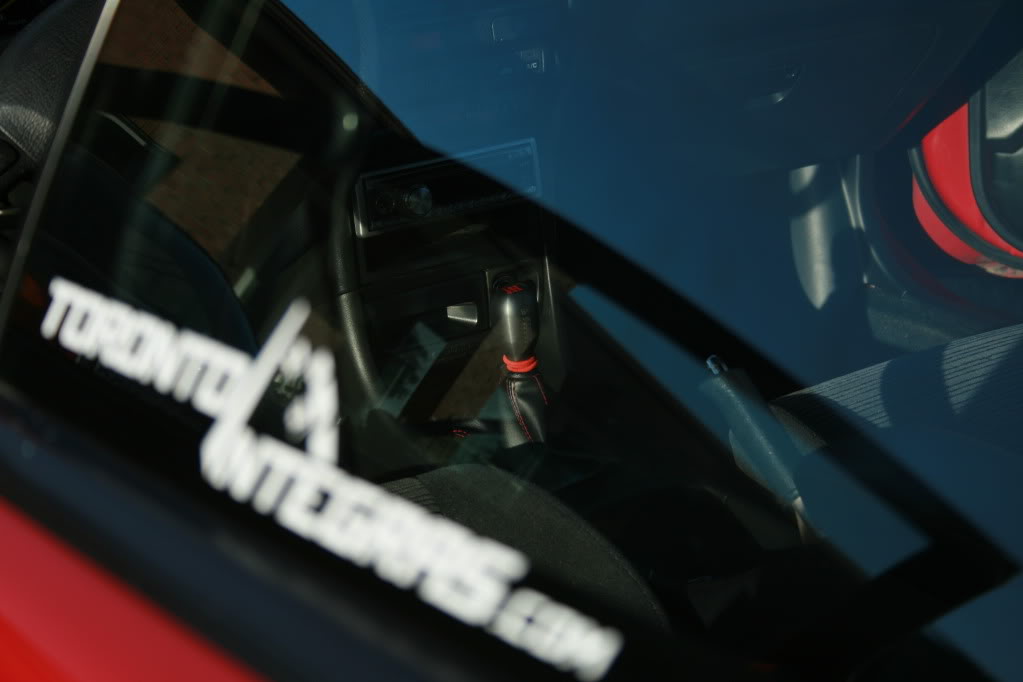
Skunk2 Shift ****.

Exterior
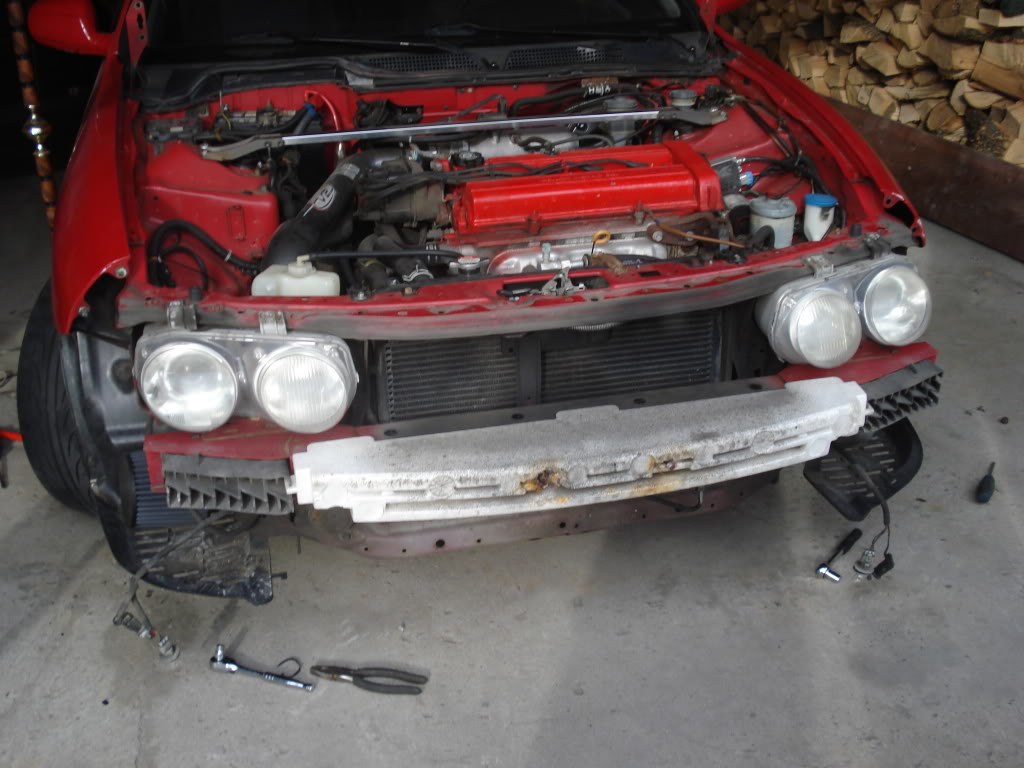
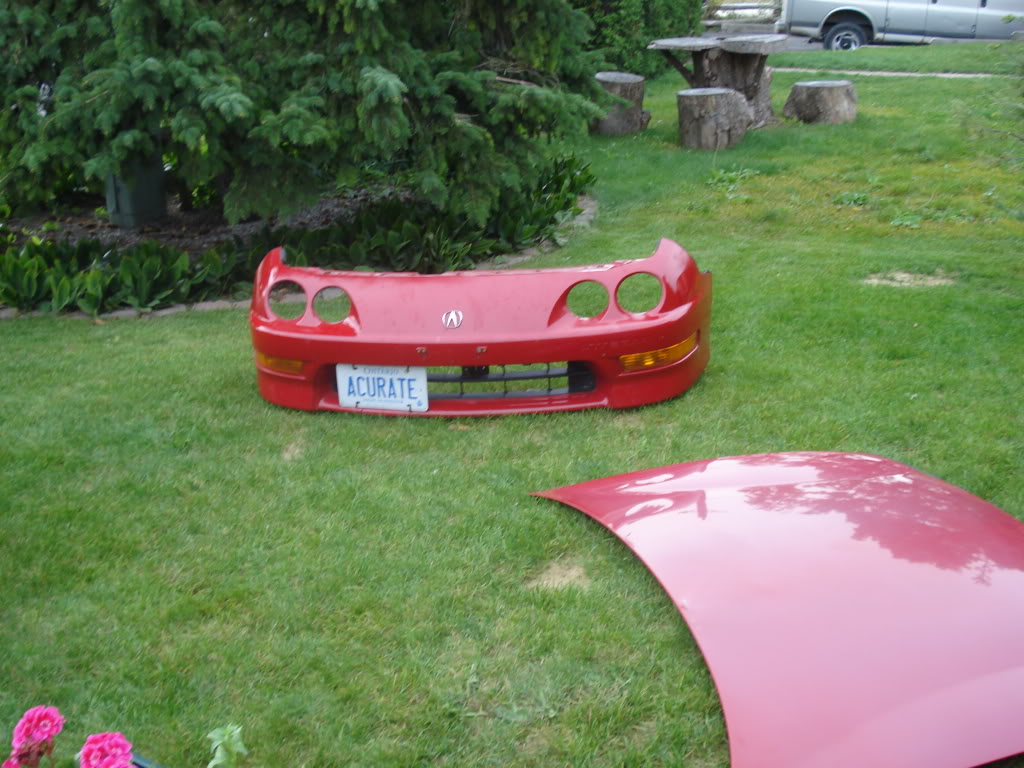
JDM Type R Front End.
JDM Type R Front Lip.
Black Housing Headlights.
Brilliant 10,000k HID Kit.
JDM Side Markers (Only Light Up When Signaling.)
Type R Spolier.
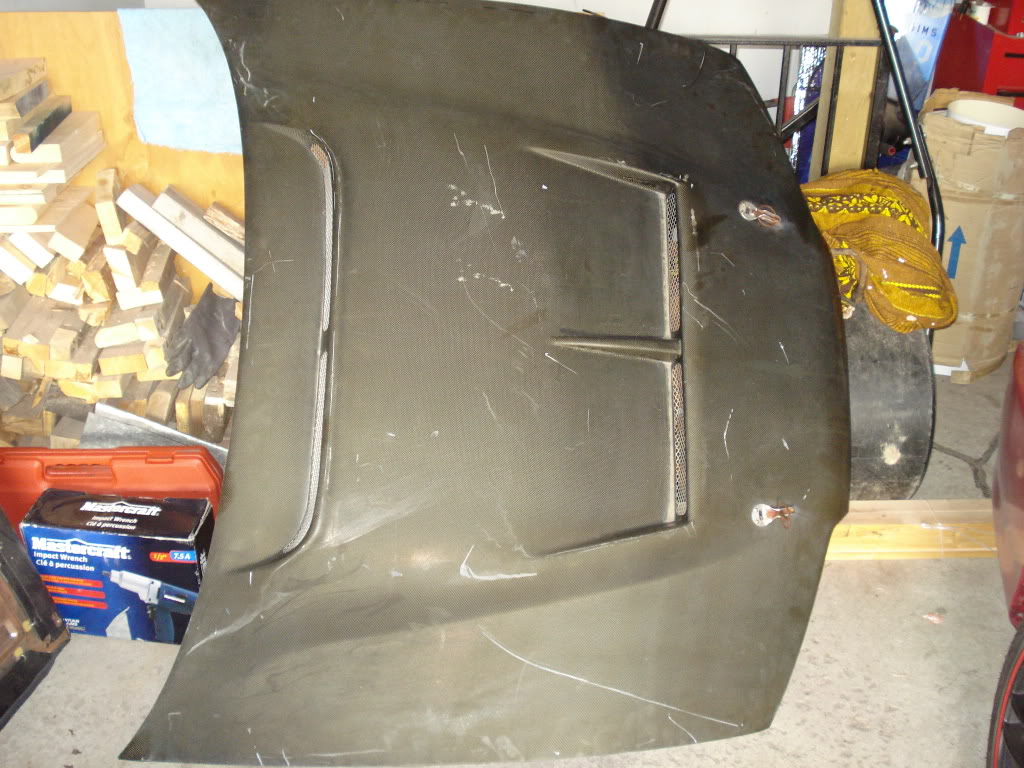
Custom Hood Release Cable. (Made From A Bicycle's Brake Lines.)
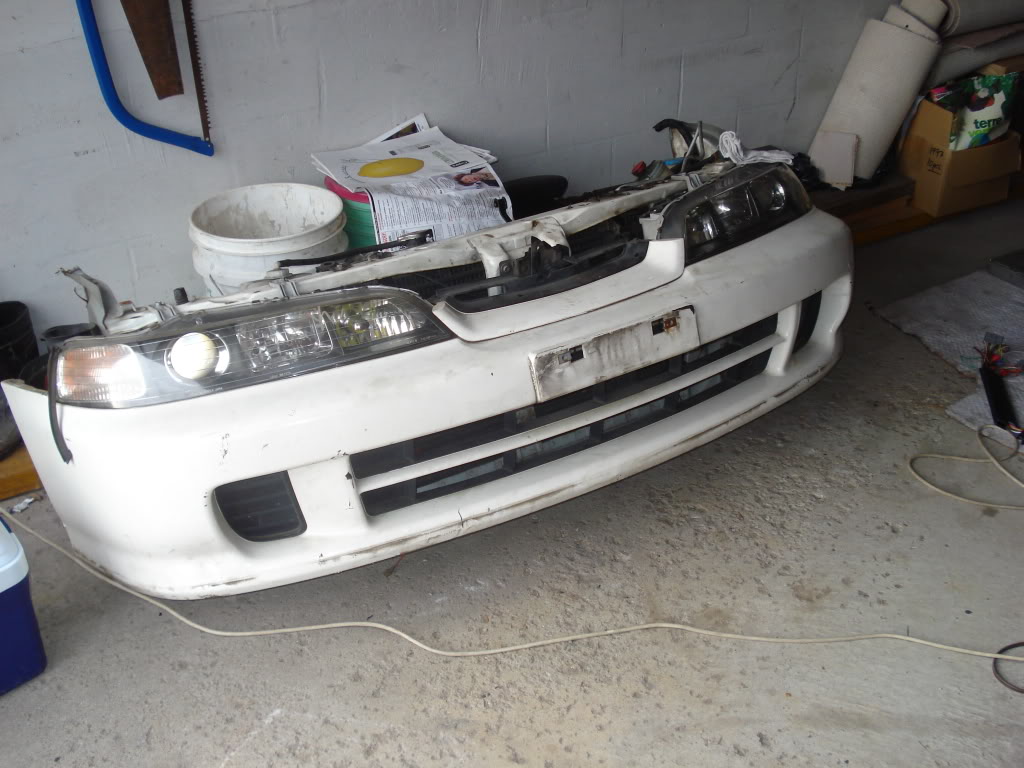
I Had this Gay hood but got rid of it for a stock JDM DC Hood.
HID's with USDM Front end.
Don't have much pics of car with jdm front end cuz it looks ugly. lol.
Audio
JVC Deck
iPod Adapter
2 Front Speaker JBL's 240 Watt's
2 Rear Speaker 6x9 JBL's 340 Watt's
10" JBL Sub 1000 Watts. (Bassworks Box - Sounds amazing for a 10")
JBL Amp (Don't remember the specs)
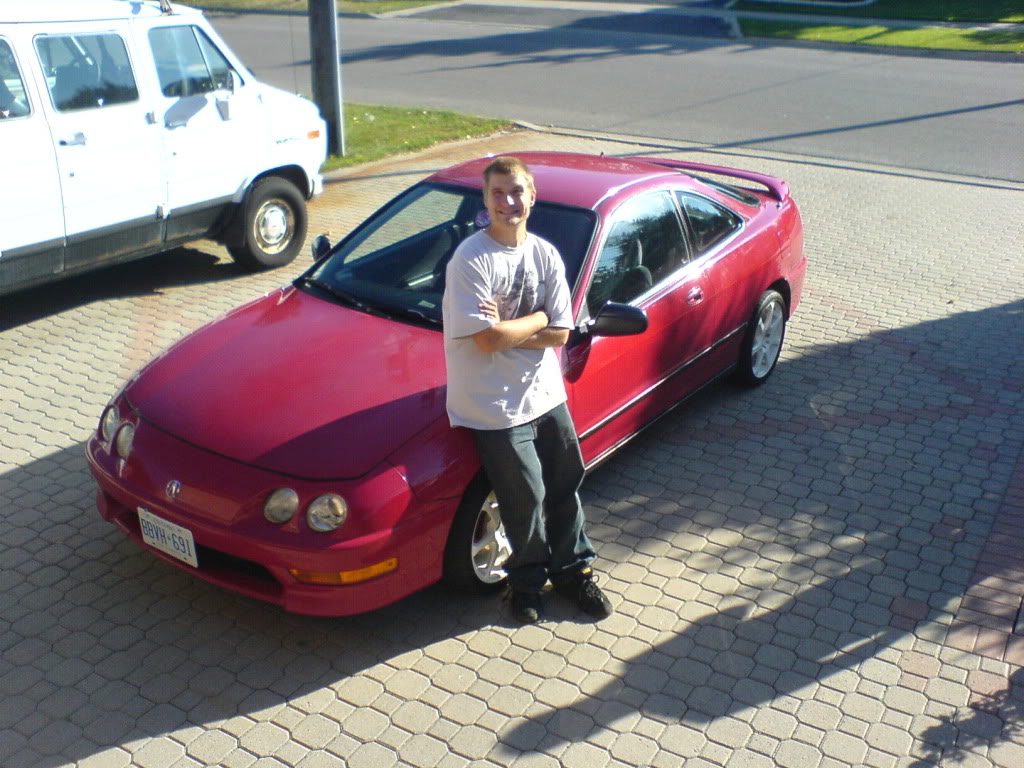
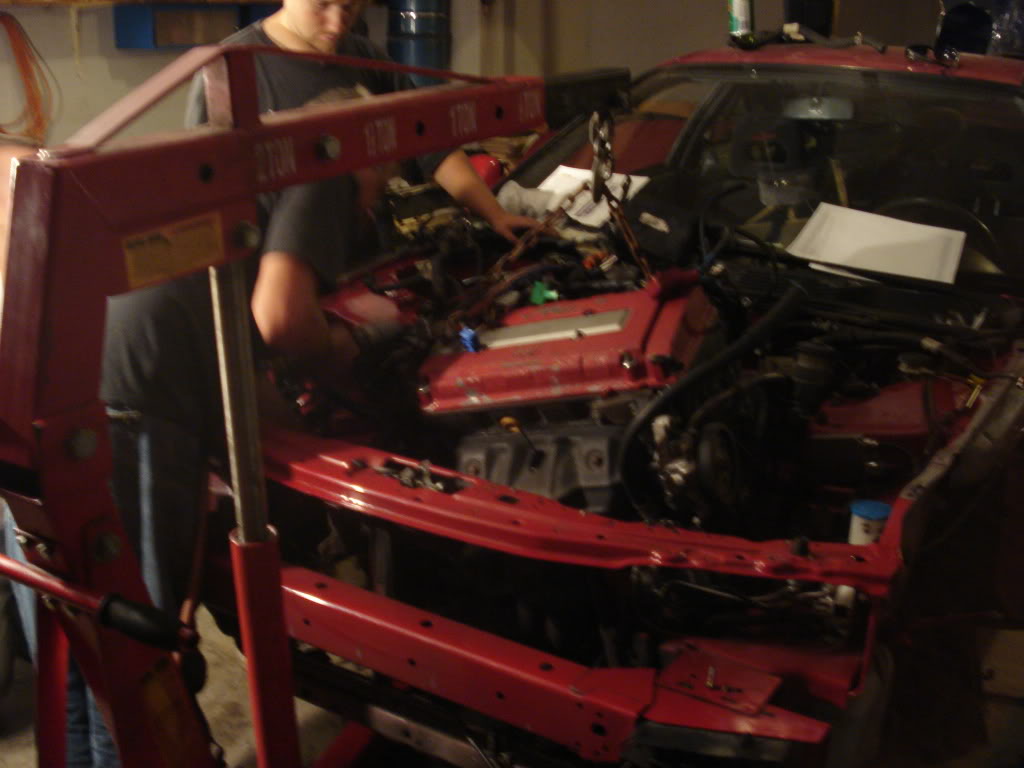
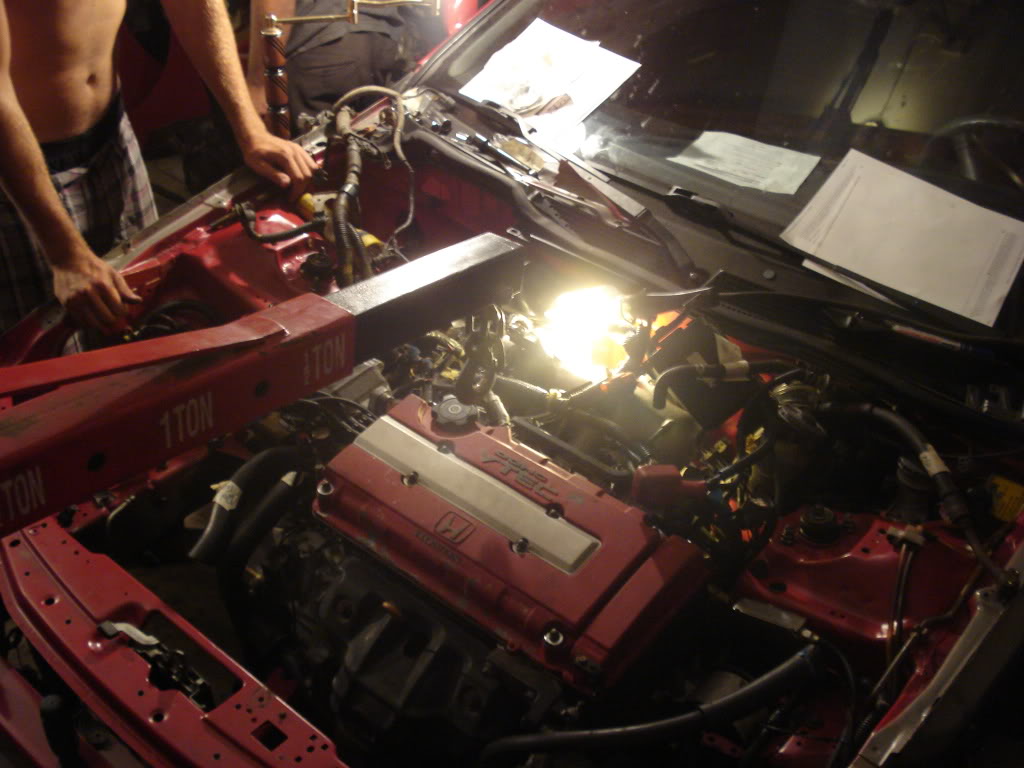
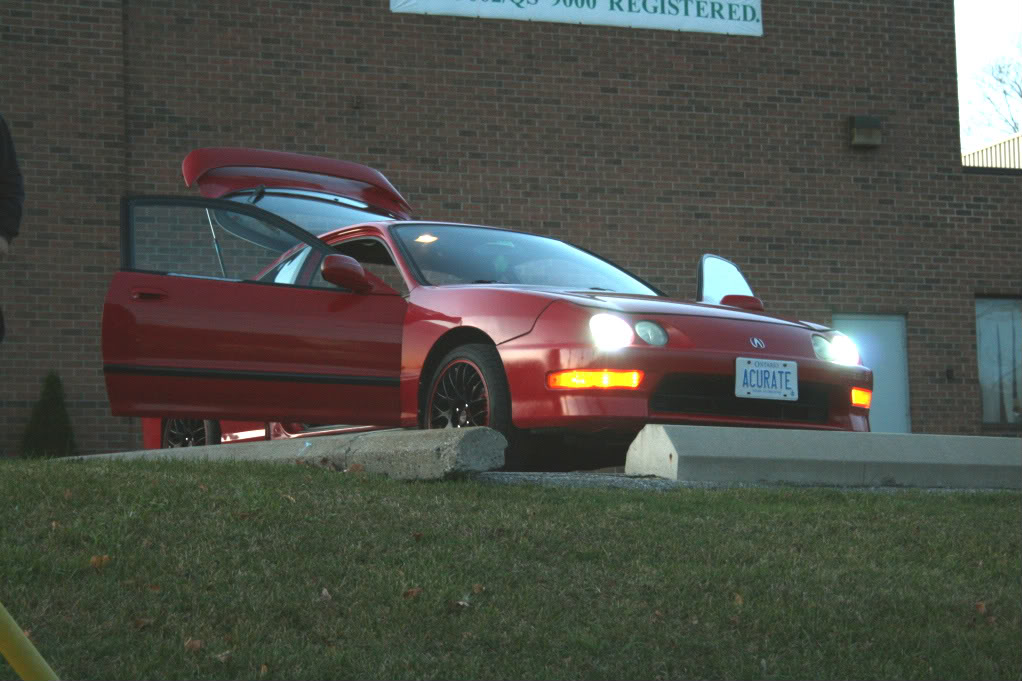
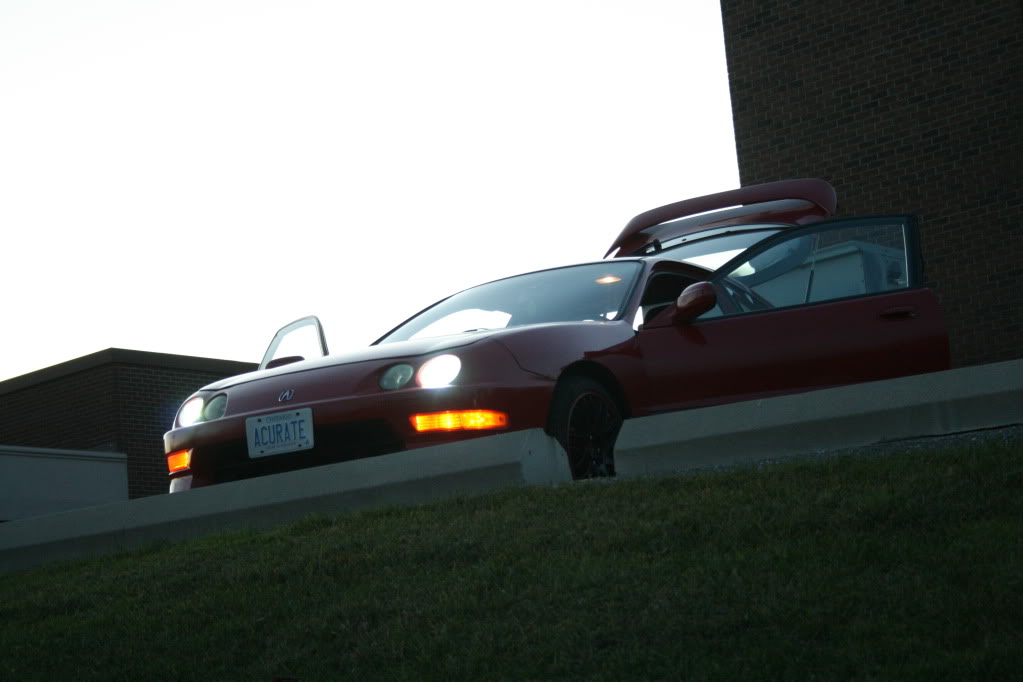
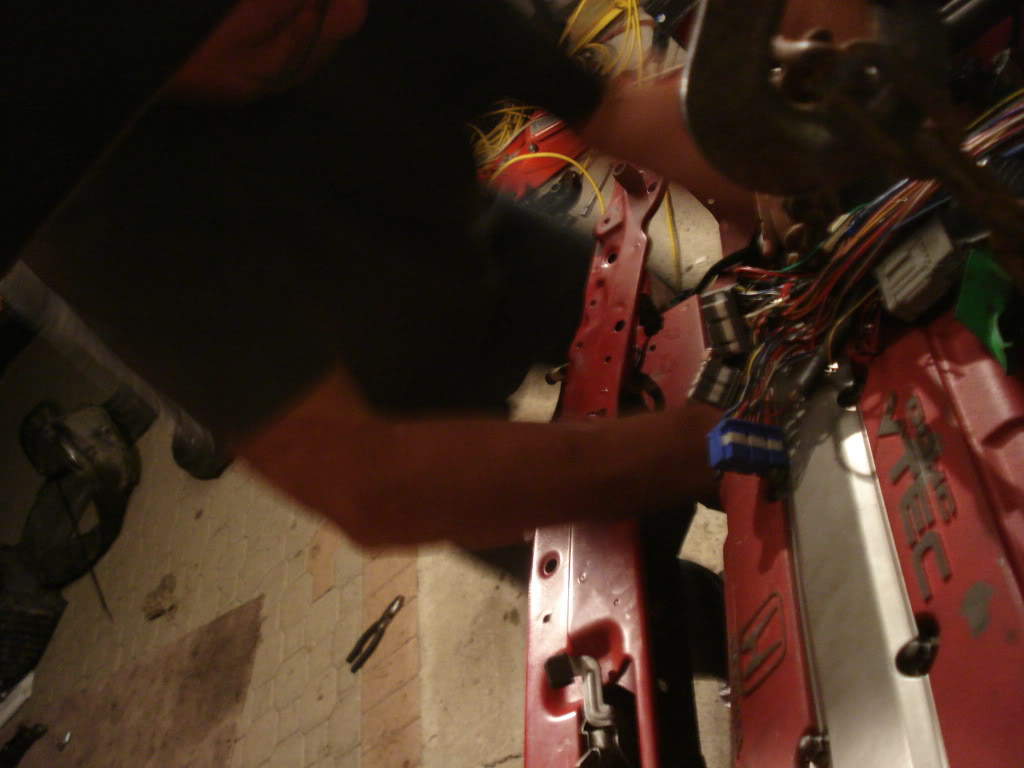
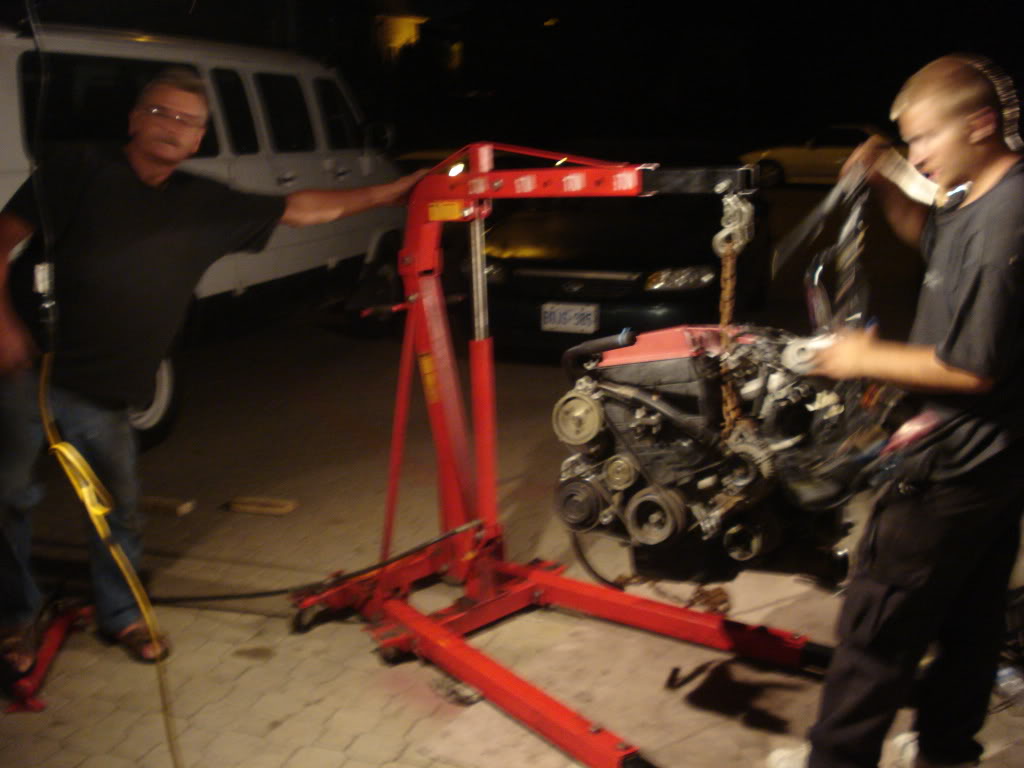
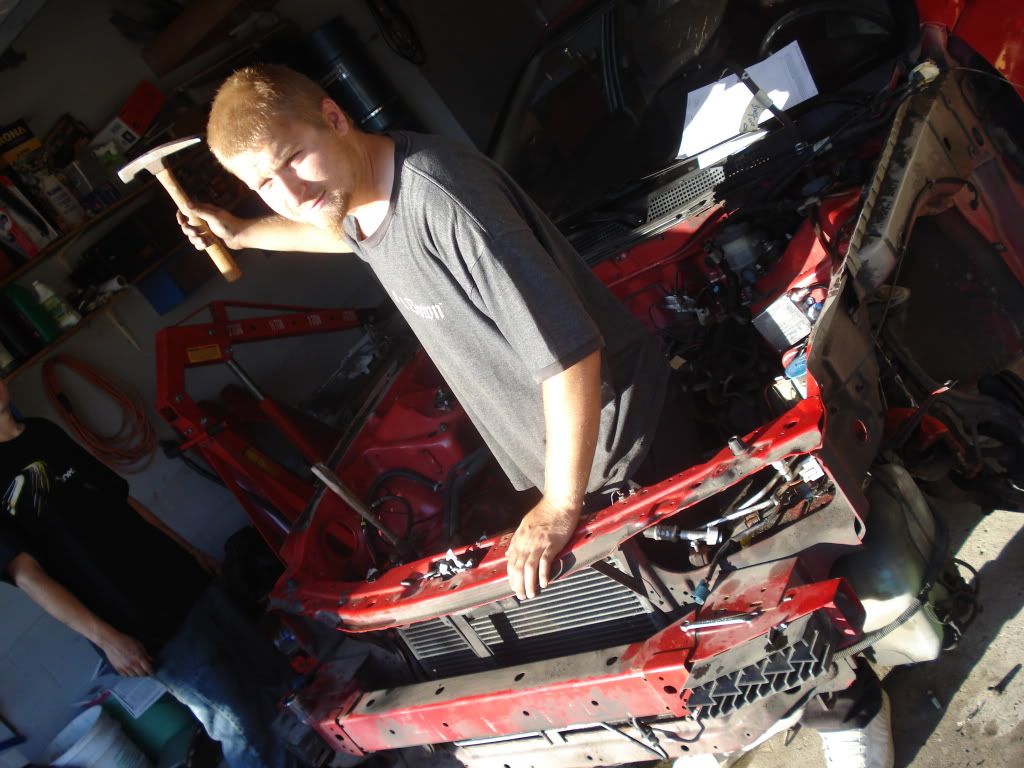
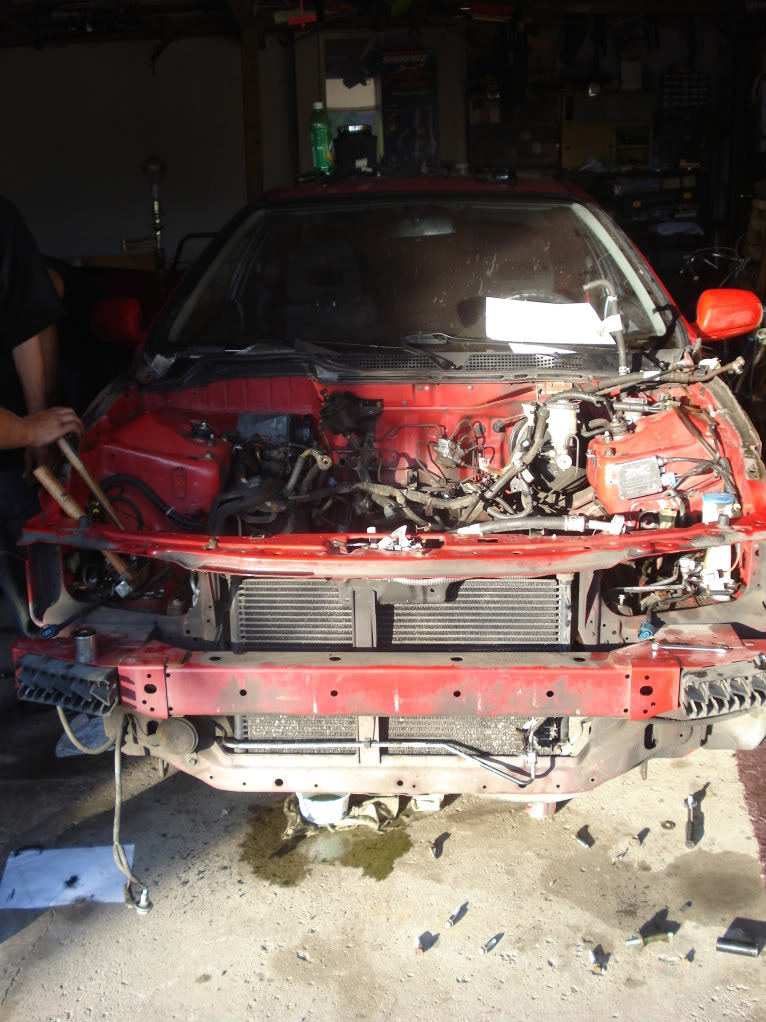
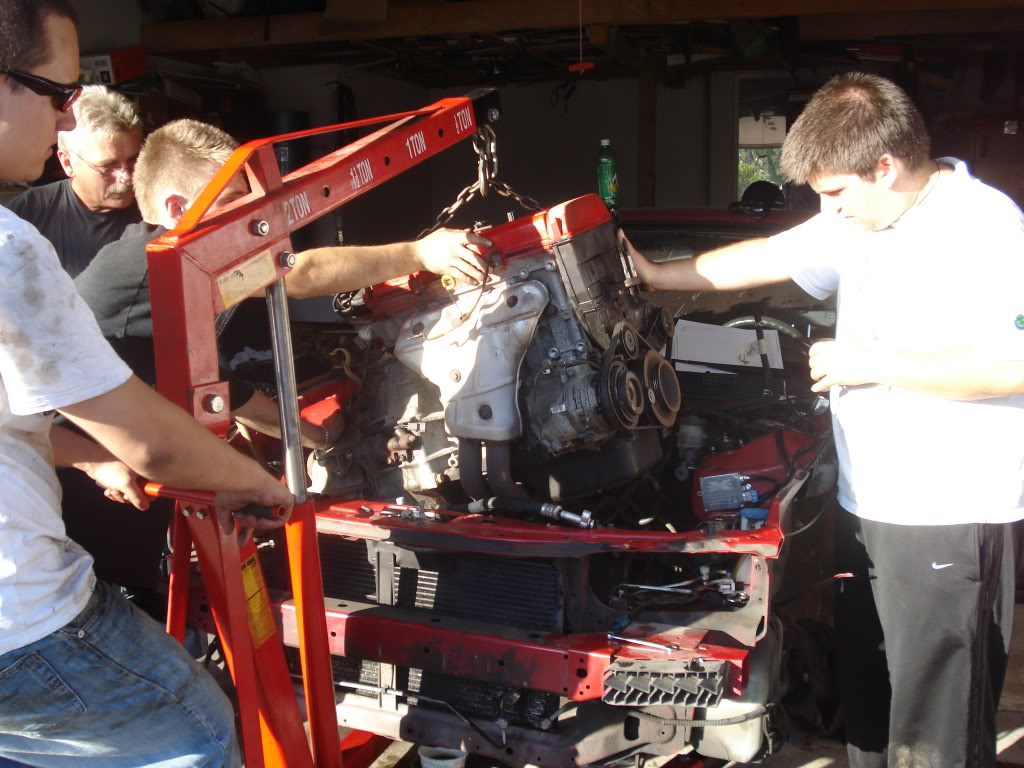
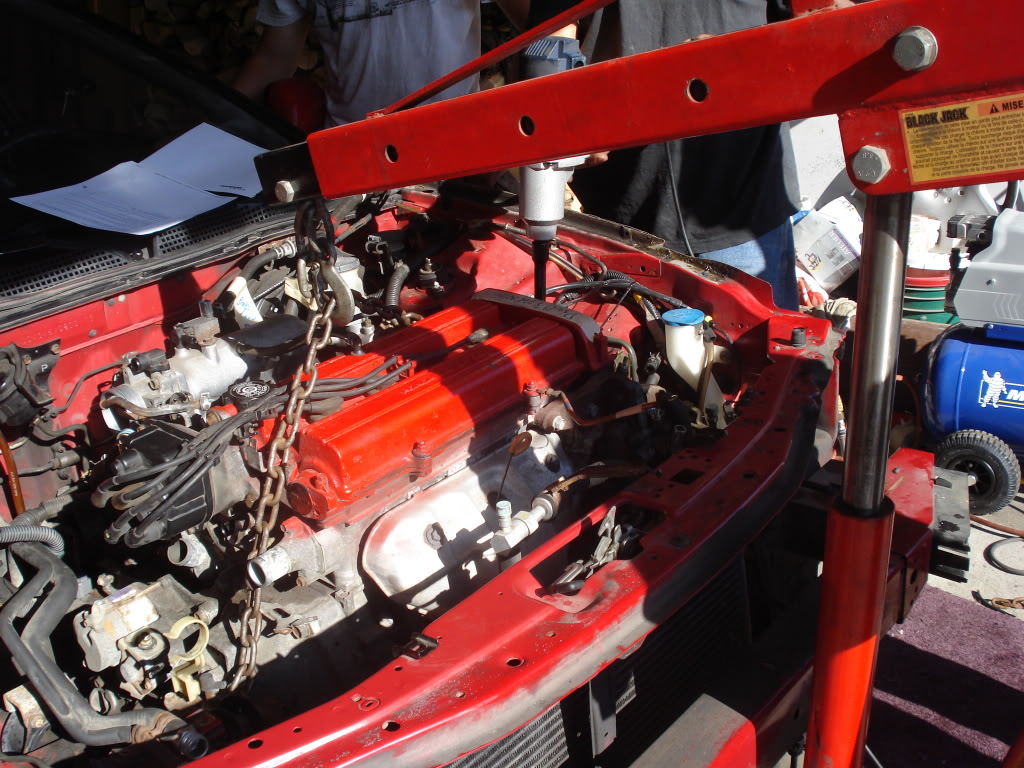
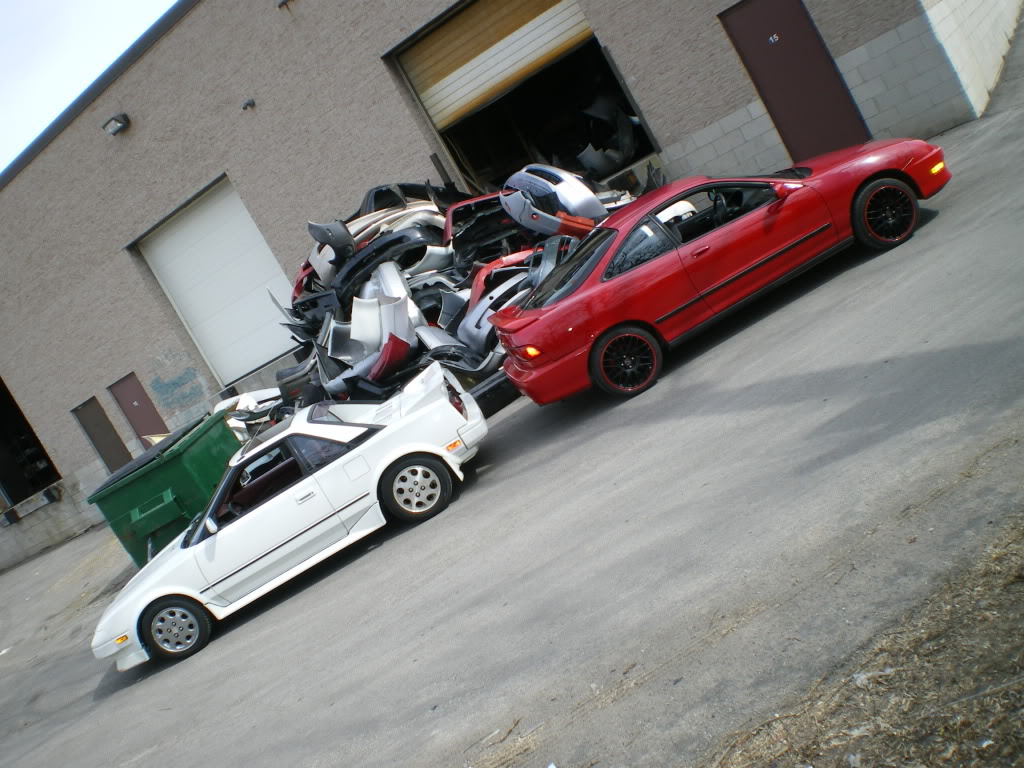
Here are some other pics from swap and from some photo shoots that i have laying around.
I'm the Heart of the car at that moment
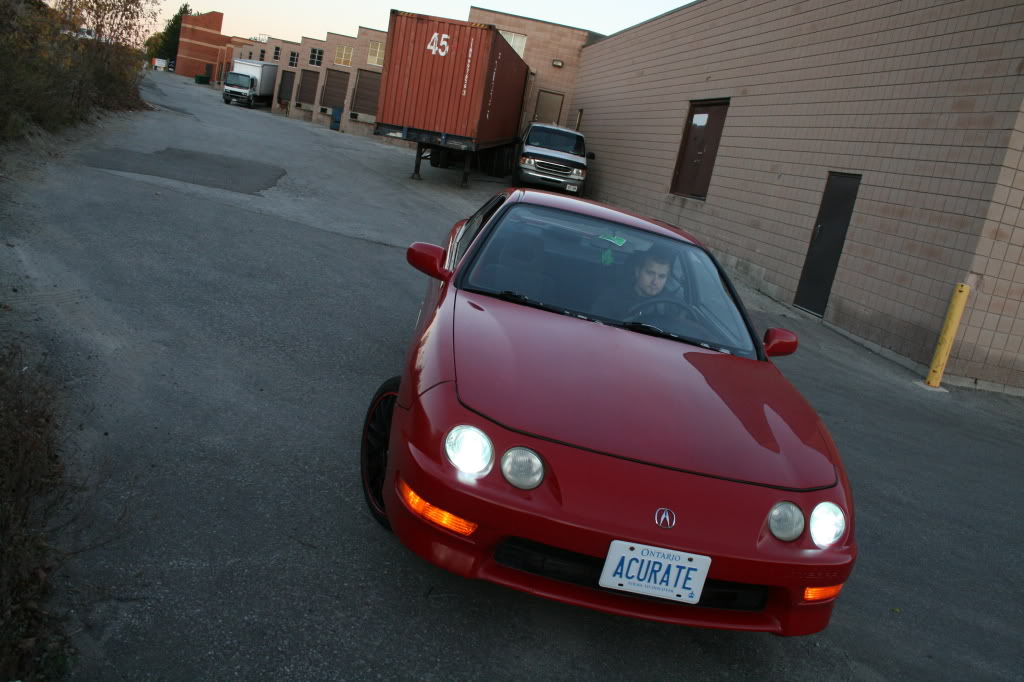
Here are some of the pics from the photo-shoots.
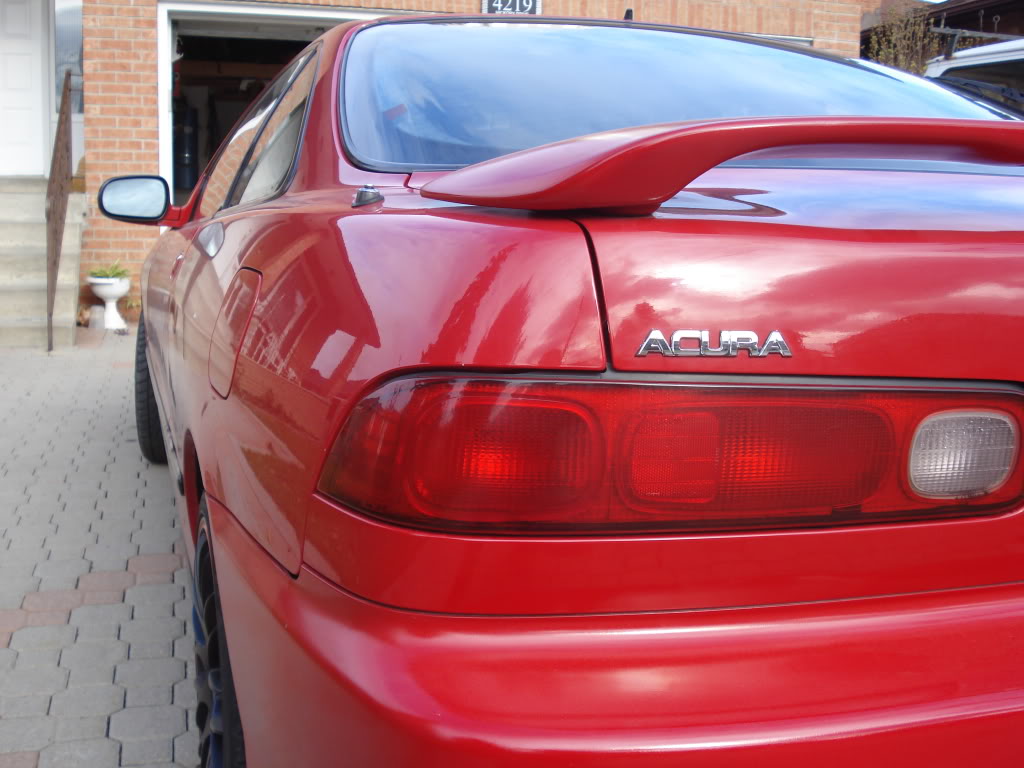
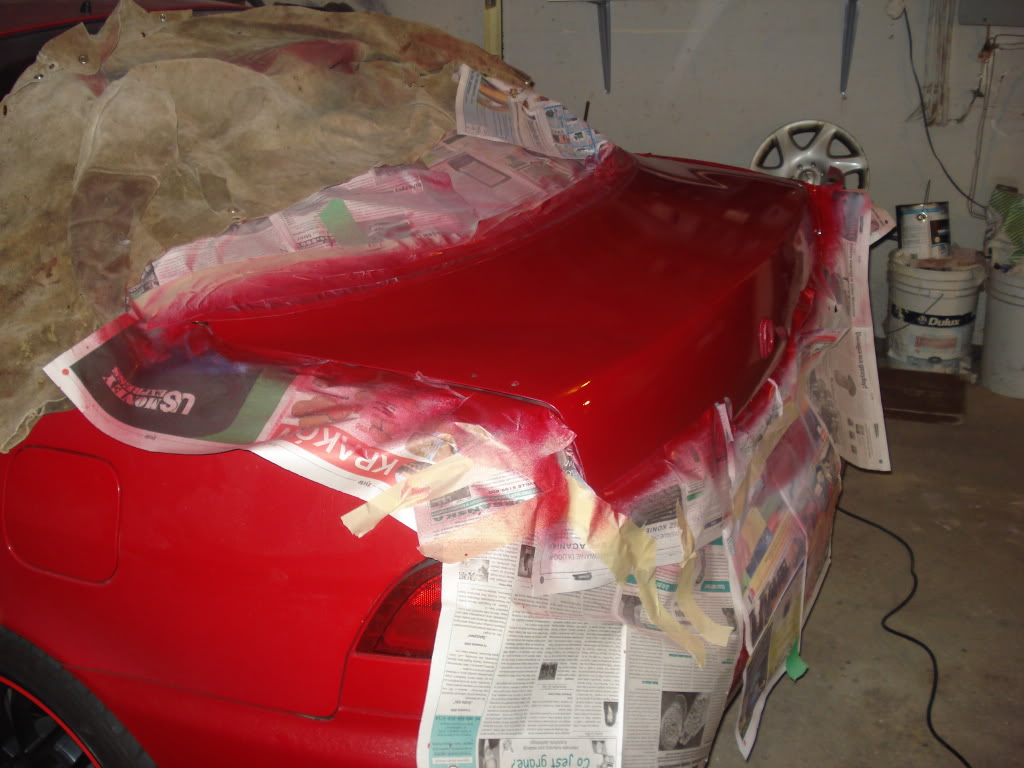
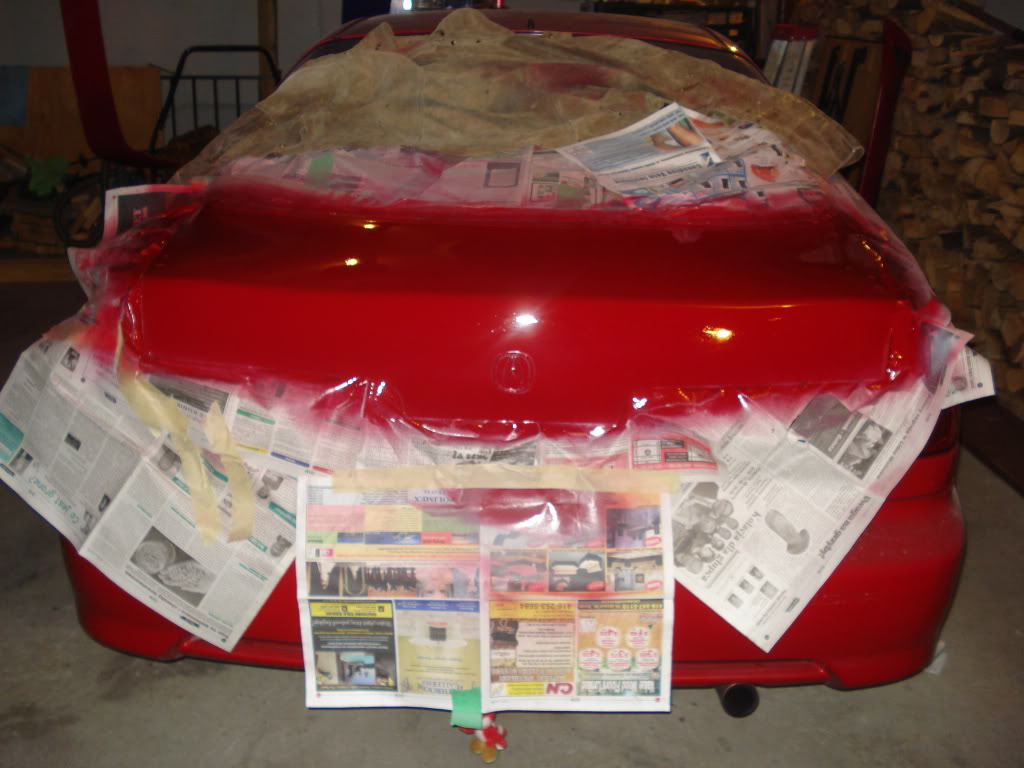
Acura emblem is now shaved.
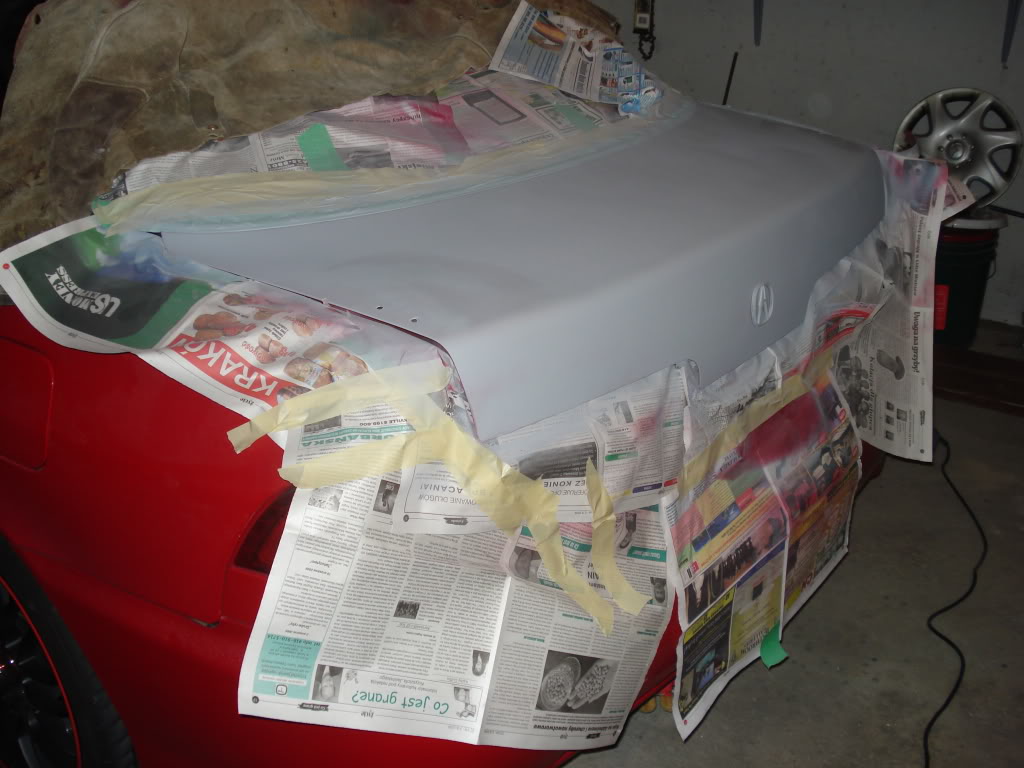
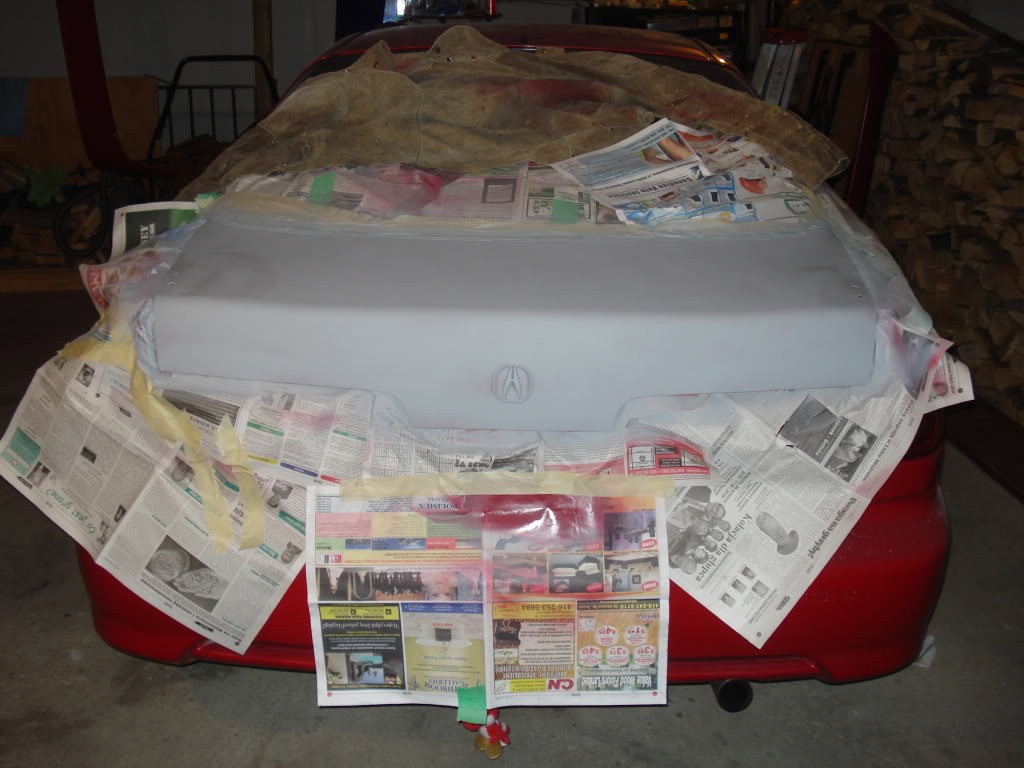
Here are the pics of shaving the spolier holes since previous owner had them wrong off by 1/4" and redrilled new ones for the Type R wing.
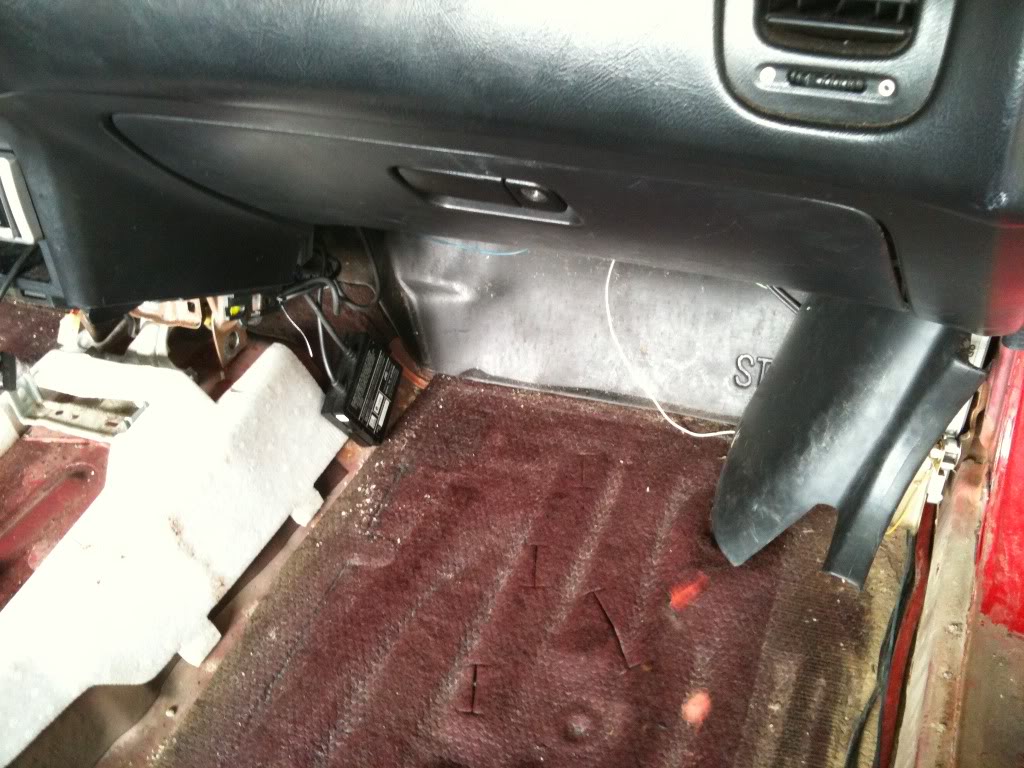
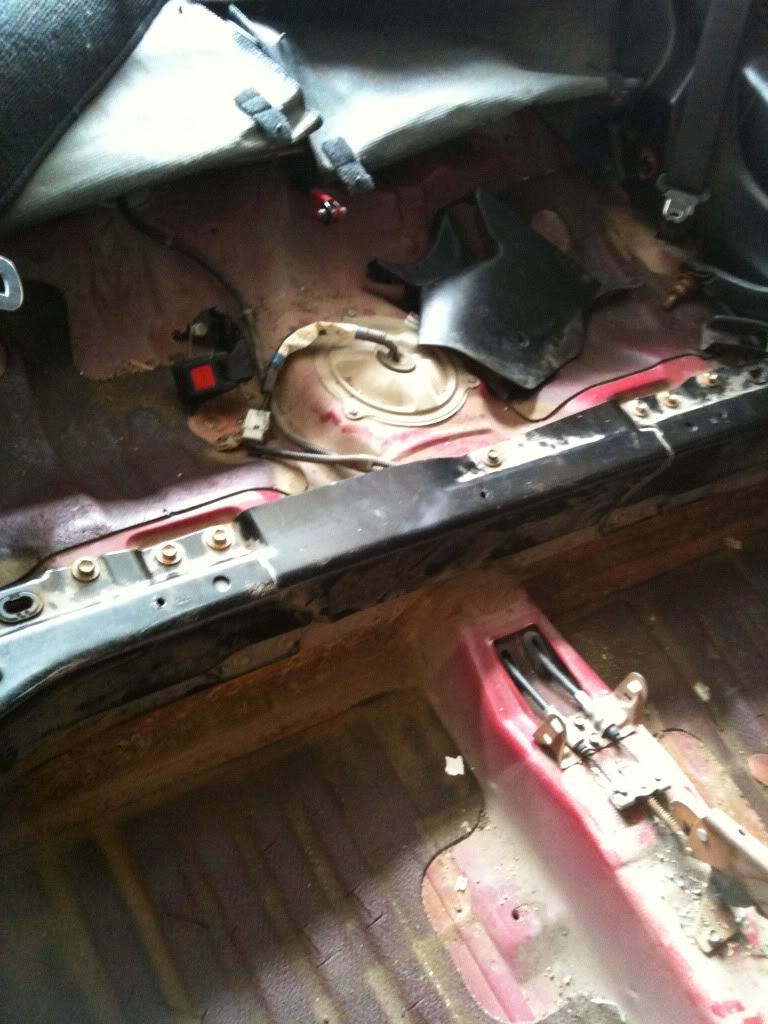
Here is what im dealing with now.
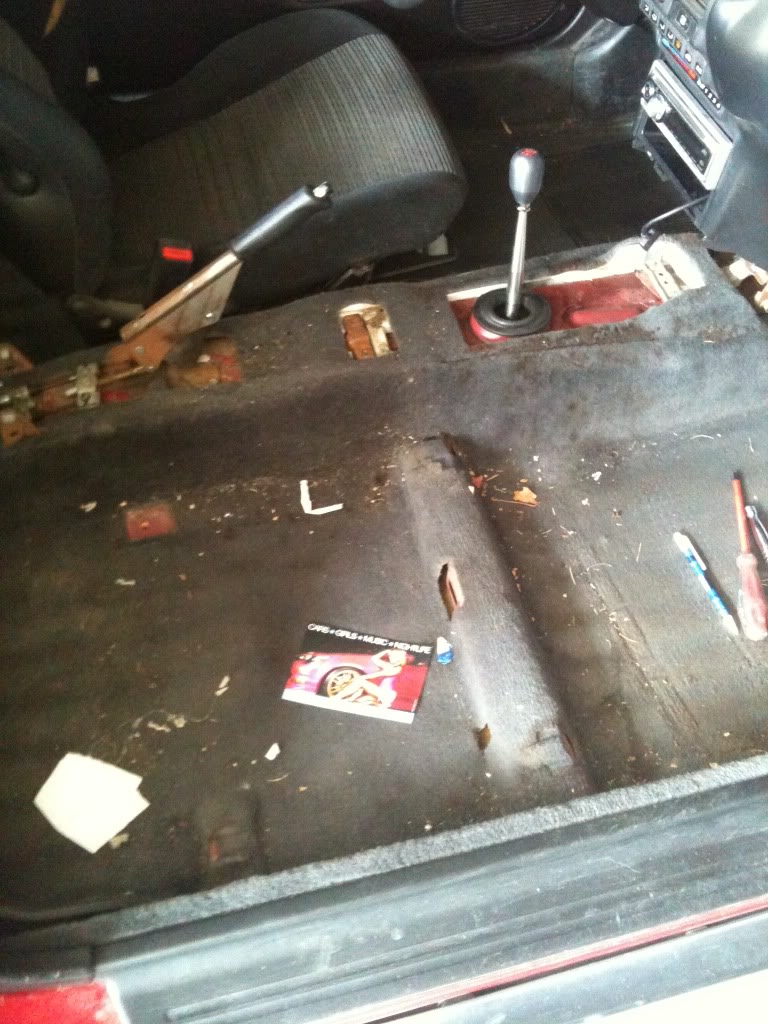
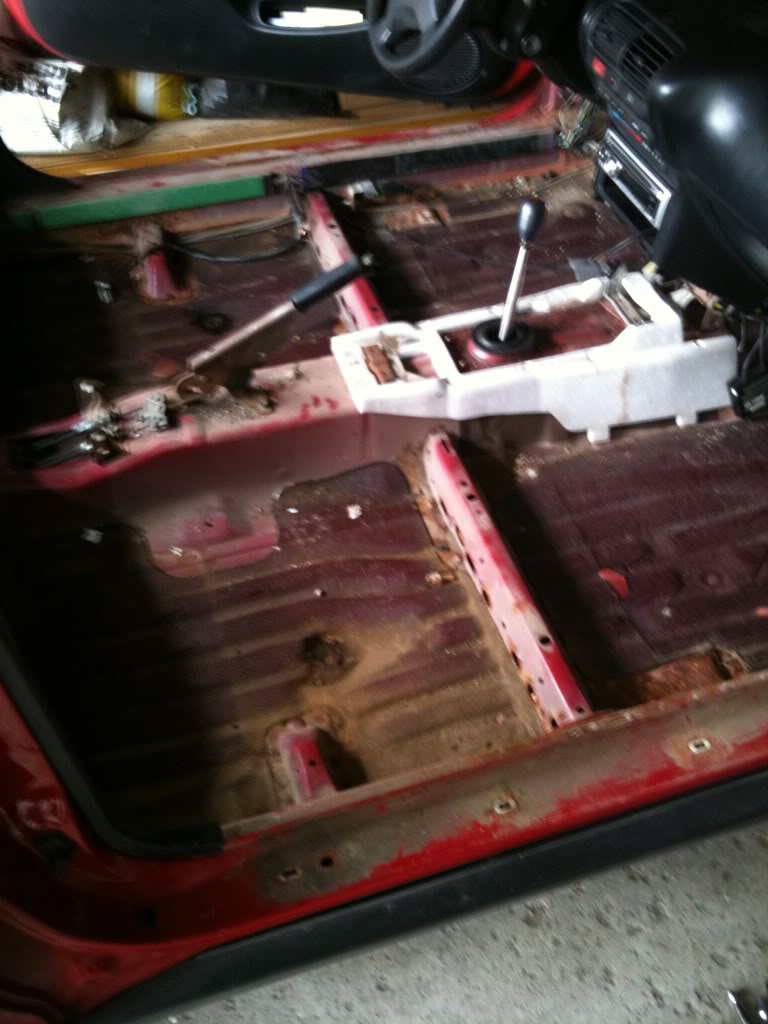
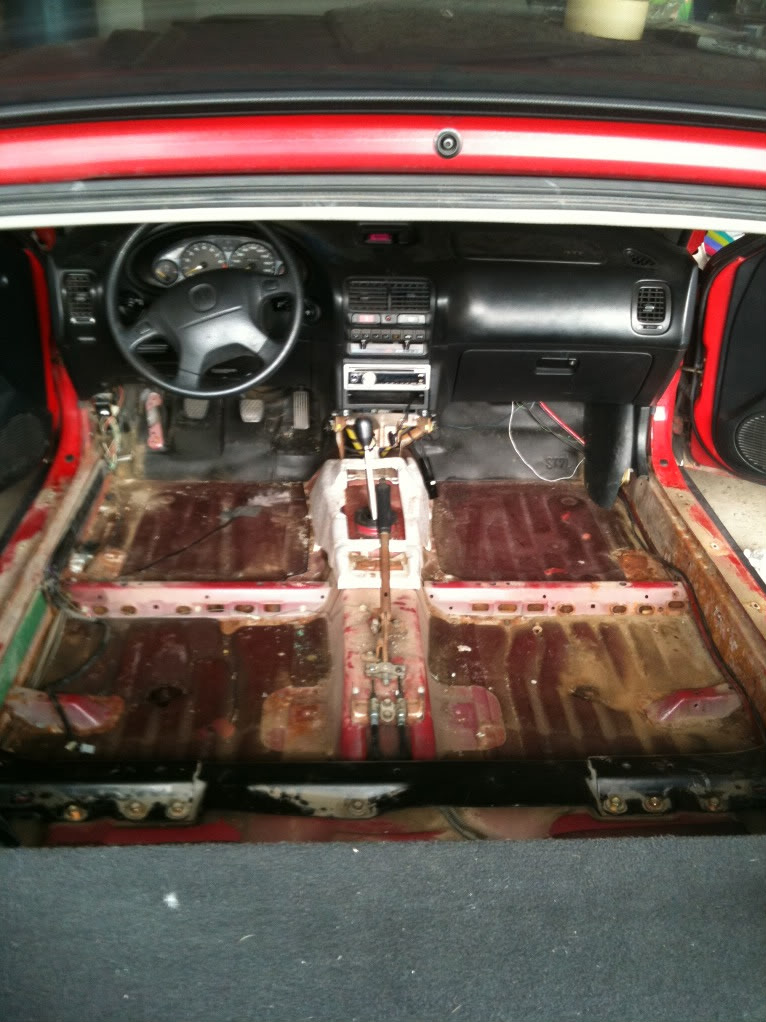
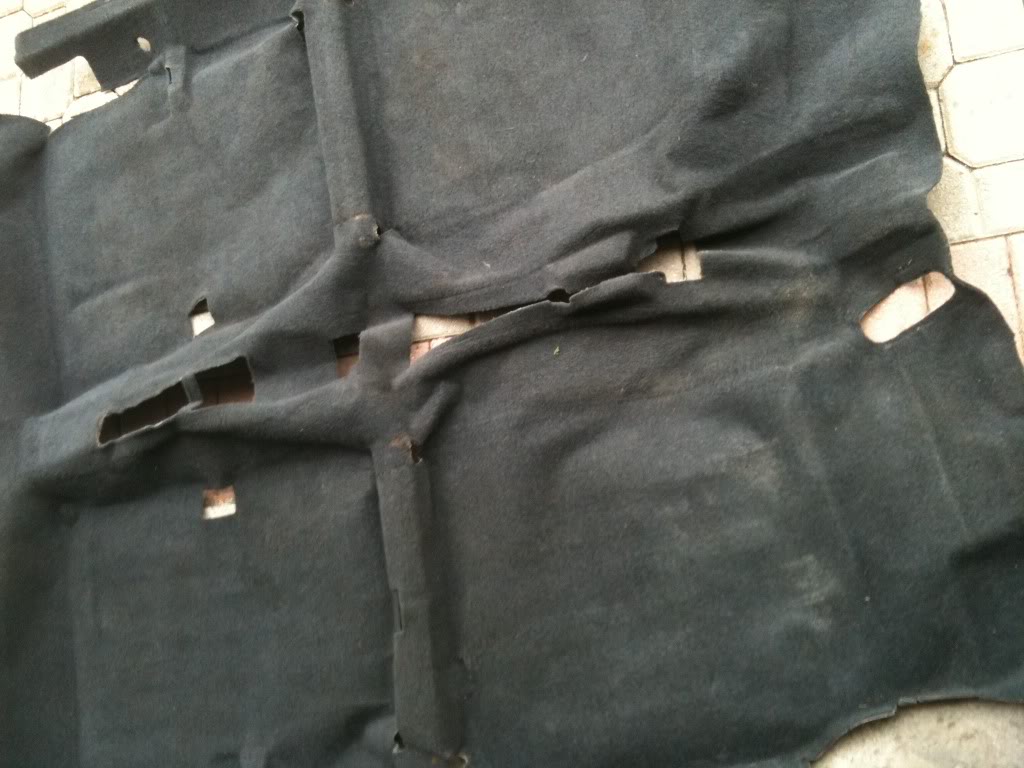
Surprising the rust wasn't as bad as I thought it would be when removing the carpet.
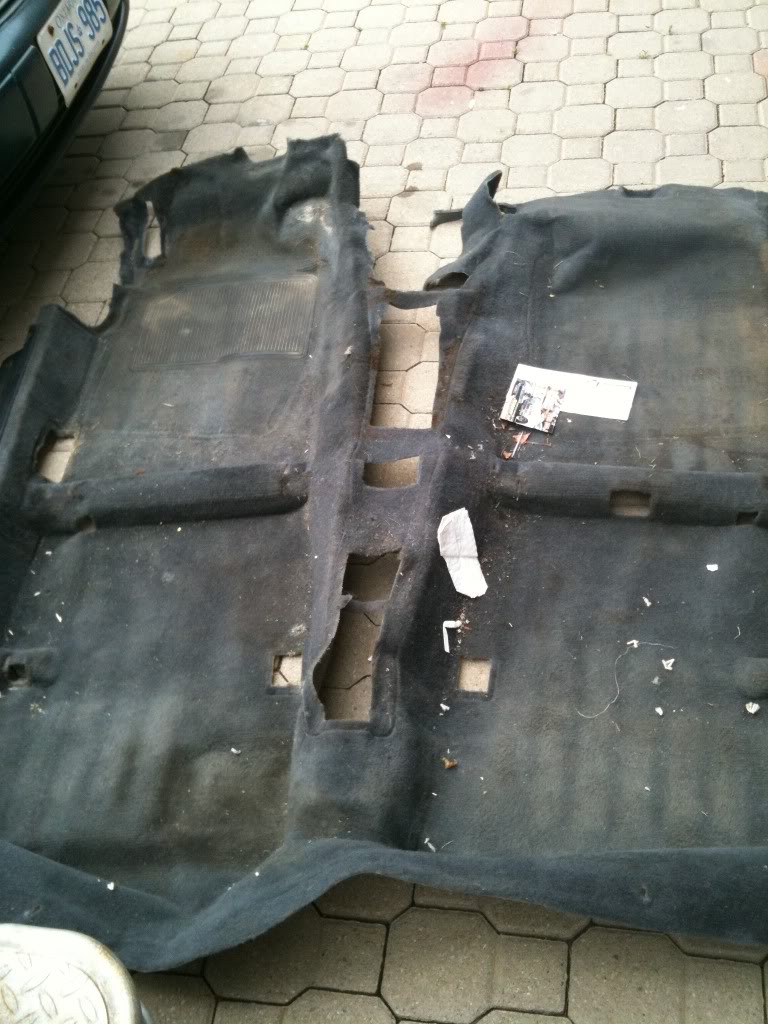
Old carpet ewwwww.
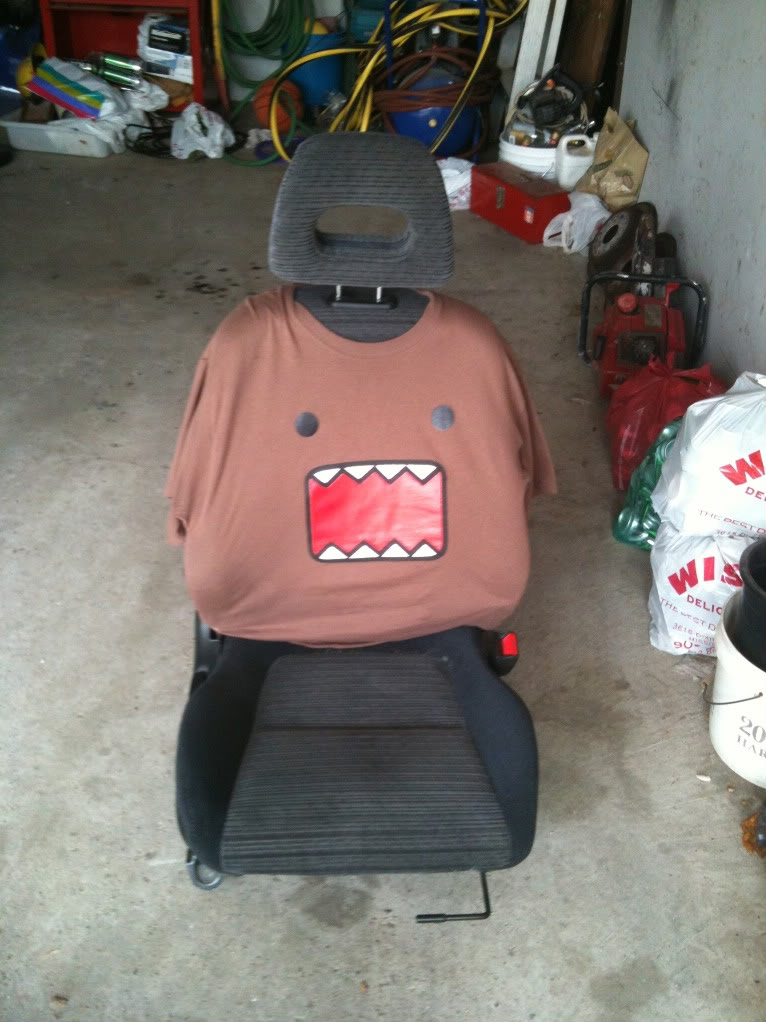
And my Domo-Kun shirt.
Future plans for the year 2010.
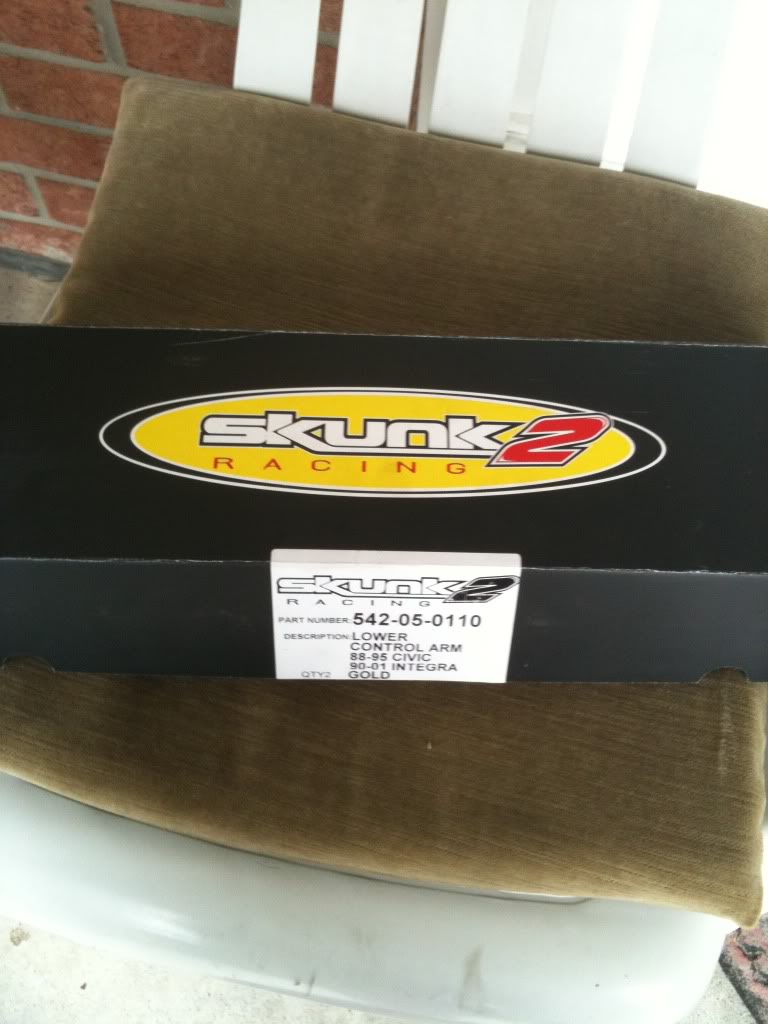
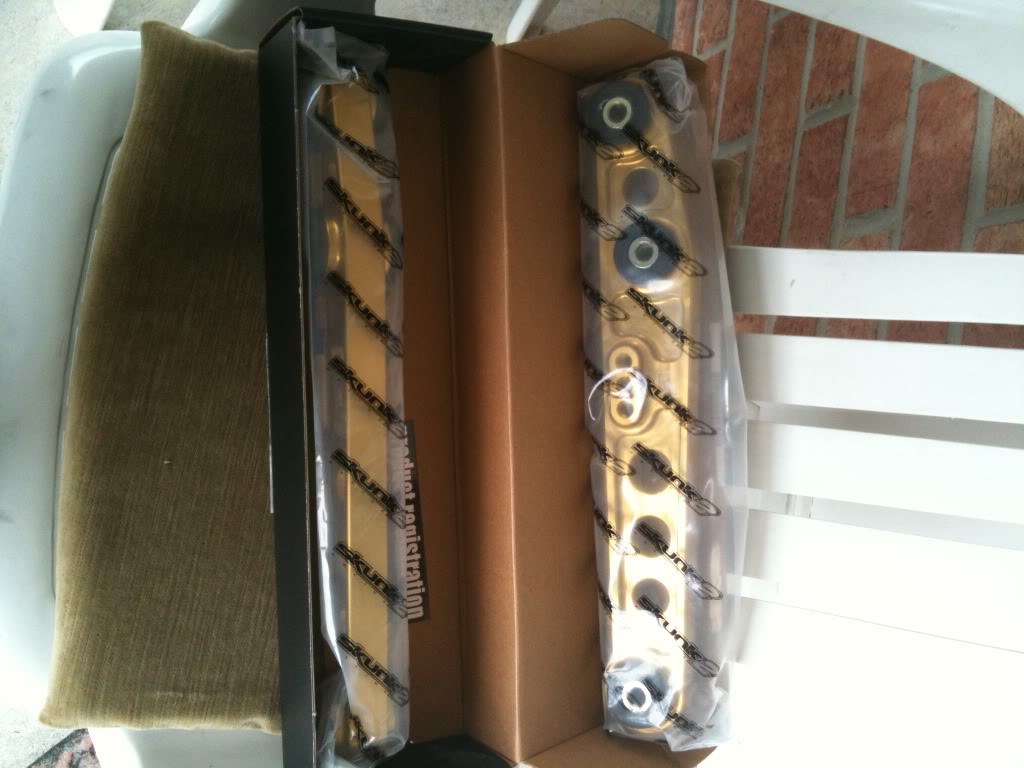
Skunk2 Intake Manifold.
Skunk2 Headers.
All new Calipers (undecided which ones)
Front Slotted rotors (KVR)
All new brake pads (Possiblly KVR No Dust pads / Hawk HP+'s)
Have some sort of coilovers on it have some that I have no clue what they are might try them out.
Front Recaro seats (black red stitch)
Type R Door Panels.
Type R rear valence.
Optional Side Skirts.
If money allows a paint job end of the year or early next spring (keeping it milano red)
Will be updating this often if I remember anything else I'll post it right up.
Enjoy. Looking forward to some comments.
Here is the car when i had it in 2007 when i first bought it.
Engine
1.8L B18C Type R - Currently no work done to it internally.
AEM V2 Cold Air Intake.
Skunk2 Mega Power Exhaust.
B18C Headers.
Custom Cat.
A/C Removed.
(Old B18B1) - Has my V2 in the pic.
Tranny B18C Type R - Possible LSD and final drive of 4.700 since the high RPM is leaning that way.
B&M Short Shifter.
Suspension
Type R Rear Sway Bar.
Type R Front Strut Bar.
Unknown Rear Strut Bar.
Rest stock will be changed shortly.
Wheels
Tenzo R's Type M's 17's.
Rubbers Falken FK452 205 40 17.
Ray's Extended Lug Nuts (Red)
Interior
Type R Rear Seats.
JDM Type R Black Carpet.
JDM Black Red Stitch Arm Rest.
JDM Black Red Stitch Shift Boot.
JDM Type R CF Cluster.
JDM Type R CF Climate Control.
JDM Type R Badge.
Skunk2 Shift ****.
Exterior
JDM Type R Front End.
JDM Type R Front Lip.
Black Housing Headlights.
Brilliant 10,000k HID Kit.
JDM Side Markers (Only Light Up When Signaling.)
Type R Spolier.
Custom Hood Release Cable. (Made From A Bicycle's Brake Lines.)
I Had this Gay hood but got rid of it for a stock JDM DC Hood.
HID's with USDM Front end.
Don't have much pics of car with jdm front end cuz it looks ugly. lol.
Audio
JVC Deck
iPod Adapter
2 Front Speaker JBL's 240 Watt's
2 Rear Speaker 6x9 JBL's 340 Watt's
10" JBL Sub 1000 Watts. (Bassworks Box - Sounds amazing for a 10")
JBL Amp (Don't remember the specs)
Here are some other pics from swap and from some photo shoots that i have laying around.
I'm the Heart of the car at that moment
Here are some of the pics from the photo-shoots.
Acura emblem is now shaved.
Here are the pics of shaving the spolier holes since previous owner had them wrong off by 1/4" and redrilled new ones for the Type R wing.
Here is what im dealing with now.
Surprising the rust wasn't as bad as I thought it would be when removing the carpet.
Old carpet ewwwww.
And my Domo-Kun shirt.
Future plans for the year 2010.
Skunk2 Intake Manifold.
Skunk2 Headers.
All new Calipers (undecided which ones)
Front Slotted rotors (KVR)
All new brake pads (Possiblly KVR No Dust pads / Hawk HP+'s)
Have some sort of coilovers on it have some that I have no clue what they are might try them out.
Front Recaro seats (black red stitch)
Type R Door Panels.
Type R rear valence.
Optional Side Skirts.
If money allows a paint job end of the year or early next spring (keeping it milano red)
Will be updating this often if I remember anything else I'll post it right up.
Enjoy. Looking forward to some comments.
Last edited by AcuratePaul; Mar 26, 2014 at 04:42 PM.

DAAAAAAAAAAMN. NICE BUILD! My suggestion though would be paint first, then everything else after. Cuse either way, finding the skirts and valences is gonna take time, the coilovers are expensive as is, and recaros are everywhere but eeeeeeeeh, its money that can go to the paint. so you can be matching.
everything here is top notch man . Keep it up
everything here is top notch man . Keep it up
No point of painting it when its sitting in the garage not going anywhere so i wanna have everything ready to go so once im ready to put it on the road ill get a paint job and its ready for the road 
Thanks Ryan im gonna need a hand putting the carpet in was a bitch taking my old one out espically around the and being the deck so i ended up cutting it lol don't care about the old one.

The thing you will have to worry about is not breaking the panel clips and everything else is easy when removing the carpet. I did mine last summer.

Update!!!
So Ryan a neon Dave really help me out one day and we got the carpet in and new "cf" climate control. Thanks again guys. Everything will be finished tonight and vaccuumed. Just have to put in the front seats and seat belts. And figure out how to hold down the carpet on the sides where the plastic is. Pictures will explain what I mean lol. Will have pictures up this evening. Stick around folks.
So Ryan a neon Dave really help me out one day and we got the carpet in and new "cf" climate control. Thanks again guys. Everything will be finished tonight and vaccuumed. Just have to put in the front seats and seat belts. And figure out how to hold down the carpet on the sides where the plastic is. Pictures will explain what I mean lol. Will have pictures up this evening. Stick around folks.
Administrator


Joined: Apr 2009
Posts: 1,228
From: Observation deck...
Update!!!
So Ryan a neon Dave really help me out one day and we got the carpet in and new "cf" climate control. Thanks again guys. Everything will be finished tonight and vaccuumed. Just have to put in the front seats and seat belts. And figure out how to hold down the carpet on the sides where the plastic is. Pictures will explain what I mean lol. Will have pictures up this evening. Stick around folks.
So Ryan a neon Dave really help me out one day and we got the carpet in and new "cf" climate control. Thanks again guys. Everything will be finished tonight and vaccuumed. Just have to put in the front seats and seat belts. And figure out how to hold down the carpet on the sides where the plastic is. Pictures will explain what I mean lol. Will have pictures up this evening. Stick around folks.
n00b
Joined: Apr 2010
Posts: 95
From: Mississauga
Good thing he fed you guys or i would have something to say about it! i do NOT lend out my hubby for free labour! Cant wait to see the teg out on the road...unlike rye and dave, i have yet to see it! build is coming along nicely so far tho!!!
Update: sorry abou not getting the pics up last night since i got stuck at work for way tooo long so i got some pics taken today.
New drunk carpet installed too $5 from junk yard
New shift **** and repainted plastic parts.
"CF" climate control
Some more random pics.


Toronto Integras Number 1 (see my finger)
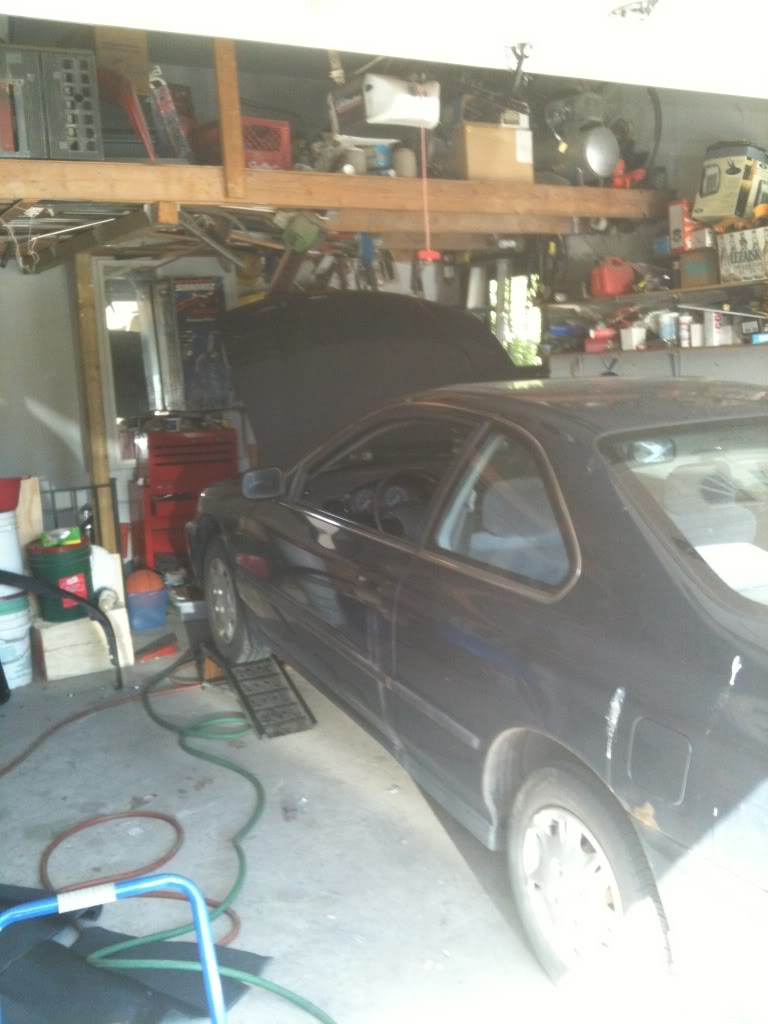
And here is my winter beater getting worked done on it dam accord.
New drunk carpet installed too
$5 from junk yardNew shift **** and repainted plastic parts.
"CF" climate control
Some more random pics.
Toronto Integras Number 1 (see my finger)
And here is my winter beater getting worked done on it dam accord.


I have a domo too loool. Hes up where my clock is keeping my car safe.
Ive never been broken into since ive had it or maybe my car was just to beat to steal BUT HEEY i see it otherwise. LOOL
Ive never been broken into since ive had it
or maybe my car was just to beat to steal BUT HEEY i see it otherwise. LOOL
ya i told him to throw some pent fluid on them all week, because i dont want to making this a whole day thing when i help him today. Im headin over there soon, and let you guys know how easy/hard this is gunna be LOL!
Update: so project suspension is a kinda on a stand still we wereable to take one lca off by the end of Sunday we had to cut 2 of the bolts 1 bolt Ryan the other my dad. Project will continue tommorrow and hopefully the other side goes better.
Thanks Ryan for getting me the bolts. Pics will be up of the progress tommorrow evening. Stay tuned folks. Tegs almost ready for the road oh and that whole head gasket thing lmao maybe that will get done by the help of some ti members.
Thanks Ryan for getting me the bolts. Pics will be up of the progress tommorrow evening. Stay tuned folks. Tegs almost ready for the road oh and that whole head gasket thing lmao maybe that will get done by the help of some ti members
.
sorry Paul, have to spill the beans....... THE REARS ARE DONE!!!! WOOOOOOTT!! Just got back from Pauls and after leaving fustrated with the passengers side LCS's...he called me and said the broke free and the rear is lowered LOL!
Next is the fronts....
Next is the fronts....
